Author:
Tamara Smith
Date Of Creation:
27 January 2021
Update Date:
2 July 2024

Content
- To step
- Method 1 of 2: Pasting an image on wood with Mod Podge
- Method 2 of 2: Transfer an image to wood with Mod Podge
- Tips
- Warnings
- Necessities
- Paste an image on wood with Mod Podge
- Transfer an image to wood with Mod Podge
Applying images to wood using Mod Podge is somewhat difficult due to the type of paper. However, with the right technique, you can easily apply an image to a wooden surface using Mod Podge. There are two ways to do this. You can paste an image with Mod Podge on the wood and you can use Mod Podge to transfer an image to the wood. Once you've mastered the basics of these methods, you can create all kinds of personalized gifts and keepsakes.
To step
Method 1 of 2: Pasting an image on wood with Mod Podge
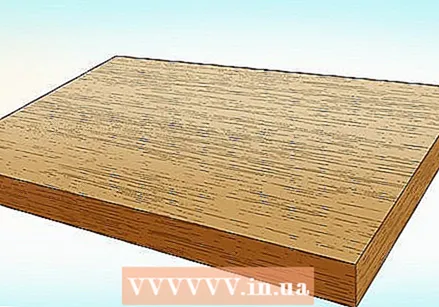
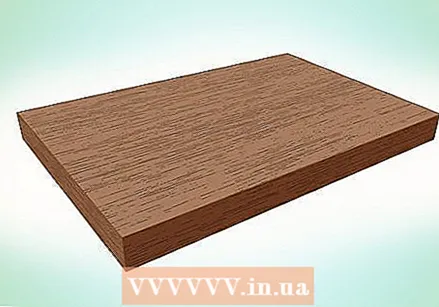 Choose a wooden object to stick the image on with the help of Mod Podge. Choose something with a flat surface, such as a wooden block or wooden plate. You can even use a wooden jewelry box, as long as the lid is flat and smooth.
 - You can find a lot of raw wood items on the woodworking shelf at a hobby store.
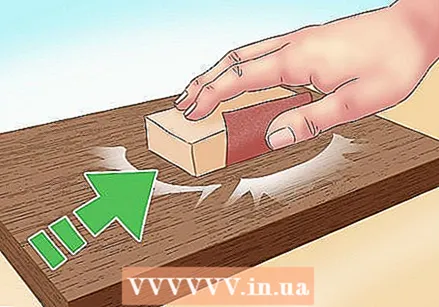 Sand the wood if necessary. Most wooden items you can buy at a hobby store already have a smooth surface, but the edges may still be rough. Sand those edges smooth with medium to fine grit sandpaper. Sand with the grain of the wood, instead of against it. To check if the wood is smooth, you can pull pantyhose over the wood. If the pantyhose doesn't catch on small particles on the wood, the wood is smooth and you can move on.
 - For a more professional look, sand the edges and corners of the wooden block or plate. This gives the wood a softer appearance.
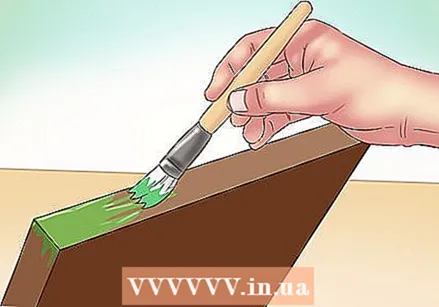 Paint the sides of the wooden object if you wish. If you paste a photo on a wooden plate, the edges on the side will be visible. You can give your work a better finish by applying two coats of acrylic paint to the sides. Let the first coat dry before applying the second coat. Let the paint dry completely before continuing. This will take about 20 minutes.
 - Use acrylic paint in a color that matches the photo.
- Paint the front of the plate as well. If you accidentally cut the photo too small, you will not see untreated wood that way.
 Apply a coat of Mod Podge to the wooden object. If you are going to apply multiple photos to an object with multiple sides (such as a block), choose one side to start with. You can apply the Mod Podge with a wide, flat brush or a foam brush. Make sure to apply a thick, even coat of Mod Podge.
 - Mod Podge is available with a variety of finishes. Choose the finish that you like best: matte, glossy or satin.
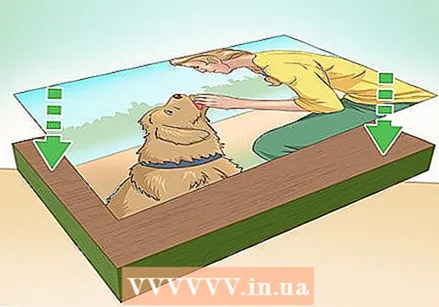 Stick the photo on the wood. Push the photo right side up on the wood, applying light pressure. If necessary, push the picture into place and apply pressure. Gently smooth out wrinkles and air bubbles. Work from the center to the edges.
  Cover the photo with a thin layer of Mod Podge. Work from side to side of the photo. Make neat, straight horizontal strokes with your brush.
  Let the Mod Podge dry before applying the next coat. Let the first coat dry for about 15 to 20 minutes. Apply the second coat using the same technique you just used. Now work from top to bottom and make vertical brush strokes.This will give an image a texture similar to canvas.
 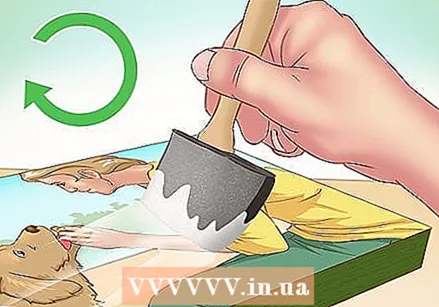 Let the Mod Podge dry completely before treating the other sides of the item. If you are making a photo block, use the same technique to paste photos on the other sides using Mod Podge. Treat only one side at a time. If you painted the sides of a slab, apply Mod Podge to it to protect the paint job.
  Let the Mod Podge dry and cure. Mod Podge usually needs to not only dry, but also cure. So check the label on the bottle. If you use a workpiece before the Mod Podge has hardened, the surface can become tacky.
Method 2 of 2: Transfer an image to wood with Mod Podge
 Choose a suitable piece of wood. Wooden slabs are great for this project, as are wooden slabs with bark around them. If the surface is rough, sand it with medium to fine grit sandpaper. That way you will be able to transfer the image more easily.
 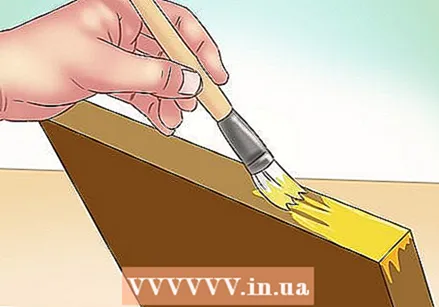 Paint the sides of the piece of wood, if you wish. Since you are only transferring the photo to one side of the piece of wood, the rough edges will show. You can leave the edges as is to give the wood a country look, or you can paint them with 1 or 2 coats of acrylic paint to give the wood a neater finish.
 - Let the first coat of acrylic paint dry before applying the next coat.
 Choose a kind of Mod Podge. If the image is to become opaque without showing the wood grain, use Mod Podge Photo Transfer Medium. Use regular matte Mod Podge if you want the image to be translucent and the wood grain to show through.
  Print the image on plain paper with a laser printer. Do not use an inkjet printer or photo paper as this will not work with this method. It is important that you use a laser printer and regular printer paper. If you don't have a laser printer, use a laser copier.
 - Your image will be mirrored on the wood. If you prefer not to, mirror the image first using a photo editing program.
- If the image has a white border, it may be a good idea to trim the border, especially if you are using Mod Podge Photo Transfer Medium.
 Apply a thick coat of the Mod Podge of your choice on the front of the image. You can use a wide, flat brush or a foam brush for this. Make sure to apply the Mod Podge to the front side of the image and not on the back. Also make sure to apply a thick, generous amount of Mod Podge.
 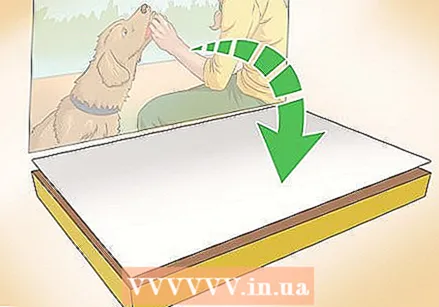 Place the picture face down on the wood. Run the edge of a credit card or weatherstrip tool over the back of the image. Start in the middle and work your way out. Wipe the excess Mod Podge from under the edges of the image with a damp cloth.
 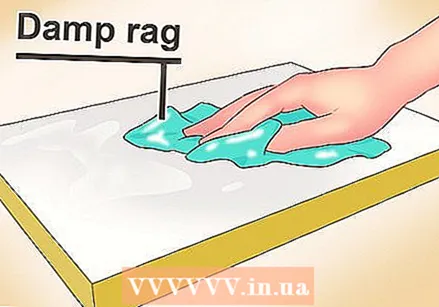 Let the image dry and then place a damp cloth on the back. Let the image and the wood dry for 24 hours first. When everything is dry, put a damp cloth on the back of the image. You are ready for the next step when the paper gets wet. This will take about 5 minutes.
  Rub the paper off the wood. You can do this with your fingers, a damp cloth or a damp sponge. Apply light pressure and make circular movements. If you apply too much pressure, you risk rubbing the image off the wood.
 - Rinse the wood well with water to remove any scraps of paper.
- If you see residue, let the wood dry and repeat the process.
 Let the wood dry. This should only take an hour. When the wood is dry, proceed to the next step. You can also make the image look older by lightly sanding the edges with sandpaper.
 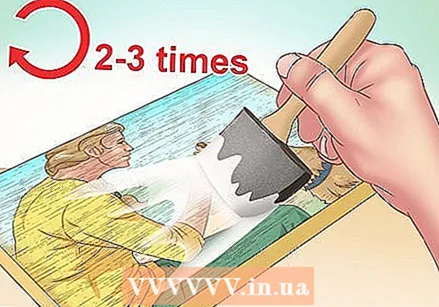 Apply 2 to 3 coats of regular Mod Podge. Make sure to apply the Mod Podge over the edges of the image and onto the wood as well. The image will be better protected this way. Let the first coat dry for 15 to 20 minutes before applying the next coat. If it is necessary to apply a third coat, let the second coat dry and then apply the third coat.
 - For this step you can use Mod Podge with a different finish, such as glossy Mod Podge or Mod Podge with satin.
- You can also paint the image with transparent acrylic lacquer.
 Let the Mod Podge dry completely. Mod Podge usually needs to cure, so check the label to be sure. When the Mod Podge is dry and cured, the workpiece is ready for use. Be patient, because if you use the workpiece too quickly, the Mod Podge can become sticky.
 - It is not recommended to apply images on multiple sides of a piece of wood using this method. If the Mod Podge gets wet, the agent can melt.
Tips
- If you don't like the finish of the Mod Podge, let it dry and apply another kind of Mod Podge.
- Select a memorable photo and then give the piece to someone as a gift.
- You can find a lot of raw wooden objects at hobby shops.
- Have patience. Let each coat of Mod Podge dry before applying another coat. Failure to do this may cause the Mod Podge to become tacky.
Warnings
- Do not get the wooden objects that you treated with Mod Podge wet, otherwise the Mod Podge may come off.
Necessities
Paste an image on wood with Mod Podge
- Wooden plate
- Mod Podge
- Sandpaper
- Paintbrush or foam brush
- Acrylic paint (optional)
Transfer an image to wood with Mod Podge
- Wooden plate
- Image printed with a laser printer
- Mod Podge with a matte finish or Mod Podge Photo Transfer Medium
- Sandpaper
- Paintbrush or foam brush
- Damp cloth or sponge
- Acrylic paint (optional)


