Author:
Eric Farmer
Date Of Creation:
3 March 2021
Update Date:
1 May 2024

Content
- Steps
- Part 1 of 6: How to Prepare the Image
- Part 2 of 6: How to add shadows
- Part 3 of 6: How to make an image black and white
- Part 4 of 6: How to add paths
- Part 5 of 6: How to add details
- Part 6 of 6: How to add paper texture
This article will show you how to turn a color image into a sketch using Adobe Photoshop.
Steps
Part 1 of 6: How to Prepare the Image
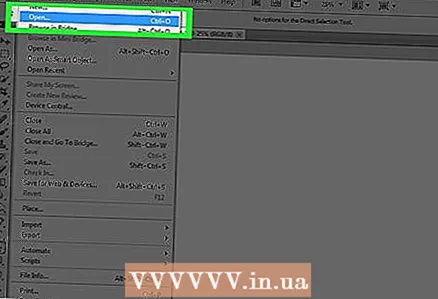 1 Open the image in Photoshop. Double click on the blue letter icon "Ps"then select File in the menu bar at the top of the screen, click Open... and select an image.
 - For best results, it is best to choose high-contrast images.
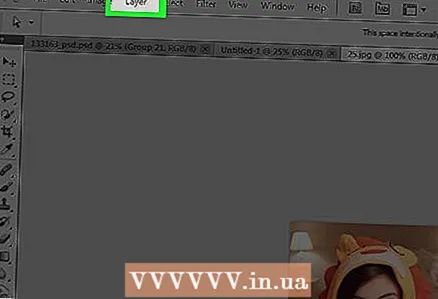 2 Click on Layers on the menu bar.
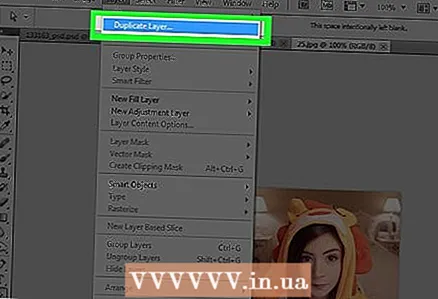 3 Click on Duplicate layer ... in the dropdown menu, then click OK.
Part 2 of 6: How to add shadows
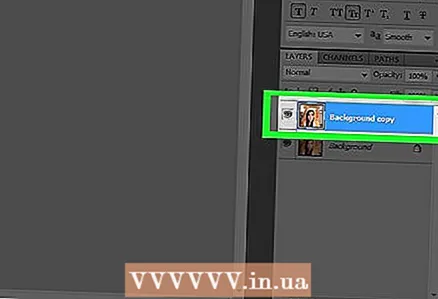 1 Please select Background copy in the Layers window on the right side of the screen.
 2 Click on Image on the menu bar.
 3 Please select Correction in the dropdown menu.
 4 Please select Inversion in the dropdown menu.
 5 Click on Filter on the menu bar.
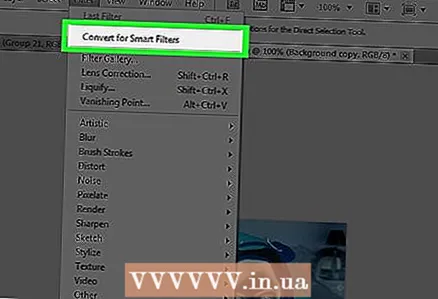 6 Please select Convert for Smart Filters in the dropdown menu, then click OK.
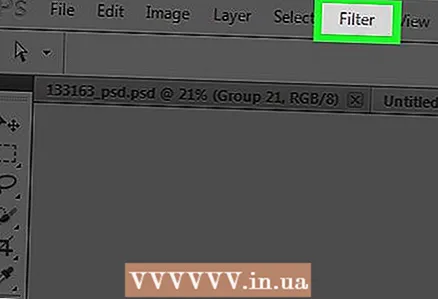 7 Click on Filter on the menu bar.
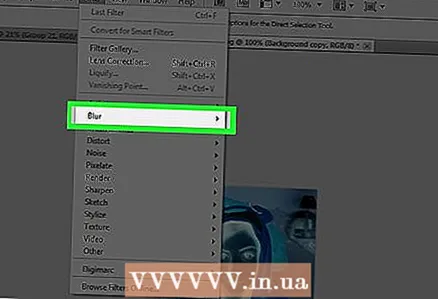 8 Please select Blur in the dropdown menu.
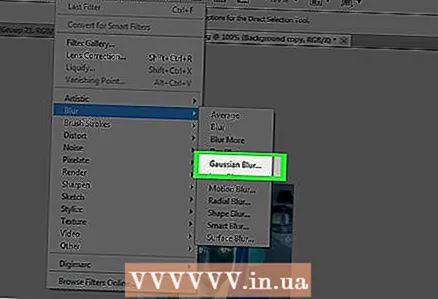 9 Please select Gaussian blur… in the dropdown menu.
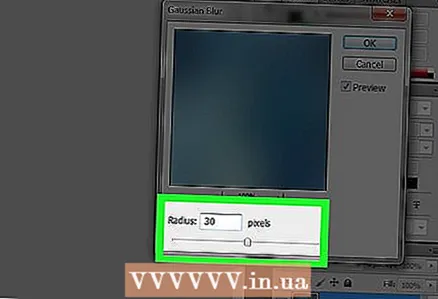 10 Enter value 30 in field "Radius:"and click OK.
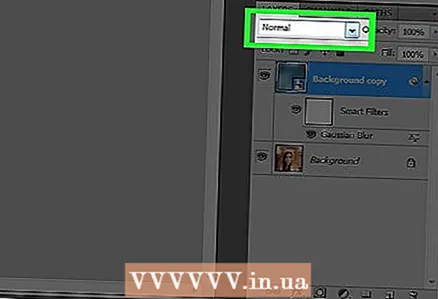 11 Click "Normal" in the Blend Modes menu of the Layers window.
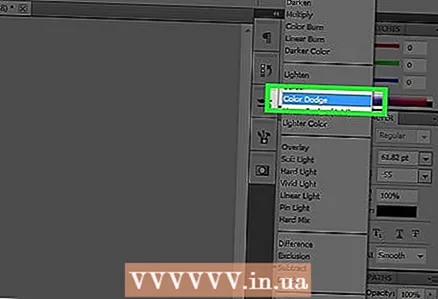 12 Please select Lightening the base.
Part 3 of 6: How to make an image black and white
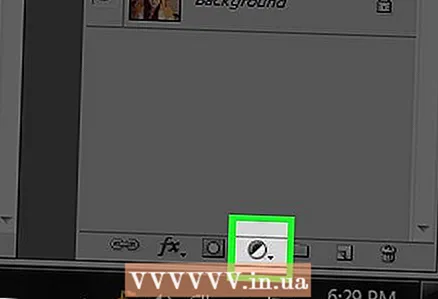 1 Click the Create New Adjustment Layer or Fill Layer icon. The semi-filled circle is at the bottom of the tab Layers.
 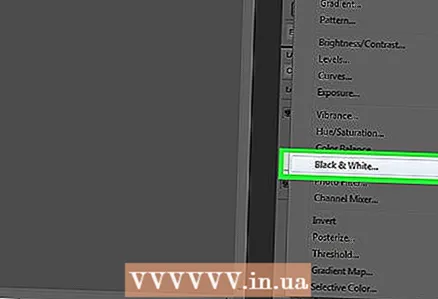 2 Please select Black and white ....
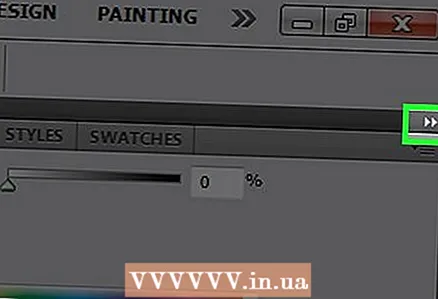 3 Click ⏩ in the upper right corner of the dialog box to close the window.
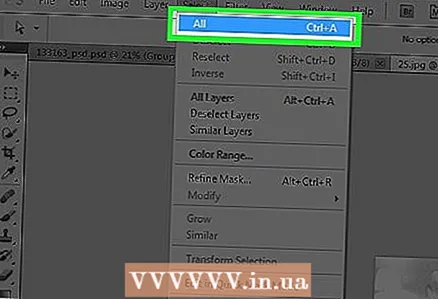 4 Click on Highlighting on the menu bar, then select Everything.
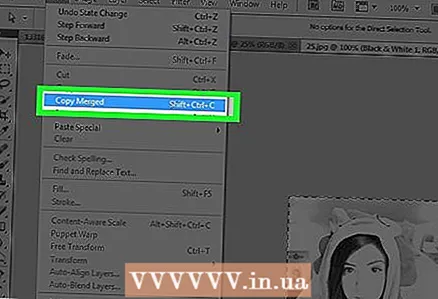 5 Click on Editing on the menu bar, then select Copy merged data.
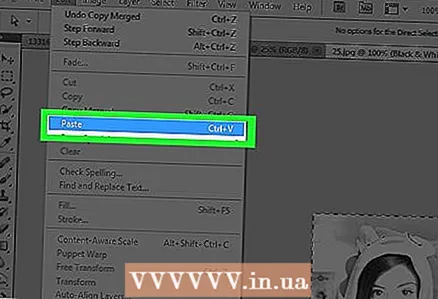 6 Click on Editing on the menu bar, then select Insert.
Part 4 of 6: How to add paths
 1 Click on Filter on the menu bar, then select Filter gallery ....
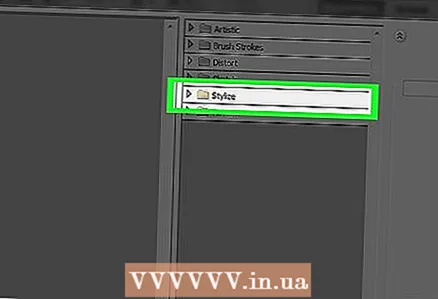 2 Select the "Styling" folder.
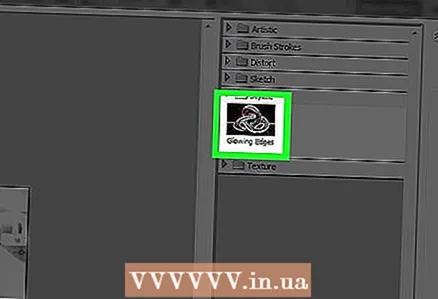 3 Please select Edge glow.
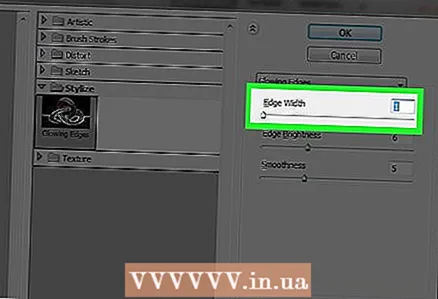 4 Move the Edge Width slider all the way to the left. It's on the right side of the window.
 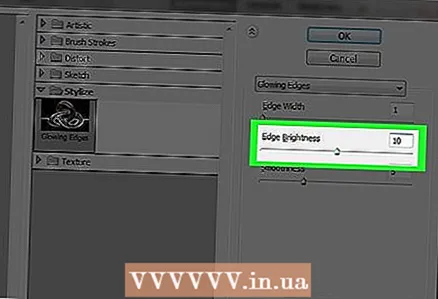 5 Center the Edge Brightness slider.
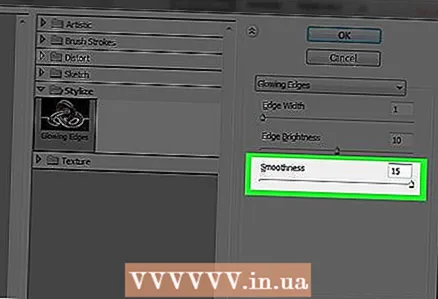 6 Move the Softening slider all the way to the right.
 7 Click on OK.
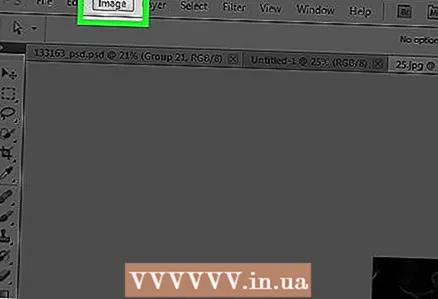 8 Click on Image on the menu bar.
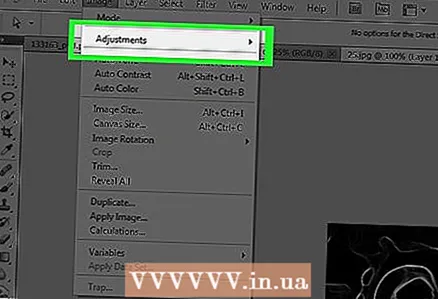 9 Please select Correction in the dropdown menu.
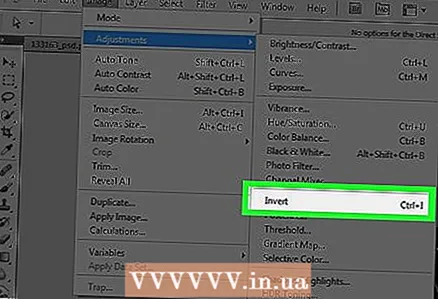 10 Please select Inversion in the dropdown menu.
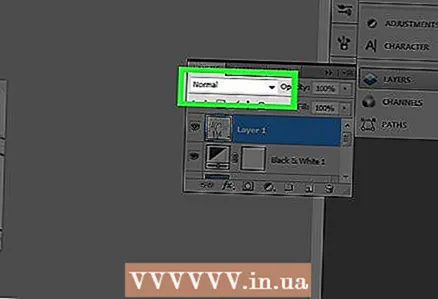 11 Click Normal in the Blending Modes menu in the Layers window.
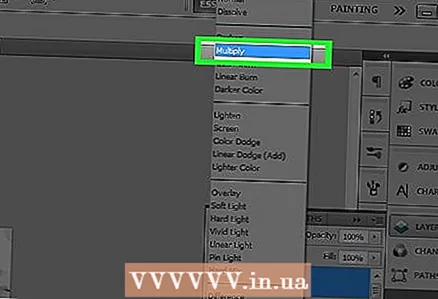 12 Please select Multiplication.
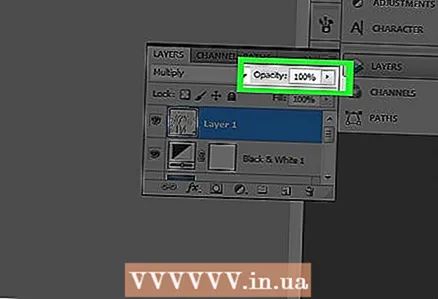 13 Select a field "Opacity:»In the upper right corner of the Layers window.
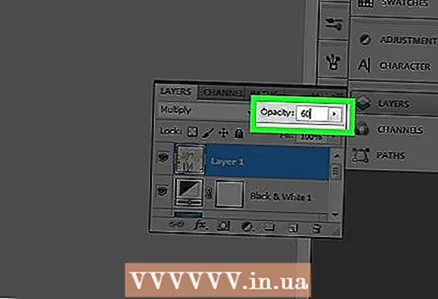 14 Set the Opacity to 60%.
Part 5 of 6: How to add details
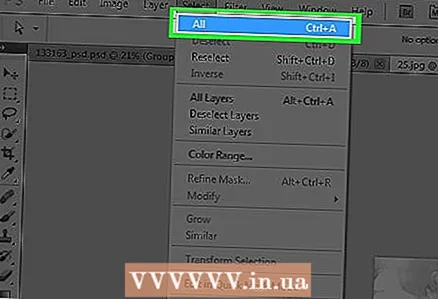 1 Click on Highlighting on the menu bar, then select Everything.
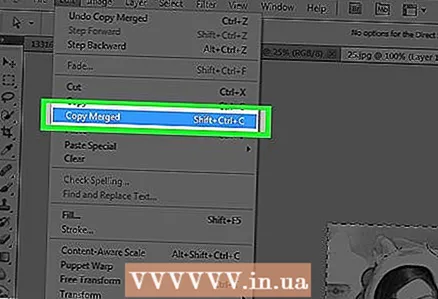 2 Click on Editing on the menu bar, then select Copy merged data.
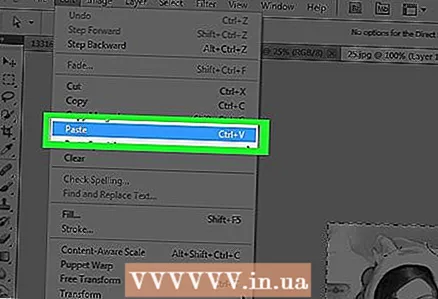 3 Click on Editing on the menu bar, then select Insert.
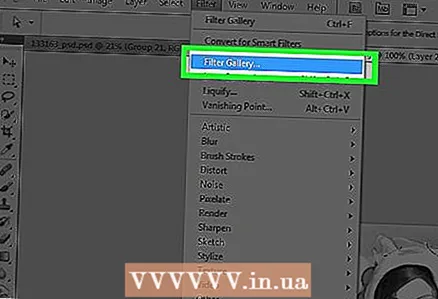 4 Click on Filter on the menu bar, then select Filter gallery ....
- Not choose item "Filter Gallery" at the top of the dropdown menu "Filter", otherwise the last used filter from the Filter Gallery will be applied.
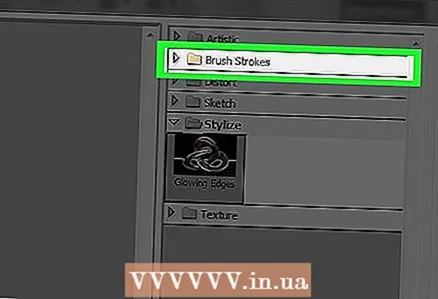 5 Select the "Strokes" folder.
 6 Please select Sumi-e.
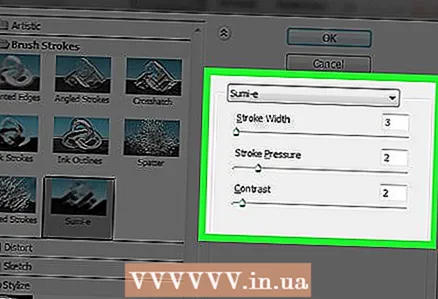 7 Change the stroke options. Set Stroke Width to 3, Pressure to 2 and Contrast to 2.
 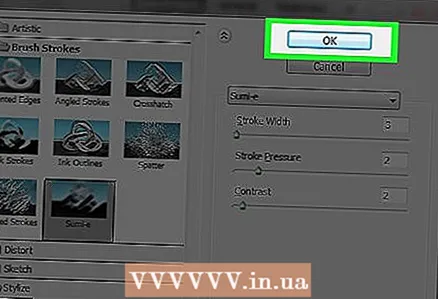 8 Click on OK.
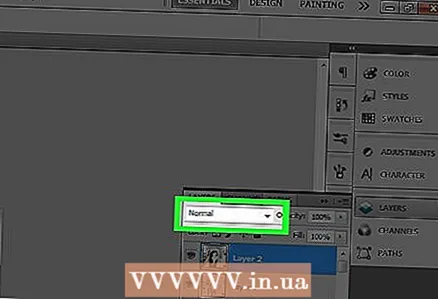 9 Click Normal in the Blending Modes menu in the Layers window.
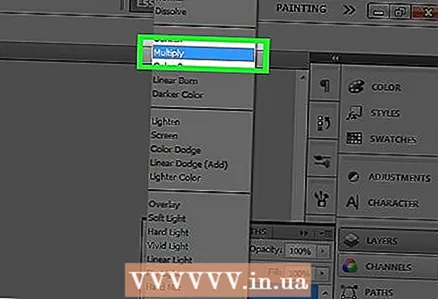 10 Please select Multiplication.
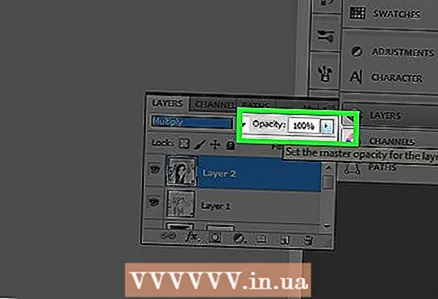 11 Select a field "Opacity:»In the upper right corner of the Layers window.
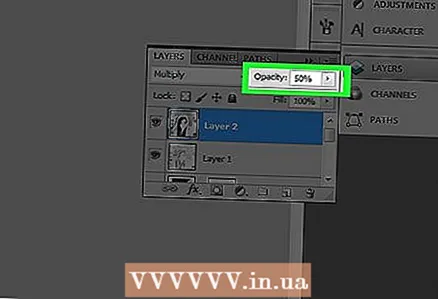 12 Set the Opacity to 50%.
Part 6 of 6: How to add paper texture
 1 Click on Layers on the menu bar.
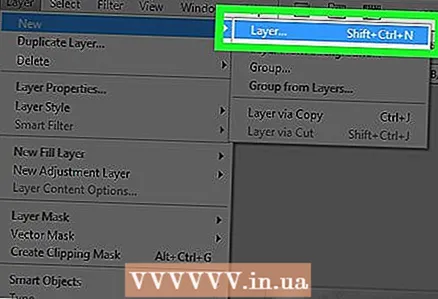 2 Please select New… from the dropdown menu, then select Layer….
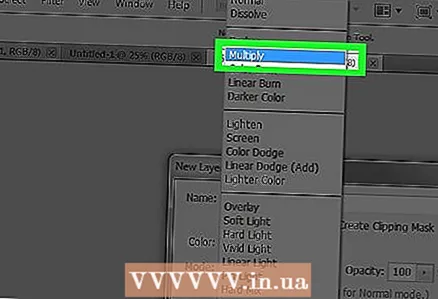 3 Click on the dropdown menu "Mode:»And select Multiply.
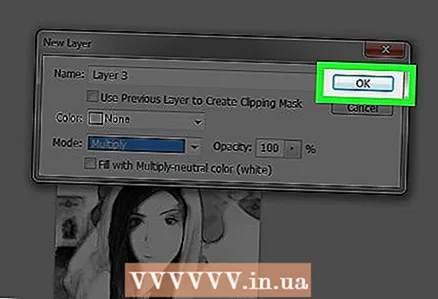 4 Click on OK.
 5 Press the keyboard shortcut Ctrl+← Backspace (PC) or ⌘+Delete (Mac). This will fill the layer with a white background color.
 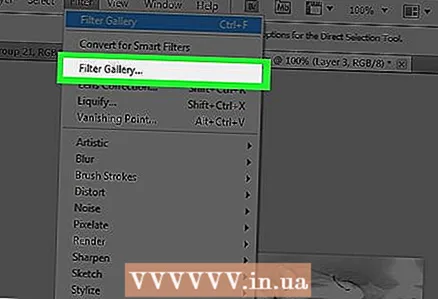 6 Click on Filter on the menu bar, then select Filter gallery ....
- Not choose item "Filter Gallery" at the top of the dropdown menu "Filter", otherwise the last used filter from the Filter Gallery will be applied.
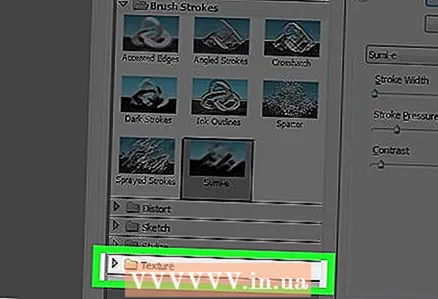 7 Select the "Texture" folder.
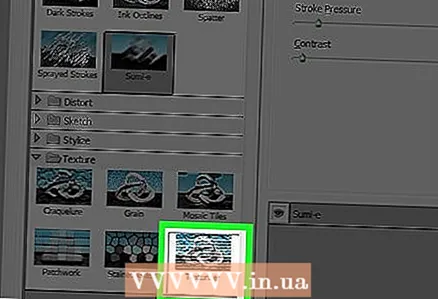 8 Please select Texturizer.
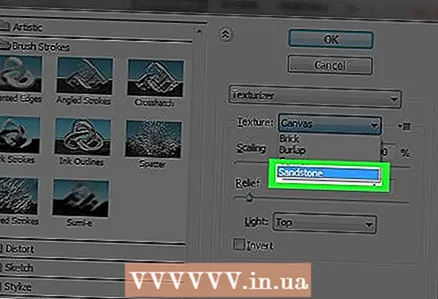 9 Select item Limestone in the dropdown menu "Texture:»... It's on the right side of the window.
  10 Set the Relief parameter to 12 and press OK.
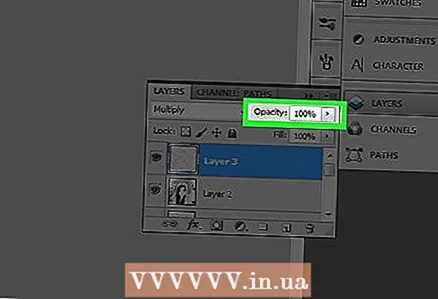 11 Select a field "Opacity:»In the upper right corner of the Layers window.
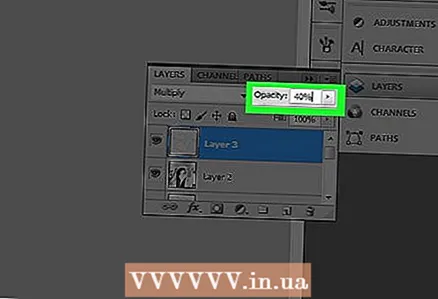 12 Set the Opacity to 40%.
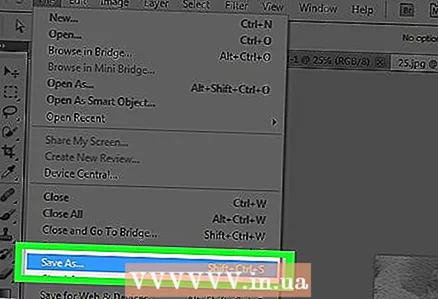 13 Save the image. Click on File in the menu bar and select Save as…... Enter the file name and click Save.


