Author:
Judy Howell
Date Of Creation:
27 July 2021
Update Date:
1 May 2024

Content
- To step
- Part 1 of 4: The Development of the Comic Strip
- Part 2 of 4: Making a Rough Sketch
- Part 3 of 4: Drawing the Comic
- Part 4 of 4: Publishing your Comic
- Tips
- Warnings
Comics quickly trigger emotions in people. Be it positive or negative feelings, curiosity, excitement or anything else, the power of a visual story is undeniable. Making your own comic can be a great experience and it's easier than you might think! If you have an idea for a comic, follow our step-by-step plan to actually put the image in your head on paper.
To step
Part 1 of 4: The Development of the Comic Strip
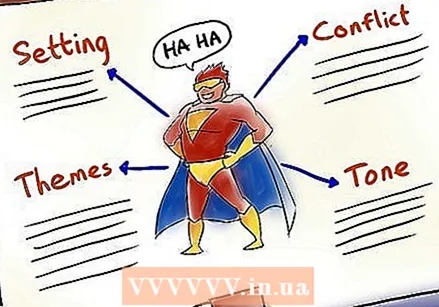 Write your idea roughly on paper. A comic is basically a story told through images called frames or panels. Even a strip with only one frame has to be moving in some way. In that respect, a comic is no different from other forms of storytelling and so it follows certain conventions.
 - Setting. Every story takes place somewhere. Even if the background is white, this is a setting. This refers to the background against which the characters perform certain actions and in some comics this can play an important role.
- Characters. You need actors to move your story. They make things happen, have conversations, and are the ones your readers will identify with. Take the time to let your characters develop, especially when it comes to a long story.
- Conflict. Every story needs a conflict to propel it forward. This is the basis of the story and the reason why the characters do what they do. You can think of something difficult such as saving the universe, but also something as simple as reading the post can be at the basis of the conflict.
- Themes. The theme of your comic ensures that you are motivated to continue working every day. The theme also determines what your audience looks like. If you're writing a funny comic, what kind are the jokes? When you write a love story, what lessons do the characters learn?
- Show. This gives your comic a certain atmosphere. Are you writing a comedy or a drama? Or do you prefer political comics? The possibilities are endless. Combine comedy and drama, write a dark or simple story, write a romantic story or a fierce political thriller.
- Your tone is reflected in the dialogue, narrative text and images.
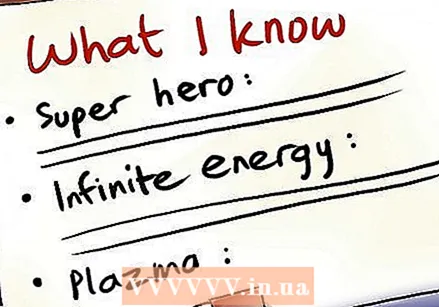 Write about things you know about. This is one of the best ways to make your comic authentic. Moreover, it is easier to let your own voice be heard in your work and you prevent unconsciously copying other comics.
 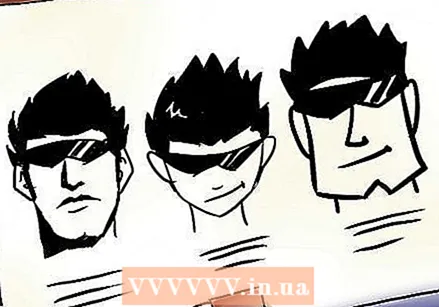 Choose a style. Since you are creating a comic, the first thing the reader will notice is the visual style. Go for a style that suits the tone of your story and the image you have in mind.
 - Try out different styles until you find something that feels natural. There are tons of popular styles that you can experiment with and tweak to your own taste. Some examples are:
- Anime / Manga
- American superheroes
- Elves / Collages
- Noir
- Stick puppets
- Humorous newspaper comic
- Drama often requires a more elaborate style than comedy. As with any rule, there are of course some exceptions to these.
- Try out different styles until you find something that feels natural. There are tons of popular styles that you can experiment with and tweak to your own taste. Some examples are:
 Choose a shape. You are free to choose what you want, though they often fall into one of the following three categories: Single Frame, Strip and Page Grade (comic book). Experiment with all of these until you figure out which one best suits your story, characters and setting.
 - A single frame comic is often a comedy. These comics often require little pre-story as they usually involve visual jokes with one or two lines of dialogue. It can be quite difficult to tell a story within one frame and so they don't have to be read in any particular order. Political comics also usually consist of only one or two frames.
- A comic strip contains a sequence of frames. Although there is no fixed length for a strip, most have one or two lines with 2 to 4 frames per line. This is a popular format for online comics and newspaper comics because it offers room for development in the story, but is at the same time short enough to be produced regularly.
- A page-long comic is a bigger project than a comic and this has both advantages and disadvantages. If you have an entire page space, you have all the freedom to manipulate frames, but at the same time this means that you have to create more content. Making page-long comics often follows the release of a comic book or graphic novel that tells a longer and more coherent story.
Part 2 of 4: Making a Rough Sketch
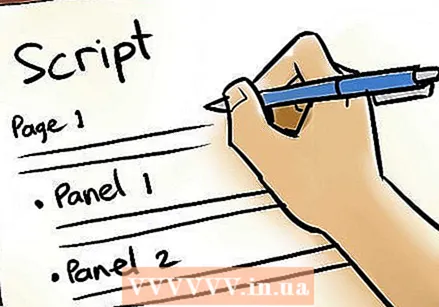 Write a script. The length and detail with which you write this depends on the style of your comic. For example, a single frame strip will only have one or two lines. Whatever comic you make, write it out so that you can judge whether your story is pleasant to read.
 - Write your script as a sequence of frames. See each frame as a separate scene so that you get a good picture of your story.
- Make sure that the dialog is not the main part of the frame. Comics are a visual medium and so much of the information comes from the image and not the text. Don't let these take the upper hand.
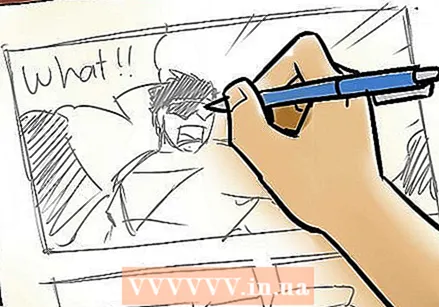 Make a sketch for each frame. Don't worry about sizes, details or quality just yet. The point is that you list the core points of the comic. Do this while writing the script so that you simultaneously form an image with the story.
 - Focus primarily on how characters will be placed in the frame, where events take place, and what dialogue fits the drawing.
- Once you have listed the key points, you can experiment with changing the order or making small adjustments.
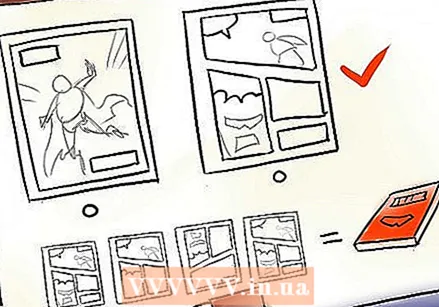
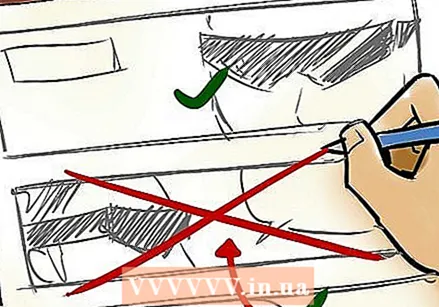
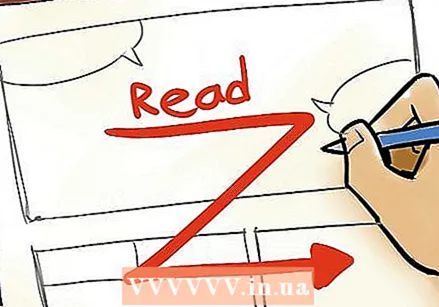 Make sure the layout of your panels makes sense. The reader's eyes should glide naturally from one panel to another. Note that readers will automatically move their eyes from left to right and up and down, except in the case of manga, which reads from right to left. Use different sizes and shapes for panels to control the reader.
 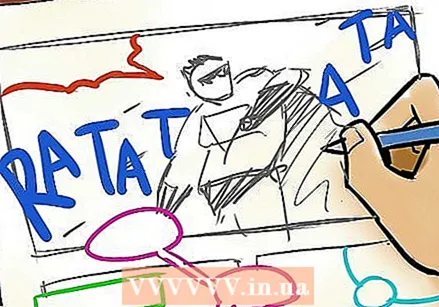 Experiment with the order of the text. Besides dialogs you can also use text in other ways. For example, think of:
 - Speech bubbles describing the thoughts of the characters.
- Introduction boxes in which the narrator introduces a scene or describes an aspect of the story.
- Sounds can be represented by words describing a sound effect. Think for example of "BOOM!" Or POW! ".
- Exclamation marks can appear in the dialogue as well as in other texts to give a sentence extra impact.
 Wonder if every frame matters. In films, scenes that do not add anything to the story are deleted. In a comic it is wise to do the same. If a frame doesn't move the story or conflict and doesn't add humor, it's best to remove it or replace it with a frame that does.
 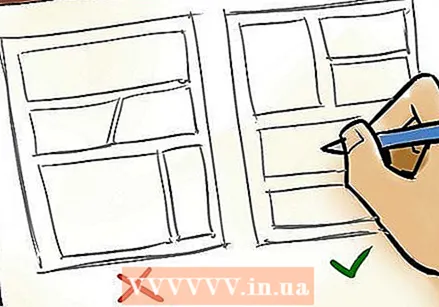 Experiment with the structure of the frame. Many successful cartoonists break the conventions here and come up with their own variations on the standard frames. Certainly if you publish your comic yourself, you have complete freedom to try out all kinds of possibilities. Just keep in mind that your stylistic choices must support the story.
Part 3 of 4: Drawing the Comic
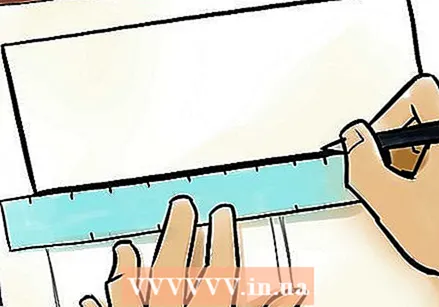 Create the frames and draw them with a ruler. Use the correct paper for this. If you add panels with strange angles, you can choose to use separate papers for this that you stick to the main paper and combine with each other by means of a copy or scan.
 - If you want to try to get a comic published in a newspaper, find out what the standard ratios are for this. Do not draw the strip in the exact format used in the newspaper, but, for example, double the size so that you can add details more easily.
- For online comics, it does not matter what format the comic is, although it is useful to take the display of your reader into account. As long as your strip is readable on a monitor with a resolution of 1024xx768, most users will be able to see your strip just fine.
- Many readers don't like having to scroll from left to right on a page to read a comic. Scrolling up and down is generally more accepted.
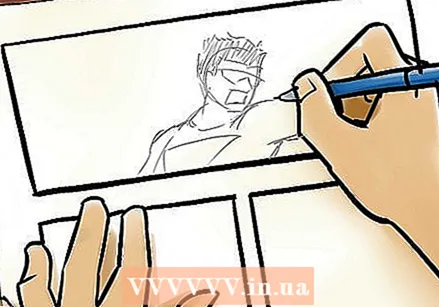 Start filling in your frames. Don't press your pencil too hard on the paper so that you can easily erase and correct any mistakes. Keep adjusting your drawing until you have a clear sketch to draw with ink.
 - Make sure you leave room for the dialogue. Leave some white space for text clouds, thought clouds, introductions and sounds.
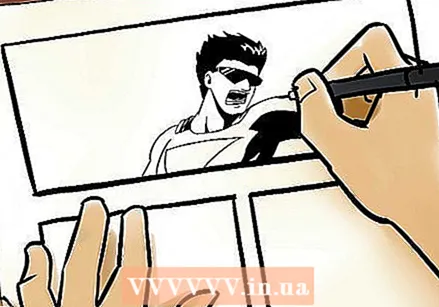 Finalize the drawing. Many cartoonists trace their pencil drawing in ink. This way they can then erase the other pencil lines. Take the time to make sure all lines look good.
 - If you write the dialogues by hand, you can now insert them. Make the final changes as you add it to the page. Chances are that you will still change them when you transition from script to comic.
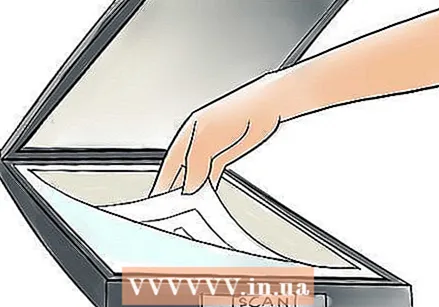 Scan the strip. When you have finished tracing the strip and you have erased the pencil lines, you can transfer the strip to a computer. Here you can then add typed text, edit images or color the strip. Scanning the comic also makes it a lot easier to publish it online.
 - Scan your strip at 600 DPI (dots per inch). At this resolution, your comic will also look good on the computer.
- If your strip is too large to scan at once, you can make several scans of different parts and paste them back together in Photoshop.
- When scanning black and white images, make sure you select the correct grayscale options. This is especially important if you have drawn a lot of shadows.
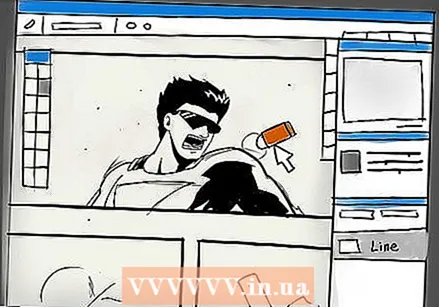 Get rid of flaws and outliers in your comic. You can do this in Photoshop. For example, remove pencil marks that you forgot to erase or make lines thicker or thinner.
 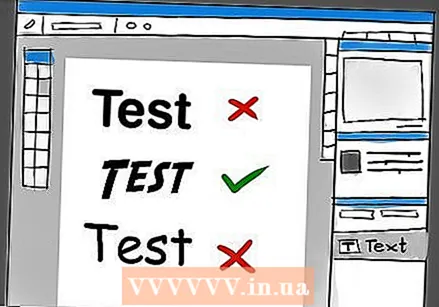 Create your own font. This makes your comic look different from others. There are various programs available online in which you can compose your own font. One of the most popular programs is FontCreator.
 - Make sure the font matches the tone of the comic and the visual style. You can also choose to give each character its own font, although this quickly gets chaotic.
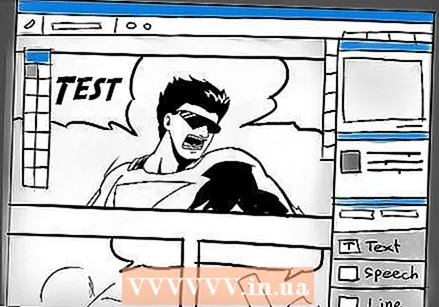 In Photoshop add dialog and speech bubbles. Here you can divide the image into layers so that you have one layer for the drawing, one layer for the speech bubbles and one layer for the text.
 - Your text layer should be on top, followed by the balloons, followed by the drawing on the bottom.
- Open the Blend option on the balloon layer. This will select the outline of the balloon. Then select the following settings:
- Format: 2px
- Position: Indoor
- Blend mode: Normal
- Darkness: 100%
- Fill Type: Color
- Colour black
- Enter your text on the text layer. This is the text that will appear in the balloon. Use the font you created or choose a font that suits your visual style. Comic Sans is a popular font.
- Select the balloon layer. Select the text you have written with the Elliptical Marquee tool. Place the cursor in the center of your text and hold down Alt while dragging the mouse to see how a balloon fits best around the text.
- Use the Polygonal Lasso tool and hold down Shift while creating a sharp triangular tail in the selection.
- Select White as the foreground fill color.
- Press Alt + del to fill in the selection on the balloon layer. The outline is automatically created and your speech bubble is complete.
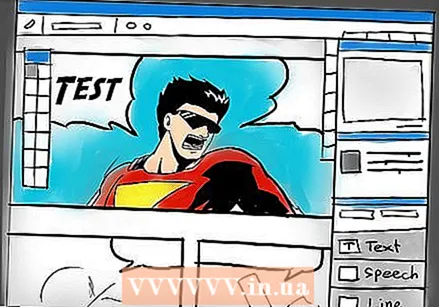 Color your strip. This is not necessary, as many successful comics are black and white. You have a number of options when coloring your comic. You can color on the paper with pencils or markers, or add the colors digitally after you have scanned the strip.
 - More and more comics are being colored digitally. This is getting easier thanks to programs such as Photoshop and Illustrator.
- Remember that the reader will view the entire comic as well as individual frames. Try to use a coherent color palette so that certain frames don't distract the reader.
- Use a color wheel to make sure your colors are in harmony with each other. Color wheels can be very useful when faced with the many colors available on a computer.
- The colors that are opposite each other on the color wheel match each other. These colors contrast and will have to be used in small quantities so that they do not dominate.
- Analog colors are next to each other on the color wheel. These are often colors that compliment each other.
- Triadic colors are three colors that are evenly distributed on the wheel. You can use one of the colors as the dominant color and the other two to set accents.
Part 4 of 4: Publishing your Comic
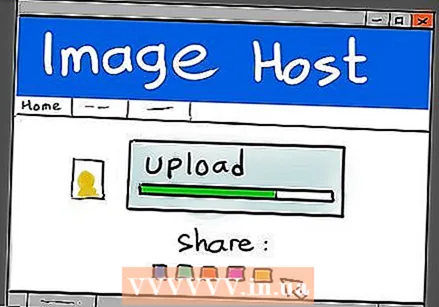 Upload your comic to an image site and distribute the link created by the upload. If you only want to share the comic with family and friends, this is the easiest (and cheapest) way to do it. Create an account with, for example, PhotoBucket, ImageShack or imgur and upload your comic.
 - Send the links to whoever you want, post them on social media, tweet the URL to whoever wants to view your comic. Find fans of comics on forums, for example, and post your creation here so that the comic spreads across the world.
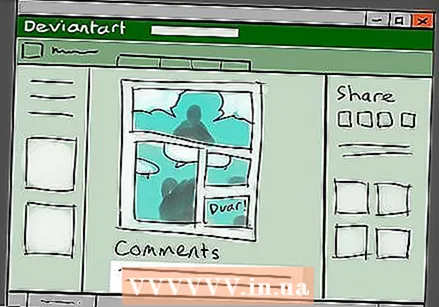 Create an account on DevianArt. This is one of the most popular places to share art. Comics and cartoons are well represented here. Below images, fans can leave feedback, giving you the chance to interact with your audience.
 - Connect with other artists on DevianArt to, for example, get new ideas or to exchange ideas with each other.
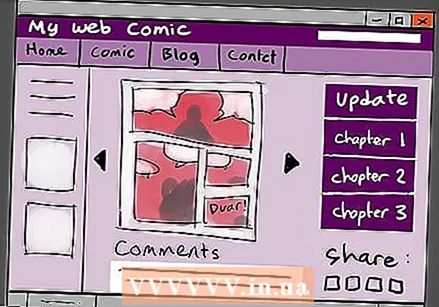 Start your own website. Once you've created enough comics to fill a site, you can start your own page. This is the best way to generate an audience for your work without resorting to traditional publishing methods. There is more to it than using an image hosting site, but it also benefits you a lot more.
 - Make sure your website looks good. If the site does not function properly and does not suit the style of your comics, visitors will quickly drop out. Take the time to build a good website and take an example of cartoon artists who have integrated their drawing style into their website.
- Have your website designed by a professional. This does not have to be expensive, especially if you use the services of budding designers. You can often find these on sites like DevianArt so that you can work together to create your site.
- Update your site regularly. After all, your goal is to keep people coming back to read your comics. Make a schedule for yourself so that you and your readers know when a comic comes online. A set schedule is a great help to keep readers coming back to your site over and over again, without the need to advertise it.
- Communicate with your readers. Don't stop at simply updating, but also take the time to write blogs and respond to comments. This helps establish you as the creator of the comics and creates a bond between you and your audience.
- Send your work to an agency. If you think your comic is suitable for newspapers, contact an agency that specializes in comics. If they see something in your work, a collaboration can arise in which an attempt is made to get your comics published in newspapers. Agencies do receive numerous applications, so the chances of success for most people are not very high.
- Send your work to a publisher. If you make comics that are not very suitable for newspapers, you can try to have it published as a book. In recent years more and more comics have been published and comics are also used in, for example, the graphic novel.
- Do not limit yourself to large publishers, but also send your work to the smaller publishers that are always looking for new talent.
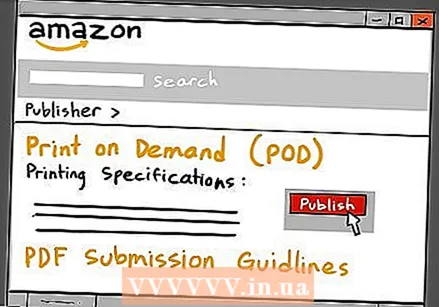 Publish your comic yourself. Numerous programs are available online to make your own book and have it printed. Consider, for example, Amazon's CreateSpace. Publishing a book independently does cost quite a bit.
Tips
- Don't get stressed if your first strip isn't as good as you hoped, but keep practicing to get better!
- Share your ideas with people. The opinions of others could just give you new ideas or show you things you hadn't even thought of yourself. You may also receive suggestions to improve your comic.
- Stick with your audience. If you are writing a comic for teenagers, the full story should be for this target audience and should not end as a children's story, for example.
- Check your spelling! If you are not sure how a word is spelled, simply look it up. Make sure you don't make stupid mistakes; these drastically reduce the quality of your comic.
- Read your favorite comics for inspiration. If you are still a bit unsure about your identity as an artist, try to imitate the work of others first.
- Draw what you can best draw. It's a lot easier and less stressful than trying things you're not good at.
- If you draw a comic that will be published for a long time, it is not a problem to adjust the style over the years. Garfield's draftsman did this, for example.
- Before you start, make a plan. Make some rough sketches and put ideas on paper before starting your first page. It is also wise to get rid of the problems at this stage because they are still easy to solve.
- Make your comic as complicated or simple as you want. After all, you are the maker!
- A quick way of drawing is to use stick puppets. You can use these, for example, to get your ideas on paper. If you want to keep using the stick puppets, make sure they are unique and interesting enough.
Warnings
- Never literally copy someone else's ideas! Of course you can be inspired by other artists, but ideas are the property of the person who came up with them. Be creative and make your own comics!
- It may take a while for someone to notice your comics. Don't give up too quickly!


