Author:
Morris Wright
Date Of Creation:
24 April 2021
Update Date:
1 May 2024
Content
- To step
- Method 1 of 2: Creating a background for a new image
- Method 2 of 2: Create a new background for an existing image
- Tips
A background is an important part of an image. Whether it's a smooth surface or a more complex design, a background fills in and can help bring out the central subject of an image and make it more visible. In Adobe Photoshop you can get creative and work with different types of backgrounds to enrich your images. Creating a background, be it for a new or an existing image, is easy and can be done in a few steps.
To step
Method 1 of 2: Creating a background for a new image
 Open Adobe Photoshop. Click on the desktop icon or start the program from the list of programs on your computer.
 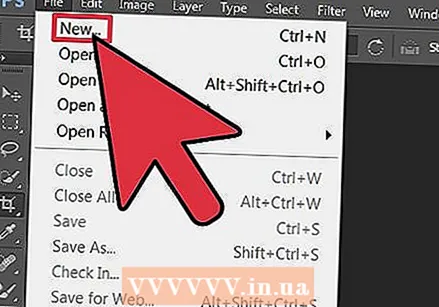 Click on “File” at the top left of the window. Select “New” to open the pane with the settings for a new image.
 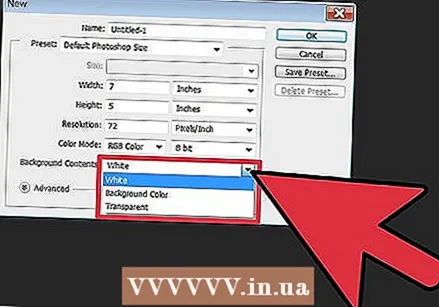 Click on the drop-down list next to “Background Contents.” Then select the background you want to use from the list.
 - “White” makes the entire background of the workspace white.
- “Background color” gives the background of the workspace a color as selected from the color palette. You can find this in the menu on the left.
- “Transparent” makes the background transparent; this is ideal for creating a GIF or PNG.
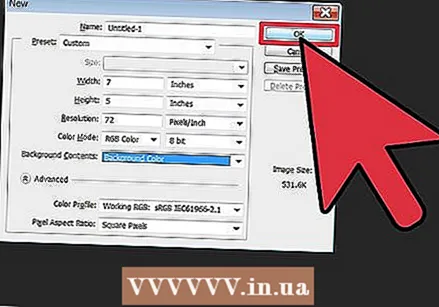 Adjust the other workspace setting options. For example, it is possible to adjust the color and resolution.
 - Click "OK" when you are done with the settings.
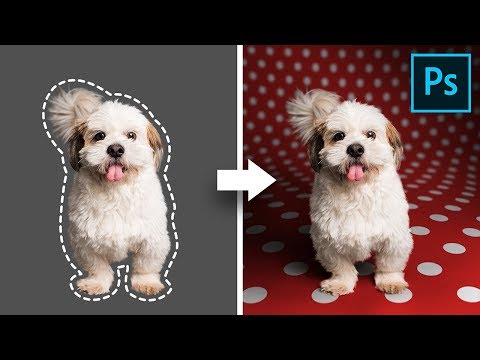
Method 2 of 2: Create a new background for an existing image
 Open Adobe Photoshop. Click on the desktop icon or start the program from the list of programs on your computer.
 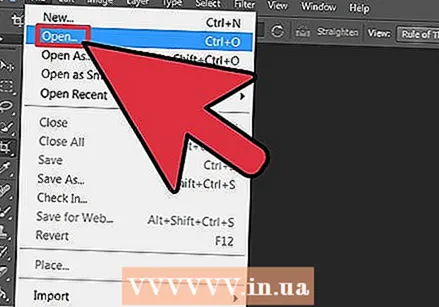 Click on “File” at the top left of the window. Select “Open” to open an existing image that you want to modify.
 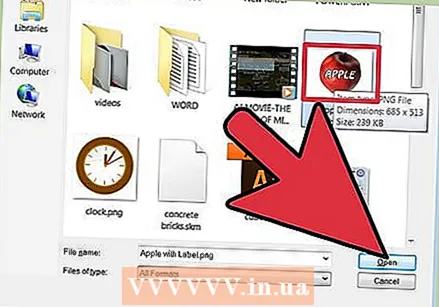 Go to the location where the file is saved. Once you are there, click "OK" to leave the image in Photoshop.
 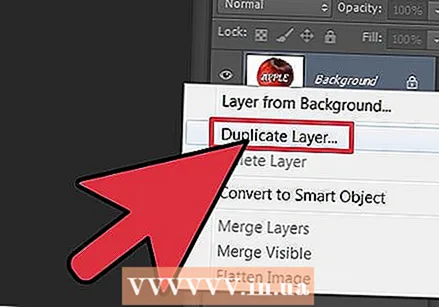 Go to the Layers tab. You can find this on the right side of the window. Right-click on the “Background” layer and select “Duplicate Layer” from the pop-up menu, to make a duplicate of the original image.
 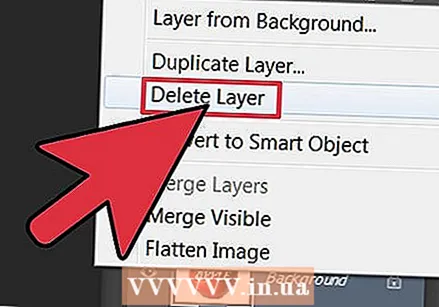 Right-click again on the original background layer. This is the layer with the padlock icon. Select “Delete Layer” to delete it.
  Click on the button “Create a new layer”. You can find this in the bottom right corner of the Layer tab. This will create a new layer on top of the duplicate background layer.
 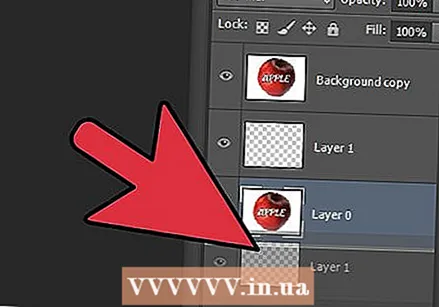 Drag the new layer below the background. Now proceed to create a new background, using the Photoshop tools such as Pen, Pencil and Paint Brush, or by pasting another image onto it.
 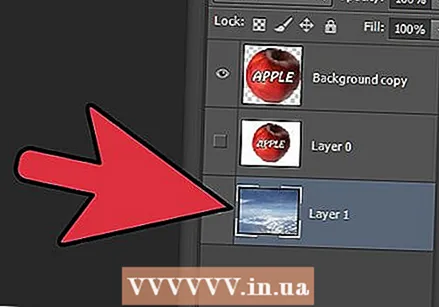 Don't forget to save your work. Click on “File” and select “Save” to save the changes you have made.
  Ready!
Tips
- If you're creating a new background for an existing image, you can erase those parts of the existing background (using Eraser or Crop) to reveal the underlying layer.
- You can remove an existing background by simply removing the background layer, provided the image is made up of layers and the background is on a separate layer.


