Author:
Joan Hall
Date Of Creation:
4 July 2021
Update Date:
1 July 2024
Content
- Steps
- Method 1 of 2: Using spray paint
- Method 2 of 2: Using self-adhesive tape
- Tips
- Warnings
- What do you need
- For Painting
- For Sticker Film
For many people, their car is not only a means of transportation, but also a way of self-expression. Tinted taillights are becoming more and more popular as they are the most fun and easy way to personalize the look of your car. Dimming of the taillights can be done in a professional workshop or directly in your garage. All you need are a few simple tips and supplies that can be easily purchased at any hardware store.
Steps
Method 1 of 2: Using spray paint
 1 Remove all taillights. In order to paint your lights, you need to remove them from the car. To do this, open the trunk and move the mat. Each lamp should have two mounting bolts. Unscrew them. Disconnect power to the lamps before removing the headlights. To do this, pull out the plugs of the wires that are connected to the lamps. You may need to make some effort. The taillights can now be fully pulled out.
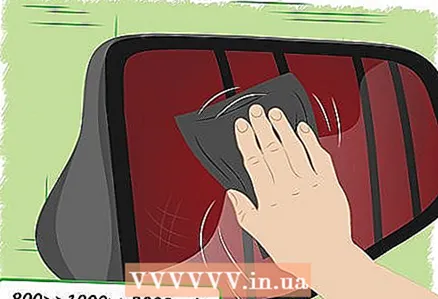
 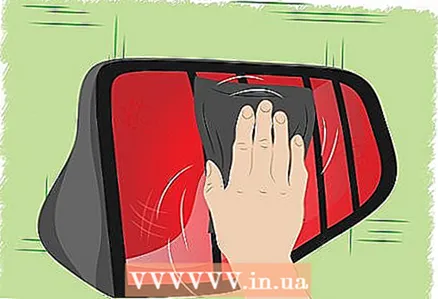 2 Sand the taillights. Before you paint the lanterns, you need to sand them to give a smoother surface for the spray paint. Wet size 800 sandpaper and rub the surface of the headlamp with it until it is cloudy and worn. You can also use detergent. Repeat the procedure for each headlight. After finishing, wipe dry and clean the headlamp using a rag or tissue. Check the evenness of the grout.
 - Now take 1000 size emery and repeat the whole process again, then wipe the headlamp clean and let it dry.
- Finally, take a 2000 size sandpaper and finish the headlights using smooth, firm strokes. Clean the headlights and let them dry. The headlights should now feel completely smooth and slightly hazy to the touch.
- Wipe the headlights with a cleaning agent such as gasoline, window cleaner or alcohol and let dry.
- Soaking the sandpaper in water is a good method as the sandpaper becomes more flexible and easier to work with.
 3 Apply masking tape to surfaces you do not want to paint. In some cases, this will be a reversing light, as in some states it must not be darkened by law. Even with the law, painting a reversing light can make it difficult to drive at night, so stick tape on it if you want to leave it unpainted. Using a sharp tool, carefully trim the edges.
 - An alternative solution to the complete headlamp painting problem is to buy an extra reversing light and plug it into the trailer socket. This will give you additional lighting at night and will not spoil the effect of darkened headlights.
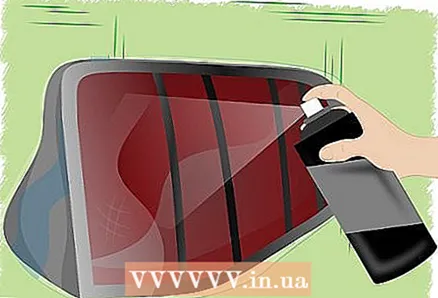
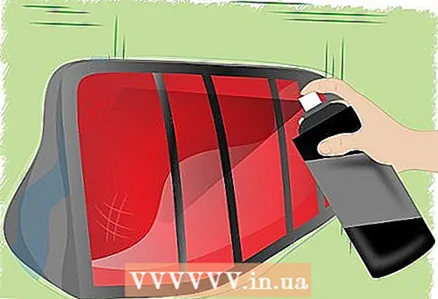 4 Spray paint. Once the headlights are dry and you have pasted over the (desired) surfaces, place the headlights on a stable painting work surface. Shake the paint can well and hold it 7 inches apart for best surface coverage. Apply the paint lightly and evenly, making sure the headlights are the same tone. Let the first coat dry, approximately 20 to 30 minutes.
 - Once the first coat is dry, you can apply the second one. After finishing work, let the headlights stand for 20 to 30 minutes until they are dry to the touch. Then you can apply a third coat of paint and let it dry completely. Typically, you will need to apply three coats of paint to achieve the desired level of color.
- When you reach your desired staining level, place your headlights in the sun to cure for approximately 45 minutes or an hour. This step is optional, but it will allow you to see what your headlights will look like in the end.
- Remember to remove all the tape as you proceed to the next procedure.
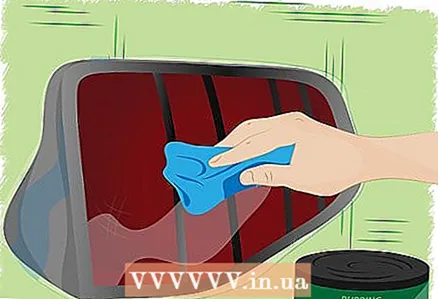
 5 Coating headlights with varnish. Opening headlights with varnish is very similar to painting. Once the last coat of paint has dried and hardened in the sun, place the headlights on a work surface and spray a thin coat of varnish on their surface. You can use a glossy varnish if you like. Once you are finished spraying, let the varnish dry for approximately 20 minutes before applying the next coat.
 - Many professionals recommend 3 to 5 coats of varnish, but many say 7 to 10 coats should be applied for the best paint protection. This contributes to better paint protection.
- Allow each coat to dry completely before applying the next coat. At this stage, many people are not patient and try to apply the varnish too quickly. This can damage the paint layer, as if the varnish is not allowed to dry between coats, it can leak and damage the paint.
 6 Sand the taillights again. Once the headlights are completely dry (this may take several hours), repeat the sanding process again. Remember to soak the emery in water and use more gentle strokes in one direction.
 - Use 800 size sandpaper first, then 1000, and then process 2000 size.
- When you're done. The taillights will have a dull color.
 7 Apply abrasive material. When the headlights are completely sanded, apply a generous amount of abrasive to a tissue or clean rag. Apply the abrasive evenly using a rubbing motion. Then, using strong circular motions and powerful hand movements, rub the abrasive into the taillights, filling in any scratches after sanding.
 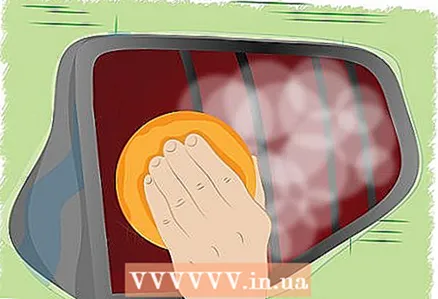 8 Apply polish and wax. Once you've finished applying the abrasive, wipe the tail lights with a microfiber cloth, then use the same application technique to apply polish. Wipe down the headlights again before applying wax of your choice.
 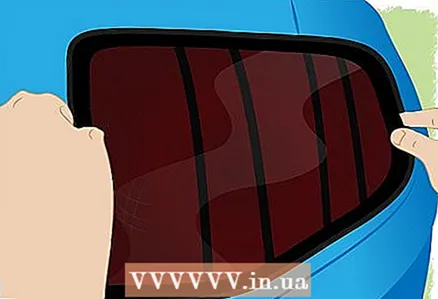 9 Install your taillights. Once you have your headlights polished, they can be fitted back to the car. Remember to plug in your headlights when you put them back in place, then tighten the bolts and put the mat back in place.Now all you have to do is take a few steps back and admire your work!
Method 2 of 2: Using self-adhesive tape
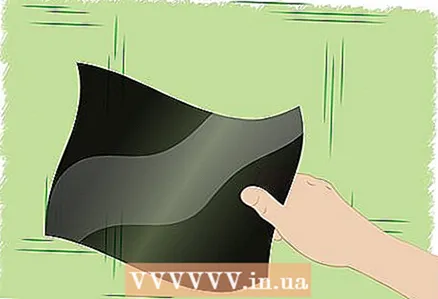 1 Choose your color film. Foil is a very good color option for the taillights as it allows light to pass through the foil and blocks light from entering it. There are a large number of different films available on the internet or auto accessories stores.
 - Depending on the desired result, you can choose just black, ash, yellow or blue.
- You may even find the film already cut to fit your model car's taillights, if you have a common car model, try to find the right film for you.
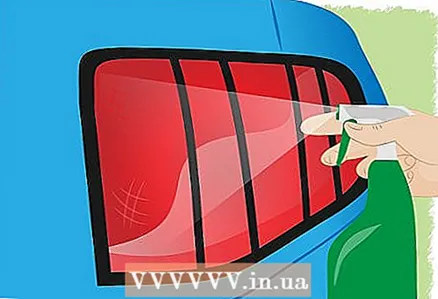 2 Clean the surface of the taillights. Make sure your headlights are very clean before applying the film, this is very important. Use window cleaner and a microfiber cloth (that does not leave lint) to remove dirt and water streaks.
 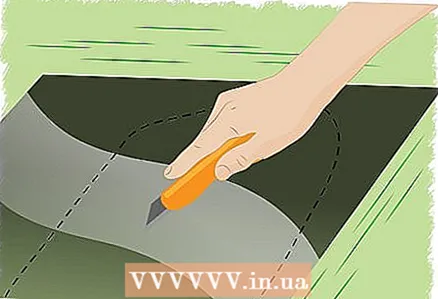 3 Cut the film to an approximate size. Depending on the size of the film, you may want to cut a more precise cut of the film to make it easier to work with. To do this, use a sharp assembly knife.
 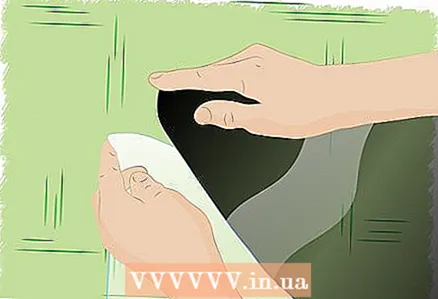 4 Remove the protective layer of the film. Separate the protective layer from the film and sprinkle the adhesive side with soapy water or alcohol solution, where 85% is water and 15% is alcohol, using a spray bottle. This will prevent the film from sticking before you place it in your desired spot on the taillight.
 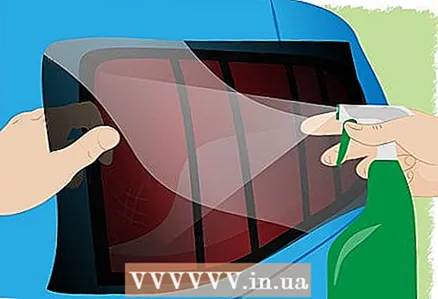 5 Apply the film to the headlamp. Apply the tape to the tail light. If the headlamp has a bend, you will need to flatten the film, which will be difficult if the bend is too bend. Try to smooth the film as best you can, smoothing out any creases with your hands.
 - If you are having difficulty, apply a little more soapy water to the outside of the film and help yourself with a hair dryer or an assembly dryer, warming up the film will make it more flexible.
- Just do not apply the heat source too close to the film or for too long, as this may cause the film to shrink or weaken.
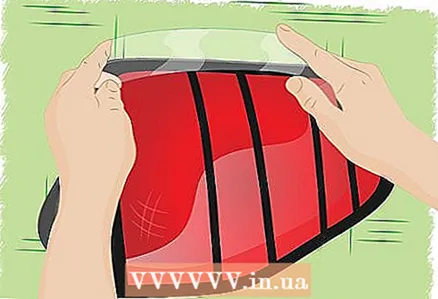
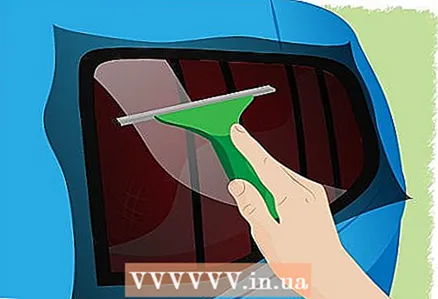 6 Use a rubber small mop to remove bubbles. Use a vinyl squeegee to remove excess water and air from underneath the sheeting, working from the center outward. You will need to make some effort to make the film look as smooth as possible.
 - If you don't have a rubber squeegee, you can use a plastic card or putty knife wrapped in a microfiber cloth.
- During this, you can use a hair dryer or a hair dryer to soften the film.
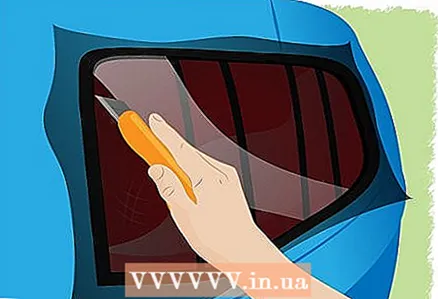 7 Cut off excess film. Once you are happy with the surface of the foil, cut the foil around the headlight with an assembly knife, leaving some excess foil around the perimeter. Be careful when trimming not to accidentally cut the film covering the headlights.
 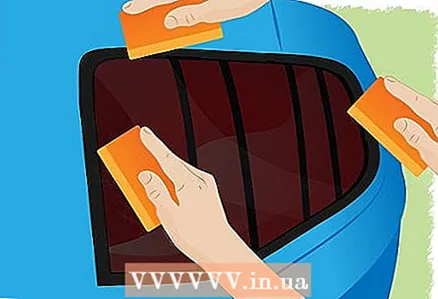 8 Tuck in the edges. In the final step, use a hair dryer and a rubber squeegee (although a small spatula will still be more suitable for this) to stretch and tuck the edges of the film past the edges of the headlight away from your eyes. When the film shrinks, it will hold in place.
Tips
- Using masking tape, you can cover areas of the headlight if you want to make curly patterns or edges as desired.
- It is best to work in a garage, as weather or wind-blown debris can interfere with work.
- For the best shine, you can walk with wet size 2000 sandpaper and then wax each taillight.
- If you notice a place with a notch on the headlight, treat it with wet emery more thoroughly.
- If you find that the varnish has not been applied evenly, simply take a piece of wet sandpaper, sand it, and reapply.
Warnings
- Certain levels of shading are prohibited in some states. Before you make any changes to your taillights, check with your nearest police station or online to find out what laws you might be breaking.
- Since the process of darkening the taillights can be time consuming, take a day off to do the job.
- Make sure that every time you use the emery, it is sufficiently damp, otherwise you may ruin the paint before finishing work.
- Always wear a mask when painting, otherwise you may inhale toxic fumes.
What do you need
For Painting
- Paint can
- Wet or dry emery 800,1000,2000 sizes
- Varnish
- Scotch tape (optional)
- Screwdriver
- Abrasive substance
- Polish
- Wax
- Glass cleaner
- Paper towel
- microfiber cloth
For Sticker Film
- Vinyl color film, if possible cut in advance
- Mounting knife
- Spray bottle with soap or alcohol solution
- Rubber mop, putty knife, or credit card.
- Microfiber towel.
- Hair dryer or hair dryer.


