
Content
- Steps
- Method 1 of 9: choosing greens to dry
- Method 2 of 9: Easy Quick Dry for Cooking
- Method 3 of 9: Drying in the sun or outside
- Method 4 of 9: air drying indoors
- Method 5 of 9: oven dry
- Method 6 of 9: microwave drying
- Method 7 of 9: Drying with desiccants
- Method 8 of 9: Dry in Place
- Method 9 of 9: Pressure Drying
- Tips
- Warnings
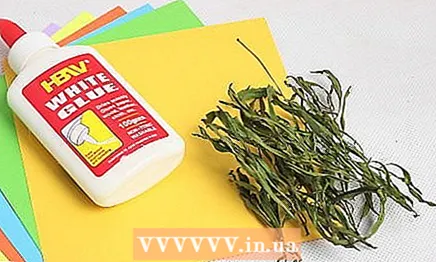
- What do you need
There is no easier way to preserve herbs for crafts and culinary purposes than drying them. Many herbs tolerate drying very well, and some only partially, such as stems, leaves or flowers. In order for the greens to retain their taste, they need to be properly dried, and for this you need to choose the right greens and store them correctly.
Steps
Method 1 of 9: choosing greens to dry
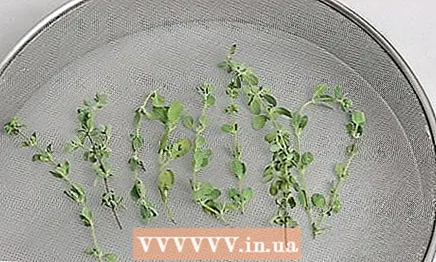
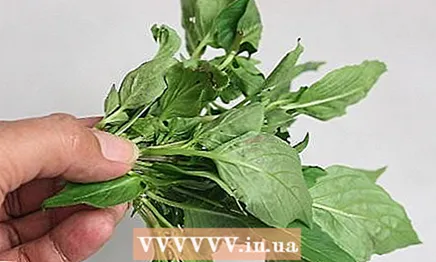
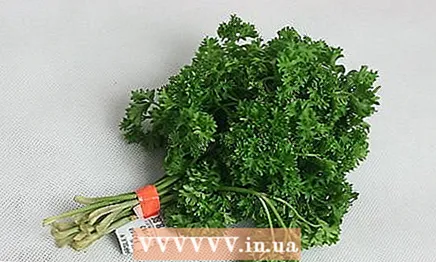 1 Choose herbs to dry. Some herbs are easier to dry, which is understandable - the content of essential oils and the texture of the leaves are different everywhere. Nevertheless, you can dry almost anything - yes, you cannot do without trial and error, but still. Only through practice will you learn to dry herbs and distinguish between those that will retain their texture and color when dried, and those that will turn into brown dust.
 - Herbs with strong leaves are easiest to dry - sage, caraway seeds, rosemary, lavrushka. Lavrushka leaves and rosemary, by the way, usually retain their color and shape.

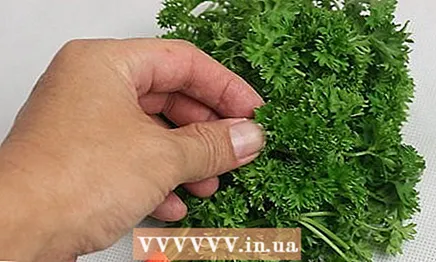
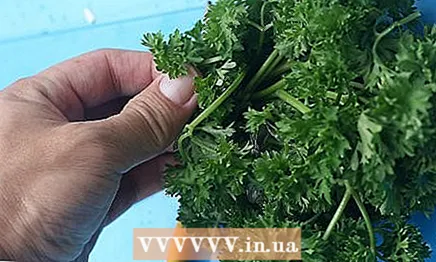
- Grasses with thin and wide leaves are more difficult to dry due to the threat of mold. These herbs include basil, parsley, mint and others. To avoid the appearance of mold, such herbs must be dried quickly.
- Herbs with strong leaves are easiest to dry - sage, caraway seeds, rosemary, lavrushka. Lavrushka leaves and rosemary, by the way, usually retain their color and shape.
 2 Greens to be dried must be harvested before flowering. The onset of flowering is difficult to miss - a lot of inflorescence ovaries will appear on the plant. It is better to collect herbs in the early morning, when the dew has already disappeared, but before the sun begins to fry in full force.
 - Yes, it is usually recommended to collect herbs before flowering, but no one will forbid you to experiment. It is sometimes best to harvest herbs after flowering. In general, it all depends on the form in which you want to preserve the plant after drying, as well as what taste and aroma it should have (not to mention the flowers).
 3 Prepare to dry immediately after harvest. Herbs and greens are better preserved if you process them as soon as possible and do not wait for them to wither, turn yellow, mold, change taste, color, texture, etc.
  4 Wash the herbs if necessary. Some herbs do need to be rinsed first to get rid of weed fragments, soil, etc. Rinse with cool water, then be sure to lightly shake off the greens to get rid of excess moisture.
 - It is better to get rid of all the spoiled leaves.

- It is better to get rid of all the spoiled leaves.
Method 2 of 9: Easy Quick Dry for Cooking
This method is for dry and fresh leaves. It is best used when consumed for at least 30 minutes before consuming dried herbs.
 1 Choose herbs that will be used for seasoning.
 2 Place a clean tea towel on a clean table. Alternatively, go to the sink if it is also clean.
 - Yes, in general, even on a rack for drying dishes - it's even better because of the greater air circulation.

- Yes, in general, even on a rack for drying dishes - it's even better because of the greater air circulation.
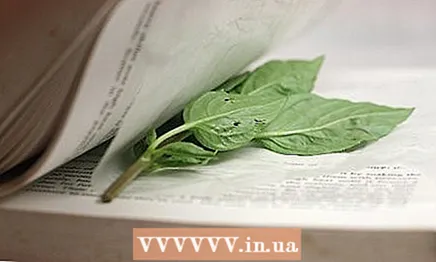
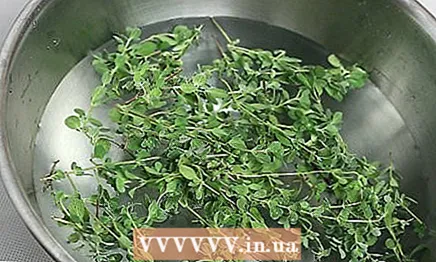 3 Rinse the herbs gently. In this case, you will need a minimum of water so as not to damage the greens. You can, say, hold them under water, or put them in a colander and hold them under running water. Then be sure to gently shake off the greens to get rid of excess moisture.
 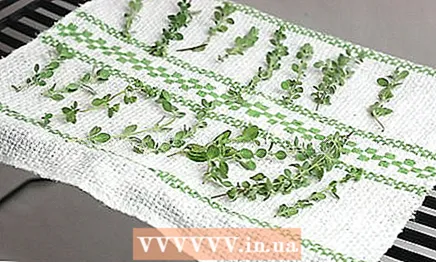 4 Spread the plants out on a towel. Most importantly, make sure that the plants do not lie on top of each other. Not enough space? Take another towel.
 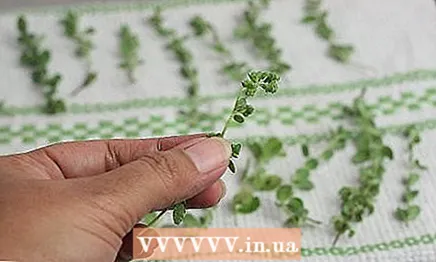 5 Let the greens dry in a warm kitchen. By touching, you can tell if the greens are dry enough. If so, what does the recipe say?
Method 3 of 9: Drying in the sun or outside
This is the least popular method for drying herbs, as in the process the herbs fade and lose their flavor. Nevertheless, it will do for crafts.
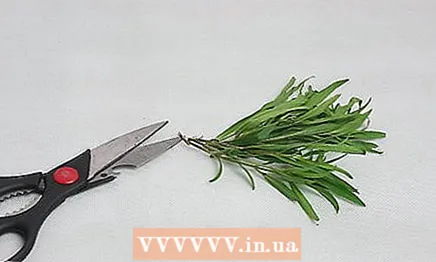 1 Cut off the herbs when the dew is dry.
 2 Gather them into a bun with an elastic band. Leaves and flowers should point upwards.
  3 Hang the plants somewhere in a bright place. Leave them there for a week, but check the condition of the herbs regularly.
 - Tie the herbs tighter to prevent them from being blown off by the wind.
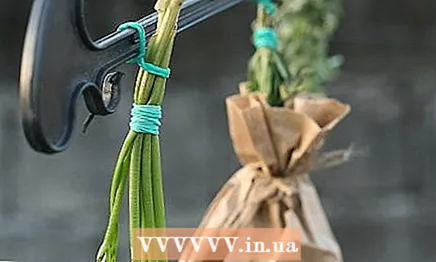
- Tie the herbs tighter to prevent them from being blown off by the wind.
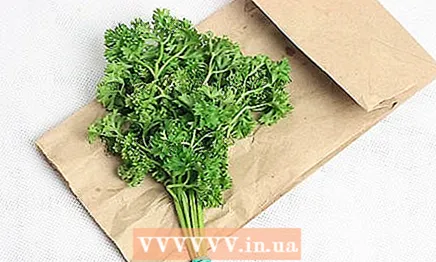
 4 Dry the herbs in a paper bag. Tie a bundle, tie a bundle to a hanger, place the bundle in a paper bag. It also needs to be fixed. The bag is not only a protection from excess light, but also an excellent seed trap (if, of course, you need them).
  5 Collect dried plants. Plants are considered dry when they become dry, brittle and dry.
Method 4 of 9: air drying indoors
This is a more popular option than the previous one, since it allows you to better preserve the taste, color and other qualities of plants. This method is suitable for plants with delicate leaves. In addition, the method is quite simple - you just need to prepare the plants for drying and ... leave them somewhere.
- 1 Collect the herbs in a bunch. Secure the bundle with an elastic band at the stems. The herbs should be bunched, flowers down.
- Drying times for herbs will vary depending on the herb itself, so bundle herbs of the same type. With experience, of course, you can make different beams, but only with experience.
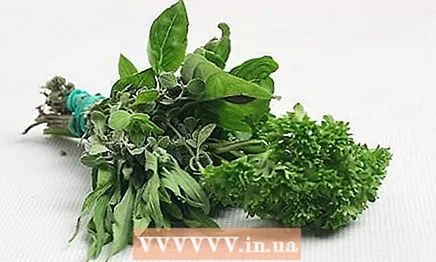
- In addition, it will not be superfluous to make bundles of the same size so that the drying time does not differ too much - this will be much more convenient. However, it also depends on the type of herbs that you dry, as well as on your needs.

- Drying times for herbs will vary depending on the herb itself, so bundle herbs of the same type. With experience, of course, you can make different beams, but only with experience.
 2 Consider whether you will be using a paper bag. It can speed up the drying process and prevent seeds and leaves from falling out. On the other hand, a drying bunch of greens without a bag looks somehow prettier.
  3 Find a suitable hanger. Everything is simple here - you can dry plants anywhere, from a coat rack to a staircase.
 - You can also dry plants on window screens, as long as they are clean enough and keep their shape. With this drying option, you need to place the plants on the screen so that the air blows them freely. In addition, the herbs will have to be turned over regularly.
- You can also dry plants on window screens, as long as they are clean enough and keep their shape. With this drying option, you need to place the plants on the screen so that the air blows them freely. In addition, the herbs will have to be turned over regularly.
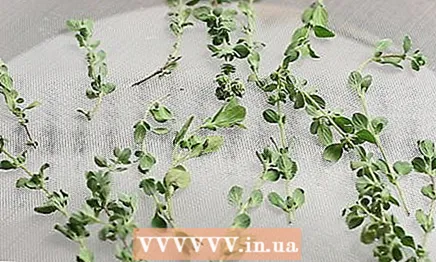
 4 Leave the herbs to dry. Not in direct sunlight, of course, and not in a humid place (remember about mold). Drying speed varies from 5 days to several weeks - it all depends on the variety.
 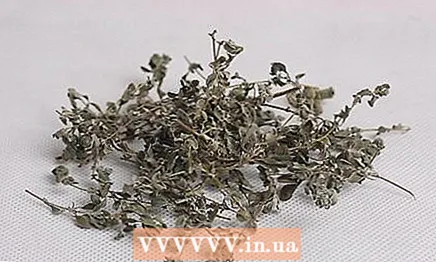 5 Remove dried herbs. Plants are considered dry when they become dry, brittle and dry.
  6 Use herbs as directed. And so something, and there are a great many ways to use dried plants!
Method 5 of 9: oven dry
Greens can be dried in the oven. These greens are suitable for culinary and medicinal purposes.
 1 Set the oven to the lowest temperature. Leave the door open.
 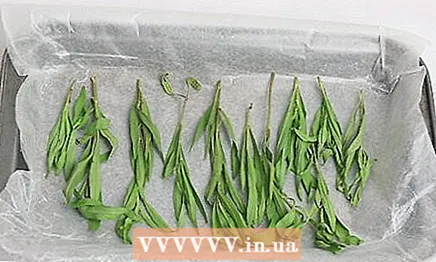 2 Arrange the herbs on a baking sheet.
 3 Place the sheet in the lowest level of the oven. Turn the herbs often. When they are a little brittle, remove the leaf from the oven.
 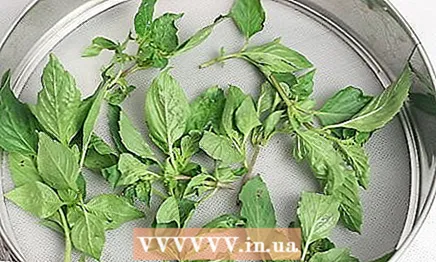 4 In wood-fired ovens, the grass can be dried on the oven itself. In general, there are no more differences.
Method 6 of 9: microwave drying
If you need to quickly prepare greens for use in crafts, there is no better method to find. At the same time, this method not suitable for the use of herbs for culinary and medicinal purposes. Keep in mind that drying times vary by plant variety, and microwave drying can, alas, be a very frustrating experience.
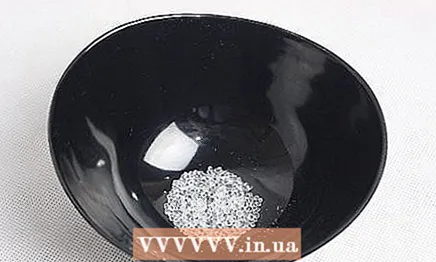 1 Place a thin layer of silica gel on the bottom of the container that you will place in the microwave.
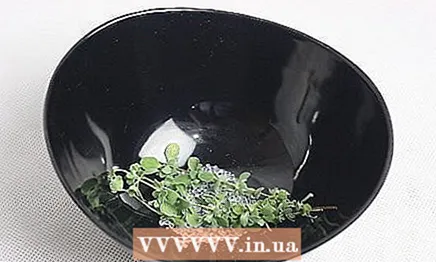 2 Spread the herbs evenly on top. There should be enough free space around each plant.
 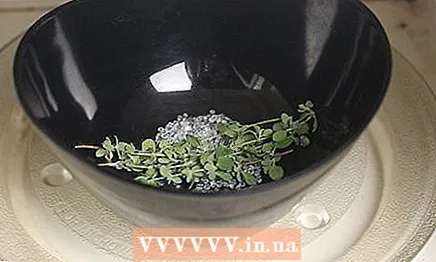 3 Start drying. At low power, say half the power required for defrosting, dry the herbs for 2 minutes, then let them come to condition for another 10 minutes. Check if the herbs are dry enough. If yes - good, if not - dry for another minute.
 - If two minutes is too long, then dry a new batch of plants for 30 seconds. In general, experiment.
- Herbs that air dry well and dry out slightly (cumin, for example) take less time in the microwave than herbs that don't air dry as well (basil).
 4 Use plants dried this way only for crafts. Using silica gel simply leaves you no choice.
Method 7 of 9: Drying with desiccants
Another good way to prepare greens for use in crafts. Again, this method not suitable for the use of herbs for culinary and medicinal purposes.
 1 Choose a desiccant. Already by the very name it is clear why this substance is needed. So, for herbs, flour, sand, violet root, borax, silica gel and even cat litter are suitable.
 - The popularity of silica gel is explained by the fact that it is lightweight and does not spoil plants, and it is not difficult to buy it. However, when working with silica gel, it is worth wearing a mask so as not to inhale its vapors again.
 2 Collect herbs. It is desirable when there is no moisture left on them.
  3 Place 1.25 cm on the bottom of a glass or plastic dish. desiccant.
  4 Put on the herb desiccant. In this case, the plants should not touch each other. Leaves and petals growing close to each other will need to be separated to allow the desiccant to dry out the plant completely rather than partially.
 - If the shape of the leaves or petals is important to you, check carefully again to make sure that the shape has not changed. If it has changed, correct everything.
- You can, of course, cover the plants with a desiccant, but here we must remember that the more weight presses on the dried plants, the higher the chance that they will break.
 5 When the plants are dry, dispose of the desiccant. The plants will dry out for several days. The desiccant will draw out all the moisture from the plants, making them not only dry, but also brittle. It is necessary to get rid of the desiccant so as not to damage the plants. A small brush or something like that will do - the main thing is to work carefully.
 - Do not overdry the plants, or they are corny and literally go to dust.
 6 Use plants dried this way only for crafts. Using a desiccant simply leaves you no choice.
Method 8 of 9: Dry in Place
Some plants dry without problems right where they should be dried - in a craft or on an artistic composition.
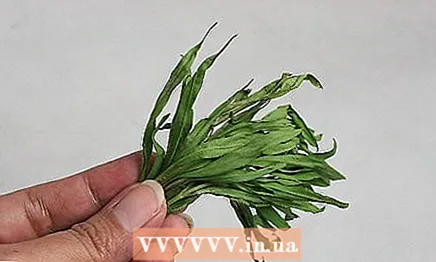
 1 Choose suitable herbs. Not all herbs can be dried this way. Rosemary, yarrow and dill work well for this method.
  2 Place fresh herbs where they should be dry. For example, in a vase or bouquet, or wherever your heart desires.
 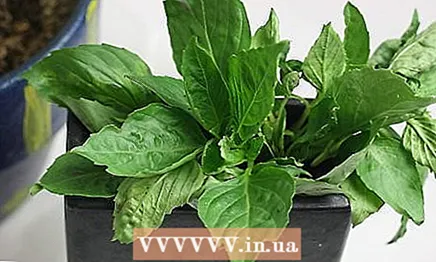 3 The place where plants are dried should not be humid. Check the plants regularly for traces of moisture or even mold on the leaves. All moldy must be thrown away.
Method 9 of 9: Pressure Drying
 1 Search online for guides on where exactly is the best way to dry plants this way. Pressure-dried plants can be used for decorative purposes.
  2 Ready!
Tips
- Best for drying are lavender and rosemary (they look good for years), laurel, hops, soft gray oregano, and pink marjoram.
- Grass seeds are best air dried, allowing them to flow freely to the bottom of the paper bag. Store seeds in an airtight container.
- Freezing herbs is another drying method. This option is for using herbs in cooking.
- The simplest herb drying frame is made of a wooden frame with small beams at regular intervals. The back wall should be attached to the frame. This frame will look good on the wall. Grasses, respectively, must be hung on the rungs. Rosemary, cumin, oregano, sage, marjoram and inflorescences will look good.
- Broken and ground dried plants should be stored in airtight containers away from direct sunlight. To fully enjoy the taste and aroma of dried plants, you should use them for food within six months from the moment of drying.
Warnings
- Silica gel is poisonous.Keep it out of the reach of children and pets, do not inhale its vapors (wear a mask) and do not eat herbs dried with its use.
- Many herbs turn brown and lose shape after drying. Drying herbs is almost an art, the road to which is a trial and error method. Keep in mind that you will often have to make a choice - whether to retain the plant's aroma, or its taste or appearance.
- It is much more convenient to collect the grass in bunches with rubber bands - the rubber bands are denser and more reliable.
- Wet grasses will grow moldy, but moldy plants must be discarded.
- Do not dry greens in wet areas such as the bathroom or kitchen. Of course, if your kitchen is always warm and dry, then you can dry greens there.
- High temperatures are harmful to plants, so don't overheat them.
What do you need
- Herbs
- Drying equipment
- Paper bag (if needed)
- Airtight storage containers


