Author:
Robert Simon
Date Of Creation:
21 June 2021
Update Date:
1 July 2024
Content
The flowers are very beautiful and also very fragrant. Learn how to draw a flower by following these instructions.
Steps
Method 1 of 9: Sunflowers
Draw a big circle then draw another smaller circle in the middle.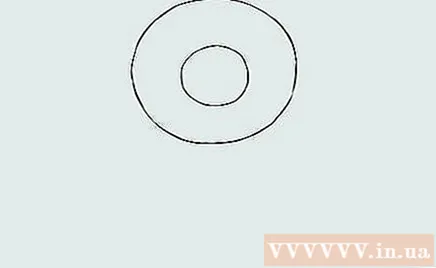
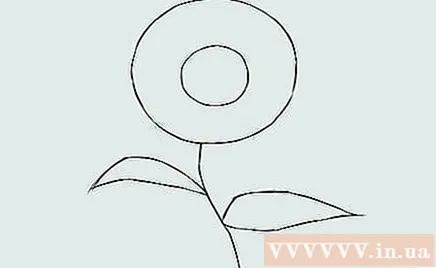
Draw stalks and leaves on either side of the stem.
Draw a long, slim heart shape to form a petal.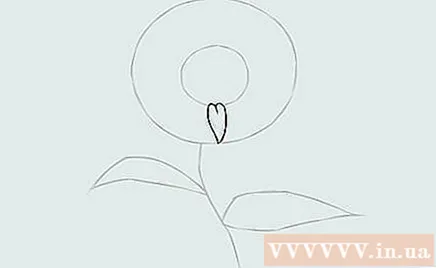
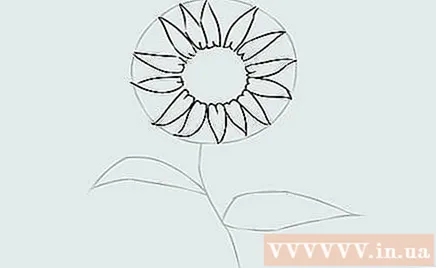
Continue to follow step 3 until you draw the petals around the inside.
Draw sharp corners to get more petals to fill the gaps.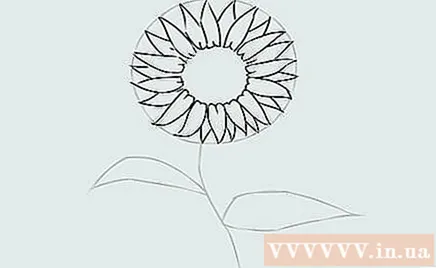

Draw diagonal lines on each other in small circles.
Edit the details of the leaves and branches.
Color the picture. advertisement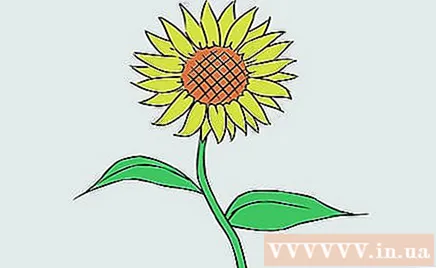
Method 2 of 9: Branching a rose
Draw a small curved "U" shape. Draw the same (slightly larger) "U" below the first until there are three similar shapes.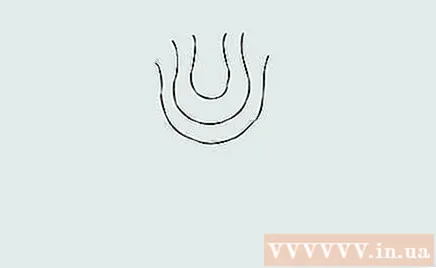
Draw a vertical wavy line to make a branch and draw a leaf on one side of the branch.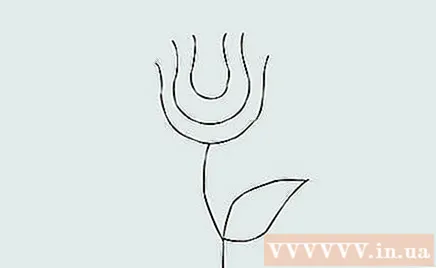
After sketching the rough details of the rose, start drawing the petals. First, use the smallest "U" shape.
Outline the petals so that they overlap on the first U.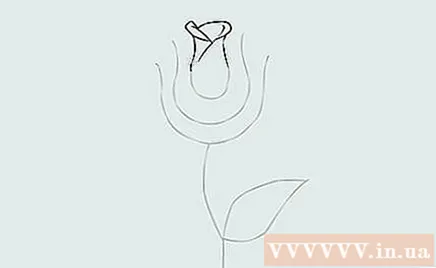
Draw more petals on the second U.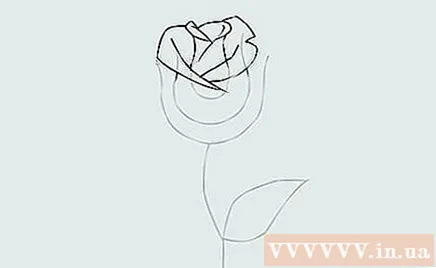
Finally, use the last U to outline the same petals as you did on the first U and the second U.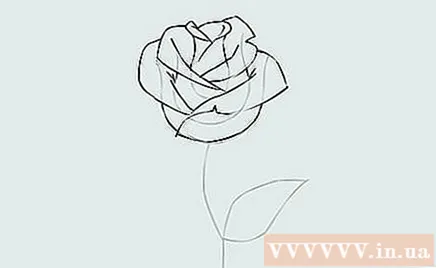
You can also draw more petals if you want a more beautiful rose painting.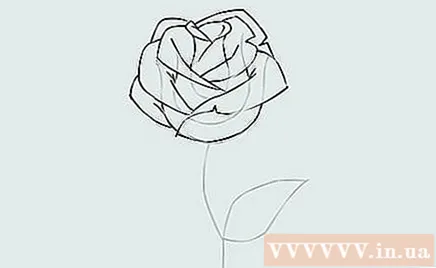
Draw the calyx of the rose with sharp angles.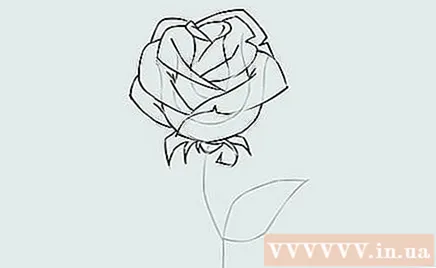
Draw more thorns on the flower branch. In this step you need to draw the sharpest corners. To add detail to the leaves, don't forget that the rose leaves are serrated on either side of the blade.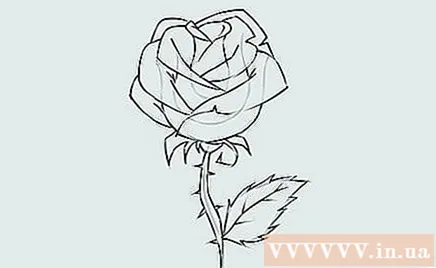
Color the drawing. advertisement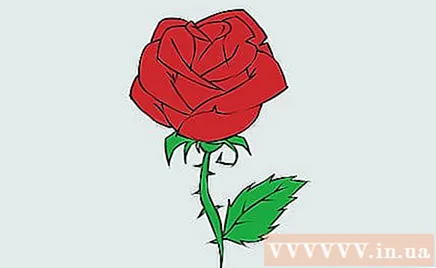
Method 3 of 9: Roses have no branches
Draw a circle for the border of the flower.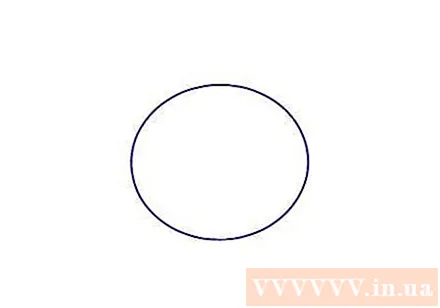
Draw two more circles to create an outline for the petals.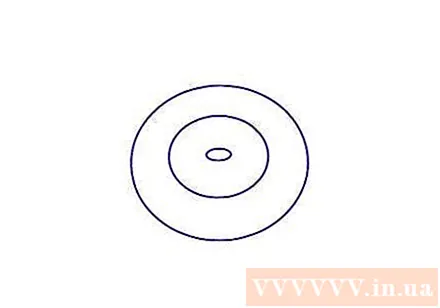
Draw rough details for the petals.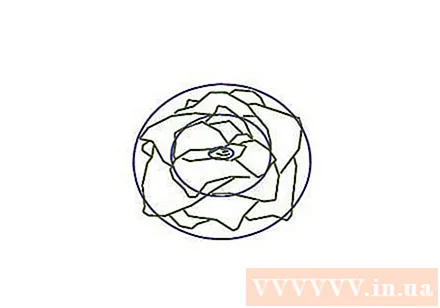
Draw finishing lines.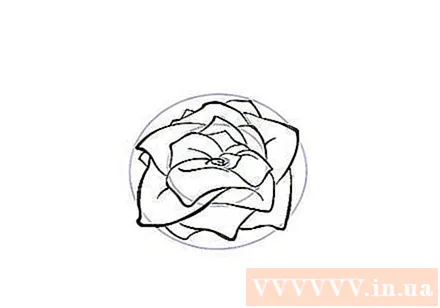
Color the picture, add shadows, and draw more lines.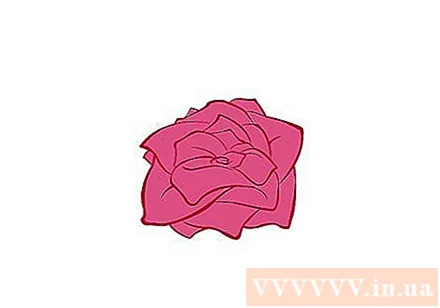
The picture is completed. advertisement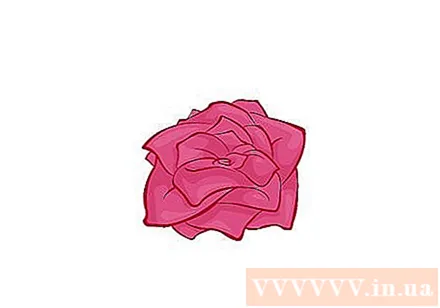
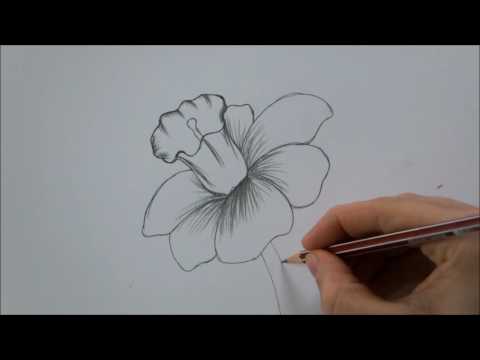
Method 4 of 9: Daffodil
Draw an oval to create the outline of the leaf. Draw two more parallel lines and connect them together at the end of the line as shown in the picture.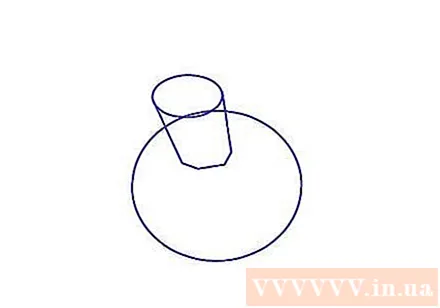
Draw a smaller oval to connect the ends of the line to form the top of the flower.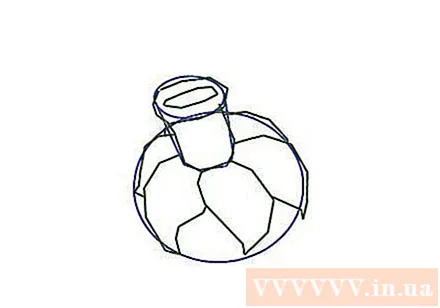
Draw a rough outline for the flowers and leaves as shown.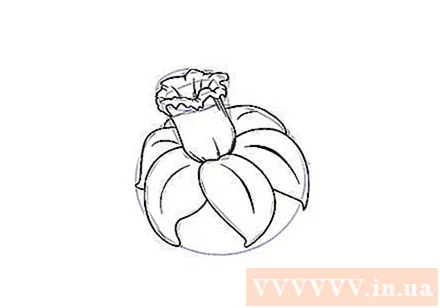
Draw the final lines of the flower and the leaf.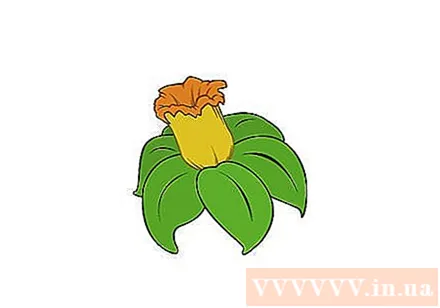
Create shadows and lines and color the picture. advertisement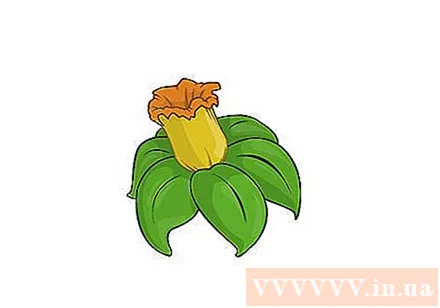
Method 5 of 9: Butterfly flowers
Draw a circle.
Draw another circle in the middle.
Outline the petals around the larger circle. Should draw even petals.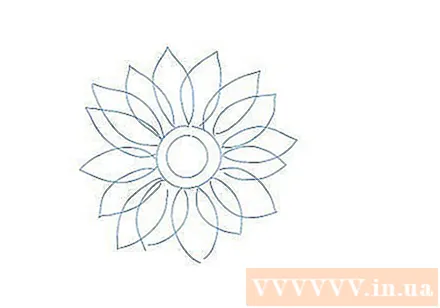
Sketch a line to create flower branches.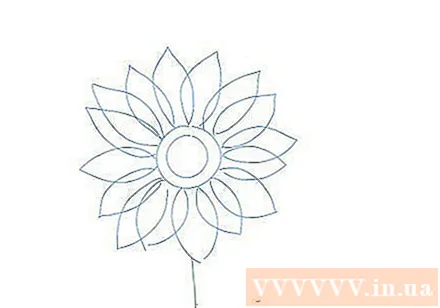
Draw semicircles around the smaller circle to create a flower-like structure. Then draw a few more strokes in the center.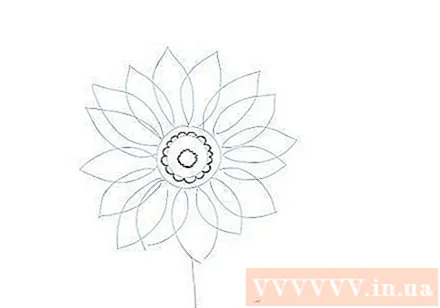
Draw the basic details of the petals. The petals in the front should be drawn differently from the ones in the back.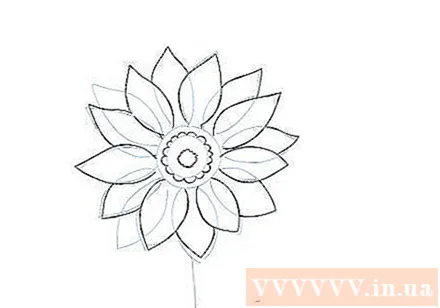
Draw details for the larger circle and the flower branch.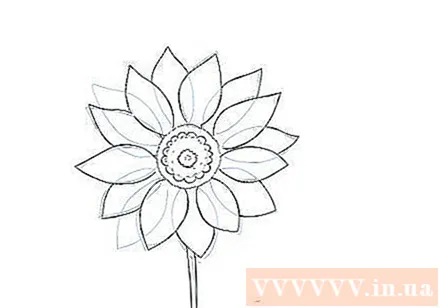
Draw more details.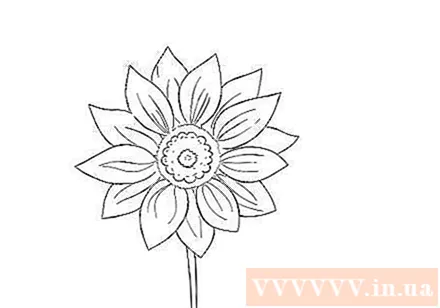
Color the flower. advertisement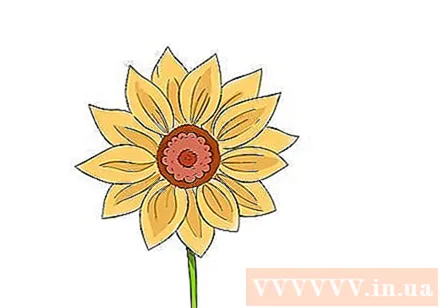
Method 6 of 9: Tulips
Outline the circle for the tulips and a slightly curved line for the stem.
Draw the lines for the petals and leaves. Draw 2 petals on the front and 1 petal on the back of those 2 petals, for a total of 3 petals. The leaves of the tulips are long and not straight, so the contours for the leaves should be curved and long.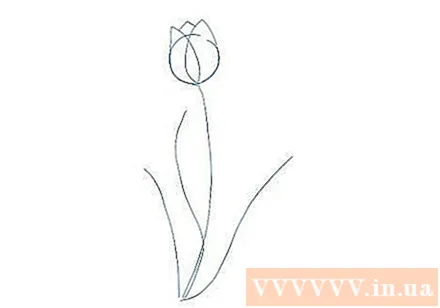
Outline lines for sepals and flower leaves..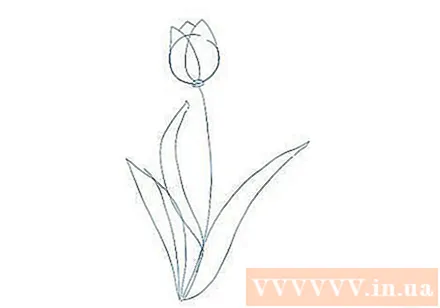
Draw the basic strokes of the flower, calyx, and flower branch.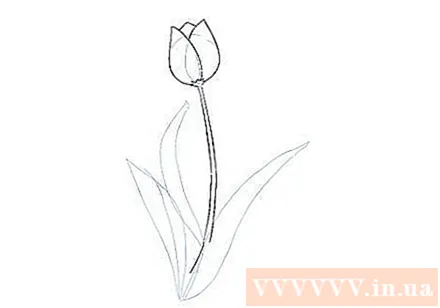
Draw the basic strokes of the flower leaves.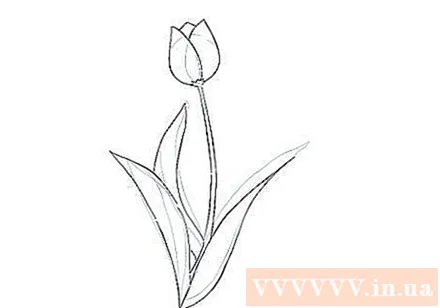
Draw more details. Draw more lines inside the leaves and petals to make the flower more beautiful.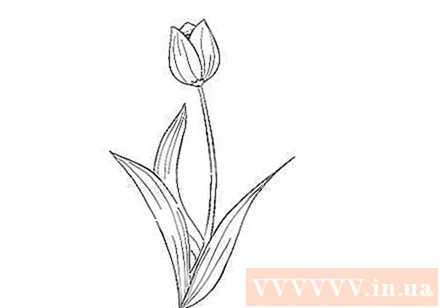
Color the tulips. advertisement
Method 7 of 9: Simple chamomile
Start sketching with a small circle.
Draw another larger circle. Draw like a CD so you can get the basics of chrysanthemum whenever you want to draw.
Start drawing lines with a small circle in the middle.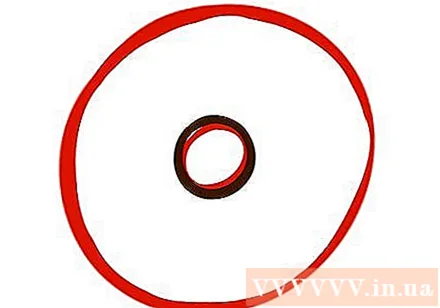
Start drawing the petals with two lines up and down. Make the two petals symmetrical.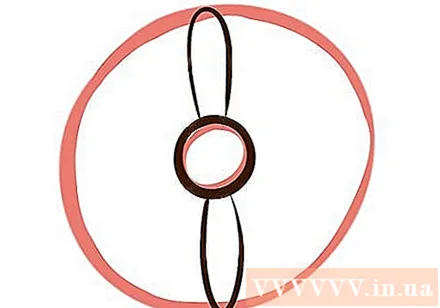
Draw other petals symmetrically as above.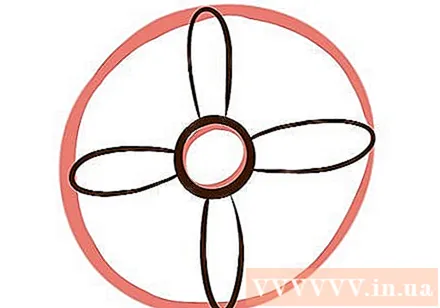
Continue drawing the petals using the same technique.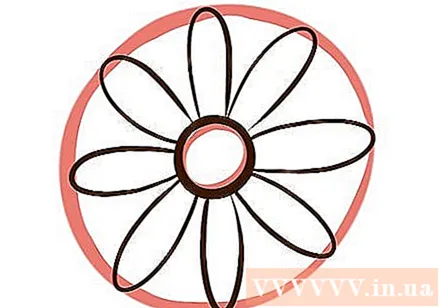
Finish drawing the petals.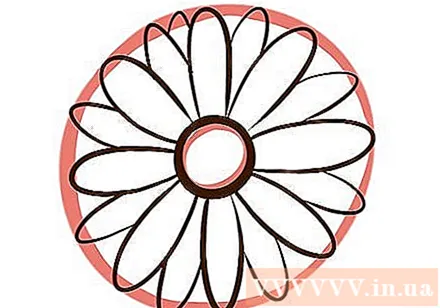
Erase outlines and fill colors.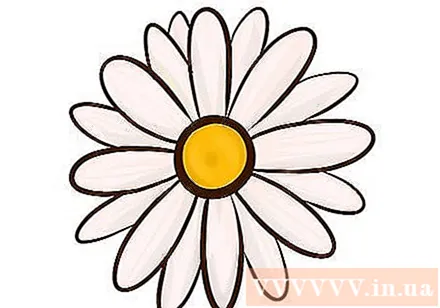
Add a background to the picture. advertisement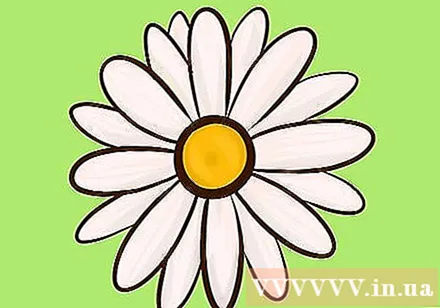
Method 8 of 9: A basic flower
Draw a small circle in the center of the paper.
Draw larger circles concentric with small circles.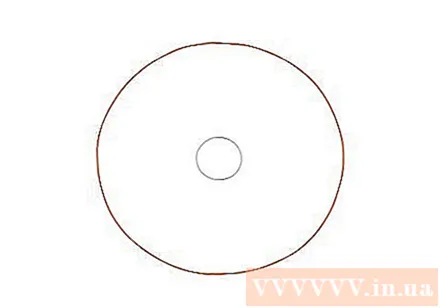
Draw the petals with curved lines. Use the circles you just drew.
Draw petals around the circle.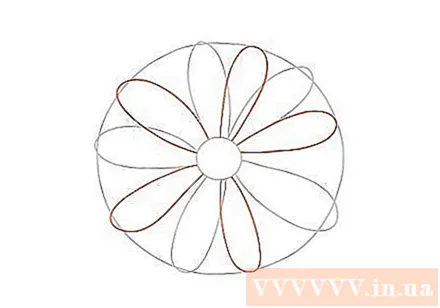
Draw more petals to fill the gaps in the circle. There is no need to draw equally long petals.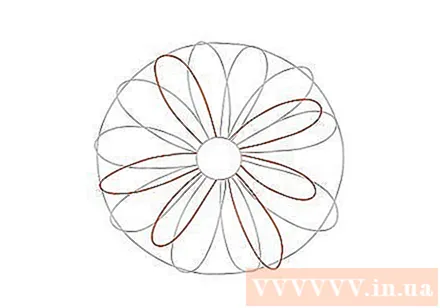
Draw branches and leaves with curved lines.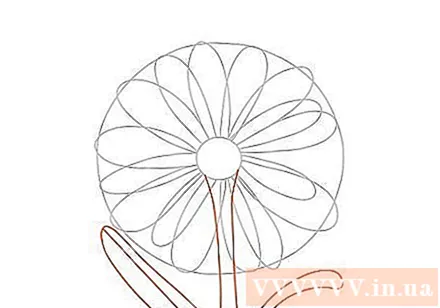
Edit the leaves so they look like real leaves.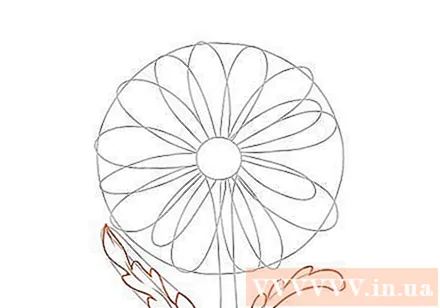
Redraw with pen and erase excess lines.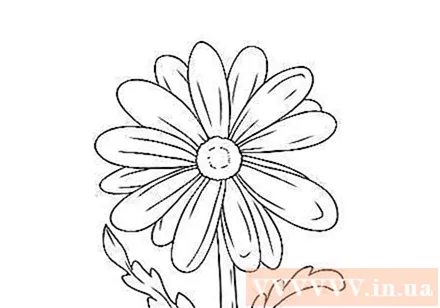
Coloring the picture! advertisement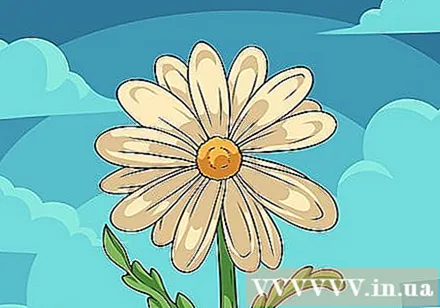
Method 9 of 9: Cartoon-style flowers
Draw a vertical oblong. Below the oblong shape, draw a thin rectangle that will form the flower branch.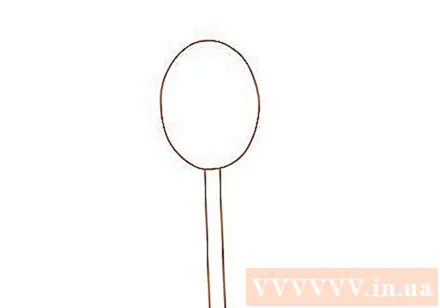
Draw two curved lines, one to the left and one to the right of the oblong.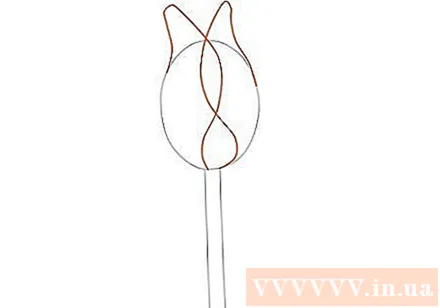
Draw lines drawn from the lower part of the oblong and spread out all four sides. Draw a curve also on the bottom of the oblong.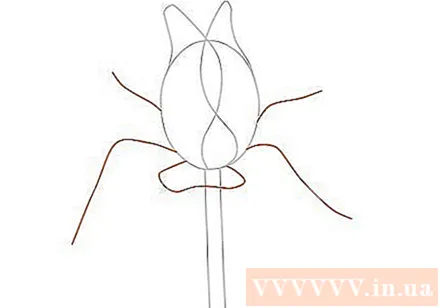
Draw curvy lines that connect those lines to form the petals.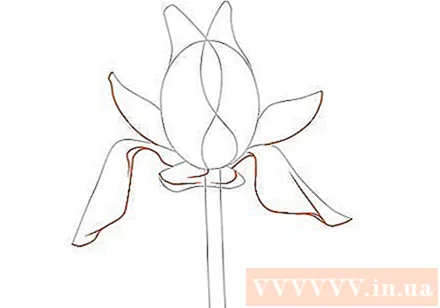
Draw an oval curve pointing upwards to create a budding flower shape.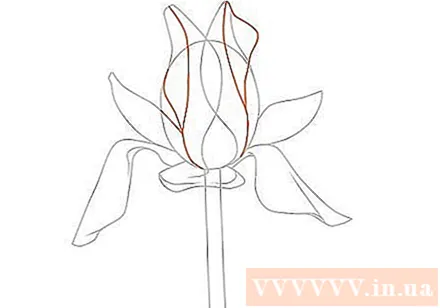
Draw another petal using the lines along the oblong.
Edit and draw again with pen. Erase the excess lines.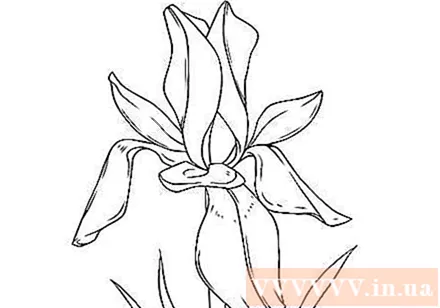
Color the picture! advertisement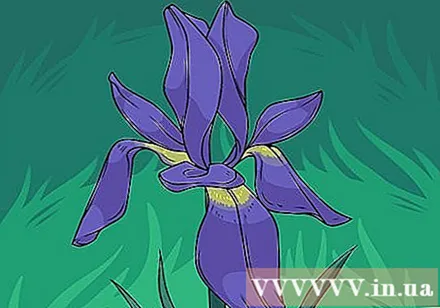
What you need
- Paper / color for sketching (optional)
- Pencil
- Pencil sharpening tool
- Eraser
- Waxen


