Author:
Joan Hall
Date Of Creation:
4 July 2021
Update Date:
1 July 2024

Content
- Steps
- Part 1 of 3: Remove the old brake disc
- Part 2 of 3: Installing a new brake disc
- Part 3 of 3: Additional Brake Care
- Tips
- Warnings
- What do you need
Brake discs are often made of metal, circular in shape and attached to the wheel. When the driver presses the brake pedal, the brake pads are pressed against the brake disc, and due to the frictional force, the rotation of the wheel is slowed down. Brake discs wear out over time, aggressive driving style and adverse weather conditions can significantly shorten the life of the brake discs, as a result of which the brake discs will have to be replaced. Go to step 1 to learn how to replace the brake discs.
Steps
Part 1 of 3: Remove the old brake disc
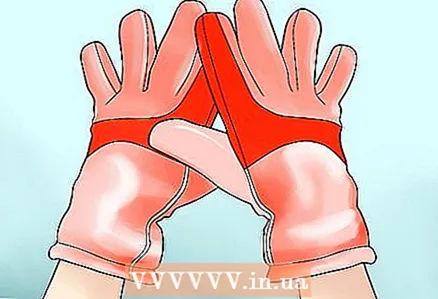 1 Wear protective gloves. Before starting work, collect all the tools you need for the job, it is also good to have a pair of sturdy work gloves. Car repairs are often dirty jobs, so protecting your hands from grease and dirt is a good idea. Good gloves can protect your hands from accidental injury, which is a risk even with safe procedures such as changing brake discs.
  2 Raise the machine with a lift or jacks. To get to the brake discs, you need to remove the wheels; it will be more convenient to do this with the car raised. Many people jack up the machine, but using a hydraulic jack in this case can save time. Look for the article "how to change tires" on our website, there you will find how to use the jack.
 - When using a jack, be sure to lift the machine against the body. If you run into plastic parts, such as moldings or body kits, they can crack or break.
- Before lifting the machine, many mechanics prefer to loosen the wheel nuts. When the weight of the entire vehicle is holding the wheel to keep it from spinning, the high initial force is much easier to overcome.
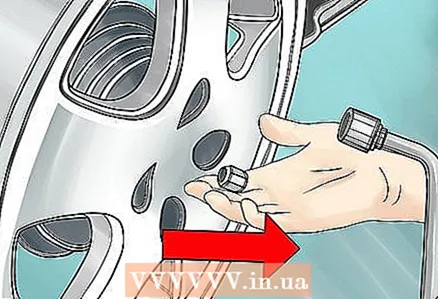 3 Remove the wheels. The brakes are located behind the wheel, so you need to remove the wheels to access them. Remove the wheels by lifting the machine and completely unscrewing the bolts; you should see the brake disc, caliper and hub.
 - In order not to lose wheel nuts and other small parts, you can fold them into a cap, using it as a plate.
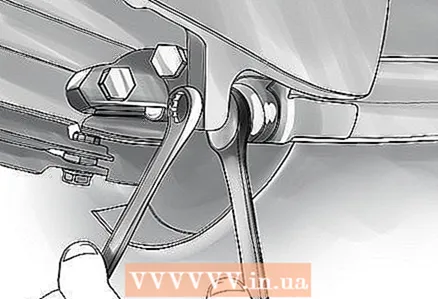
 4 Remove the calipers. The calipers are usually attached with one or two bolts from the back.You will need a thin screwdriver to remove these bolts. After you unscrew the bolts, remove the caliper without damaging the brake hose. You may need to pry with a screwdriver or tap lightly with a hammer to remove it.
 - Do not let the caliper dangle from the brake hose, as this could damage it. You can hook the caliper onto a piece of suspension or tie it with a rope to secure it. Please note that if you disconnect the caliper from the brake hose, brake fluid will leak out.
 5 Remove the caliper fasteners, if necessary. On some vehicles, the caliper mount may interfere with the removal of the brake disc. Unscrew the screws with a screwdriver, remove them, then remove the mount itself.
 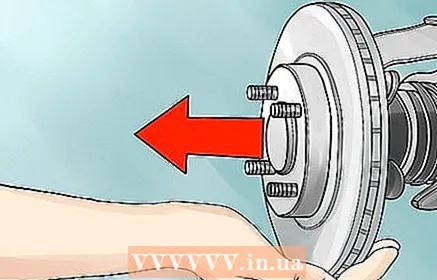 6 Remove the brake disc. Finally, you can remove the rotor. Sometimes it is possible to remove the disc by hand. But in other cases, the disc sticks to the hub and it becomes very difficult to remove it. You will have to knock on it with a hammer to knock it off the hub. Soften the hammer blows by placing a 5x10 cm block of wood to avoid damaging the brake disc.
 - Some brake discs have additional mounting to the hub. It is often located in the center and is designed as a castellated nut or cotter pin.
Part 2 of 3: Installing a new brake disc
 1 If desired, apply cleaning fluid to the new disc. To protect the new brake disc from moisture, dirt and dust that will form rust, some mechanics apply a brake disc cleaner or other protective fluid. If you do decide to use this tip, make sure that the product you are using is designed for this purpose, otherwise you may harm the disc or pads.
 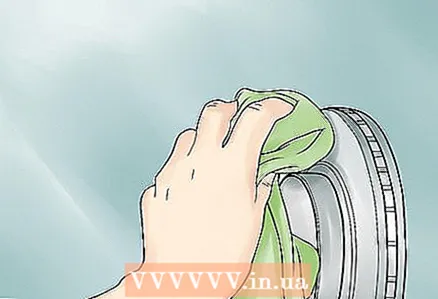 2 Wipe off any remaining protective liquid from the disc with a cloth. If you decide to apply a protective fluid to the disc, wipe off the excess before installing it on the hub. Liquid, if it gets on the pads, can react with them, you definitely do not want to face this problem while driving.
 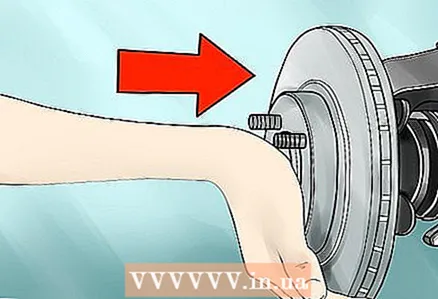 3 Fit the new brake disc of the hub stud. Slide the new brake disc onto the hub. It is necessary that the studs sticking out of the hub hit the holes in the brake disc. Fit the brake disc all the way.
 - At this point, depending on the vehicle design, you may need to install a castle nut or cotter pin that secures the disc. If you bent the cotter pin during dismantling, it is better to replace it, it is very cheap.
 4 Install the caliper mountings if necessary. If you had to remove the caliper mount to get to the brake disc, you will need to reinstall it at this point. Reinstall the bracket and bolt.
  5 Unclench the pads with a clamp. The next step is to install the caliper onto the disc. Remove or loosen the caliper, and then gently unclench the pads with a clamp or a special squeeze. When the pads are fully open, slide the caliper over the disc.
  6 Install the caliper. Make sure the pads are still usable and then reinstall the caliper where it stood. Tighten the bolts that secure the caliper.
  7 Put the wheels on. The work is almost finished. All that's left is to put the wheels on and lower the car to the ground. Replace the wheel carefully and tighten with the nuts.
 - Lower the vehicle slowly and carefully to the ground. If you have used a jack, remove it from under the car. Remember to tighten the nuts harder when the machine is already on the ground.
 8 Check that the brakes are working before riding. It is a good idea to make sure the new discs are doing their job before you go anywhere. In a safe place, start the engine and drive slowly. Apply the brakes several times. Step on the pedal and release slowly. Well-tuned and working brakes should work smoothly and smoothly, vibration and jerking means wear and tear on the pads and the rotor will soon be damaged.
Part 3 of 3: Additional Brake Care
 1 Remove the brake pads from the caliper. If you are not on time, you might want to do some extra maintenance on the braking system. This will save you time in the future: you do not have to re-raise the car with the lift. To check the brake pad wear, just look at the inspection groove or depression, when it is not visible, then it is time to change the pads. To remove the pads, simply pull them out of the caliper mount.
 - Some pads are held in the caliper by a small pin to prevent them from falling out, and this pin must be removed before attempting to remove them.
 2 Remove the caliper guide bolts. The bolts holding the caliper have guides that help align the caliper. In order for the brakes to work smoothly and smoothly, these guides need to be well lubricated. Remove these bolts with a screwdriver or ratchet wrench.
 - You may need to remove the rubber boot.
- Do not move these bolts far, you will soon need to clean and lubricate them.
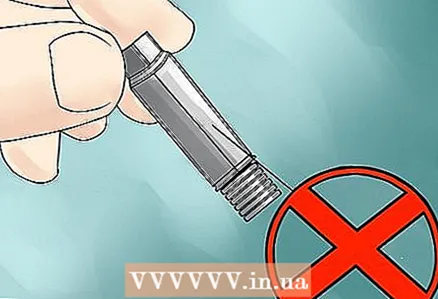
 3 Lubricate the underside of the brake pads. To avoid the typical noise and vibration problems of the pads, lubricate the underside of the pads before installing. This may be obvious, but it is best to repeat three times: never lubricate the face of the pad.
 - Use only grease designated for brakes, other grease may damage the braking system.
 4 Install new pads on the caliper mount. Install new pads in the caliper. New pads should fit easily into place. If the pads were secured with a pin, be sure to install it. Make sure there is no excess grease on the pads.
  5 Clean and lubricate the caliper guides. Over time, the guides become overgrown with dirt and dust, making it difficult to slide. Remove any dirt with a clean cloth and apply a silicone based lubricant.
  6 Lubricate the spring pads for the pads. Apply grease to the spring pads. This will help remove unwanted sounds and ease the movement of the pads.
 - Care of the brakes can be considered complete, now they should work "like a watch". You can proceed to the installation of the brake disc.
Tips
- After unscrewing the caliper from the mount, secure it with wire or rope. Do not let it dangle under its own weight, as in this case, the hose can easily break.
- Some vehicles do not have the ability to reuse the caliper mounting bolts, in which case you will need to have new bolts handy. You can find out if the bolts have been re-installed on your car by reading the operating instructions.
- The dimensions of the brake discs depend on the model and make of your vehicle.
- Replace any bolts that are worn and rusty.
Warnings
- Do not drive into town until the brake pedal is working properly.
What do you need
- Protective gloves
- Jack
- Screwdriver
- Wrench
- A hammer
- Silicone based lubricant
- Brake disc cleaner
- Rags


