Author:
Tamara Smith
Date Of Creation:
26 January 2021
Update Date:
1 July 2024

Content
- To step
- Method 1 of 3: Plan your project
- Method 2 of 3: The chassis and the steering column
- Method 3 of 3: Engine and steering column
- Tips
- Warnings
For the inner speed demon, nothing beats cruising around on a go-kart. Building a kart yourself can be an addictive activity and certainly a fun activity for amateur technicians of all ages. If you have the necessary tools at hand, you can design, weld and assemble a kart yourself.
To step
Method 1 of 3: Plan your project
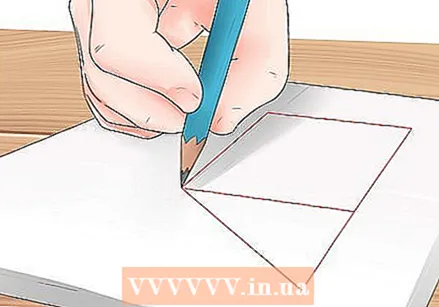 Draw detailed diagrams before you start assembling your kart. There are many models, shapes and designs that you can use to design your unique kart.Homemade karts need at least a chassis, an engine and a steering and braking system.
 - Be creative when planning your go-kart and make detailed plans to make sure you have enough material to build a go-kart. Also look at other karts for inspiration and consult people who have also built their own kart.
- You can also look up models and schedules on the internet if you'd rather leave this to someone else. Then use a blueprint and adjust it as needed.
 Make sure the dimensions of a kart are correct. The sizes differ depending on the driver. For young drivers, a go-kart must be 76 cm by 1.3 m long, while for adults, a go-kart must be approximately 1 m wide and 1.8 m long.
 - It is important to plan your kart carefully (ie use the correct sizes when designing), otherwise it is very difficult to get the right materials (and the right quantities).
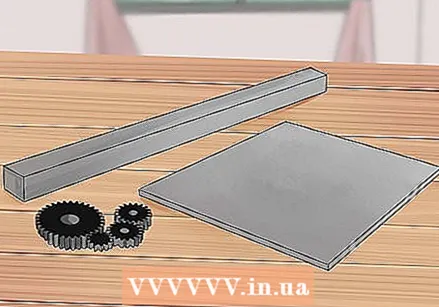 Collect the building materials. If you are short on money, it is best to go to a scrap yard and find cheap parts there or use parts from an old lawn mower. It is also possible to ask companies that repair lawn mowers and the like if you can have or buy their old or spare parts. You will need these parts in any case:
 - For the chassis:
- 9.2 m in 2.5 cm wide pipes
- 1.8 m in a 2 cm wide round iron
- 1.8 m in 1.5 cm wide round iron
- Steel plate (0.5 cm thick) that is slightly larger and longer than your motorcycle
- Metal or plywood (for chair and floorboard)
- Chair
- For the engine:
- Engine (for example an engine from an old lawn mower)
- Chain that fits in the sprocket
- Bolts and washers
- Gas tank
- For the drivetrain
- Wheels
- Send
- Gear and handbrake
- Drive shaft
- Bearings
- Steering axle
- Brake pedal
- Throttle and accelerator
- For the chassis:
 Find a welder. If you have no welding experience yourself, you will need to hire a welder to complete this project. The most important part of a go-kart is a sturdy chassis in which the engine is mounted. If you are going to weld, this must be done at the correct temperature and attention must be paid to the welding depth and welding beads. If you do not load correctly, your kart is very unsafe!
 - If you have no welding experience, it is better to leave the welding to someone else and learn to weld yourself by carrying out smaller projects.
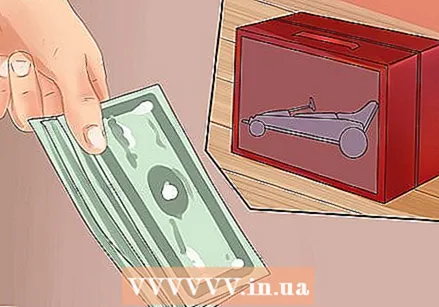 Consider purchasing a set of kart parts. If you don't feel like designing and / or welding your kart, you can also buy a set that you only have to assemble with some simple parts and detailed instructions.
 - In general, these types of sets are available for about 430 euros if you want to assemble your kart yourself but do not want to design it yourself. An additional advantage is that you do not have to buy loose material.
Method 2 of 3: The chassis and the steering column
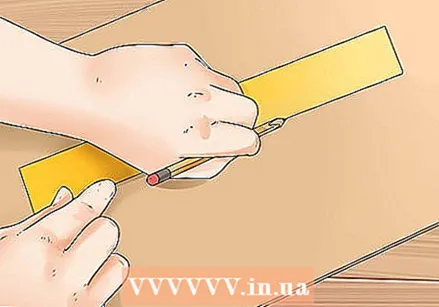
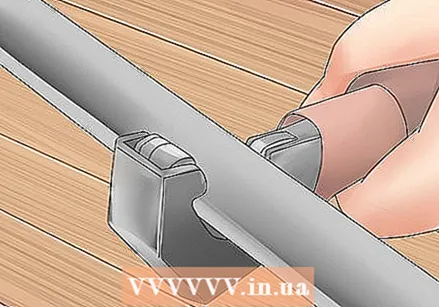 Cut the metal pipes. Cut a number of pieces of pipe until you have all the pieces you need according to your schedules together.
 - In most designs, the front of the kart has an arc, the front is narrower than the rear so that the wheels and chassis can turn.
- It is useful to indicate the dimensions of the kart on the floor so that you do not have to measure again and again. You can even draw the entire design of the kart on the ground in advance.
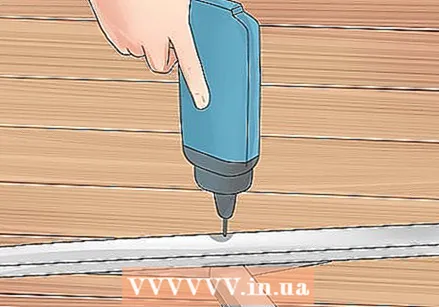
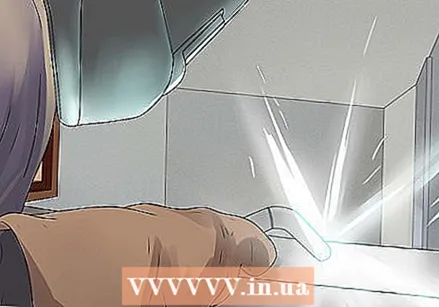 Weld the frame of the kart according to your design. Use concrete blocks (or sidewalk tiles) to keep your frame in the air while you work on your go-kart. Make sure all connection points and the chassis are secure. It is important that these points are sturdy so that they can hold your weight and that of the bike. Use a gusset plate to reinforce the corners of the structure.
 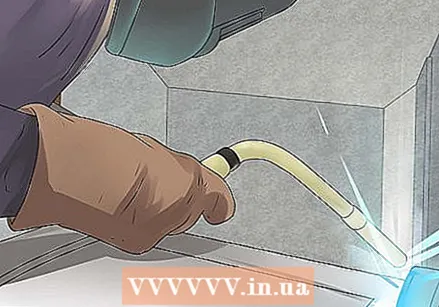 Install the front axles. The axle consists of a straight piece of metal (2 cm) and two slide bearings that are attached to the frame. Use cotter pins to keep everything in place.
 - Mount the front axles, these should ensure that your kart can maneuver. Tighten the axles before you start working on the steering column. Now attach the Kingpin to the steering arm. You must be able to turn at least 110 degrees with your front wheels, keep this in mind in your plans.
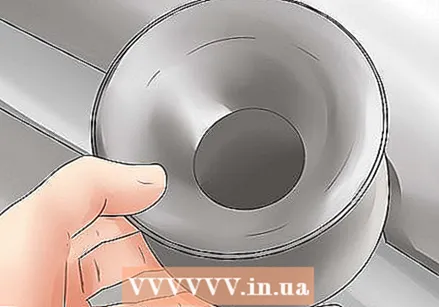
 Install the rear axles and the wheel hub. You probably have a drive shaft with a carrying handle for this, so it is possible that the shaft is attached to the frame but can still move freely. Weld a steel plate to the chassis, so that the plate attached to the outside with nuts and bolts, now squeezes the bearing.
 - This type of composition is also called a pillow block and is for sale.
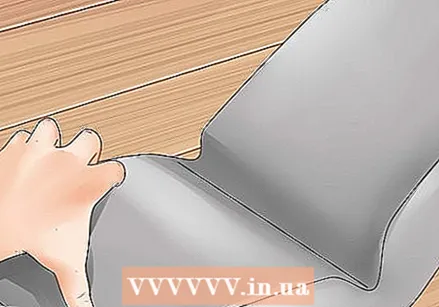 It is possible to make your own chair and floor plates from metal or plywood. You can also choose to buy a second-hand chair to save money or use a simple bucket with a cushion. Make sure there is enough room for your steering wheel, pedals and gears.
Method 3 of 3: Engine and steering column
 Install the engine mount. Weld a flat piece of steel plate (0.5 cm) to the rear part of the frame and then place the motor on top. Before installing the motor, mark holes to insert bolts into to ensure that the motor's pulley is in contact with the shaft's pulley.
 - The pulley must be mounted on the shaft before the shaft is slid into the slide bearing. You can use a screw to hold everything in place or by welding the pulley to the shaft, but you should always make sure the pulleys are one above the other.
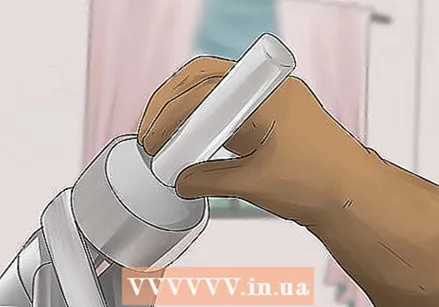
 Install the steering gear. Use a 1.5 cm steel rod for the connection and a 2 cm rod for the shafts. To bend the 2 cm rod at 90 degree angles, you need to heat the rod with a torch.
 - Install the parts necessary to adjust the steering geometry. It is important that you know how to achieve the right caster and camber.
 Install the wheels and brakes. Choose small wheels so that you can accelerate easily and keep your kart under control. Attach the wheels to the axles using the hub. Then work on the brakes so that your kart can be used safely.
 - To make the system as professional as possible, you need to mount a plate on the rear axle (for the brakes) and a brake caliper on the chassis. These types of parts are often available second-hand as a set. These sets have the correct dimensions and are easy to work with.
- Install a brake pedal that you can use with your foot. Make sure you do as little as possible with your hands while driving.
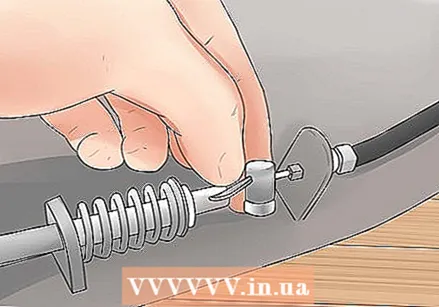 Attach the cable to the gear lever. Depending on your experience and the type of engine you are dealing with, you may also be able to fit a foot pedal, or increase the speed as you would on a lawn mower.
 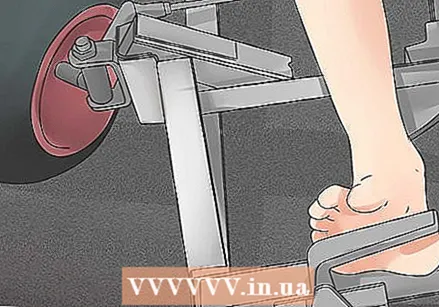 Check that the brakes are working before taking a test ride. Even if you are not going fast, it is important that you are sure that you can brake and that an axle does not suddenly come loose. So check whether the welding is good, and whether the brakes and engine are properly mounted, and then take a test drive.
Tips
- Try to add the extras only at the end, make sure all major mechanical parts are properly secured first.
- The kart has an accelerator that can be attached to the kart with a simple throttle cable set from a lawn mower.
- Consult a kart manual for tips on how to use and tune a kart.
- A centrifugal clutch is usually used on a go-kart, but this can be changed as desired.
- The tips above assume that the go-kart is made using old parts from lawn mowers, etc. It may therefore be cheaper to buy a kart (from a factory) than to assemble a kart yourself using separately purchased parts.
- The costs of a simple card vary from 47 to 55 euros. You can buy good building plans from 32 euros, in some cases they cost less. The cost of these types of building plans is usually around 63 euros. This is a great option if you are an experienced builder.
- Some people recommend buying a set of well-designed and detailed building plans that incorporate automotive industry principles. You are more likely to enjoy and assemble a kart easily if you buy good building plans.
Warnings
- Test the kart before you hit a track to make sure everything stays put.
- As this is a simple project, with no high-flown technique being used, the use of a large motor is not recommended. Speeds in excess of 10-24 km / h can cause major component failure.
- Wear protective clothing when going karting (helmet, pads, etc.).
- A go-kart is not a real car and should therefore never be driven on the road.


