Author:
Gregory Harris
Date Of Creation:
10 August 2021
Update Date:
1 July 2024

Content
The ceiling of the car is upholstered with fabric, to which a thin layer of foam rubber is glued on the reverse side. Very often on old cars, under the influence of moisture and time, the headliner peels off and sags. You can solve the problem of dirty or damaged ceiling upholstery at home, without the help of a professional. You can replace the upholstery by following the steps in this instruction.
Steps
 1 Remove the old upholstery.
- Pry up the ceiling and remove anything holding it in place.
- Remove all seat belt pads, interior lights, speakers, sun visors, and coat hangers. Some of these parts are secured with screws, and some with latches that you can pry off with a flat screwdriver.
- Remove all clips that hold the ceiling.
- Lift the ceiling out of the vehicle and place it on a flat, flat surface. A large table or floor is best.
- Remove the upholstery from the canvas. It should peel off without significant effort.
 2 Use a wire brush or fine sandpaper to remove foam rubber from the ceiling. Be careful not to damage the ceiling. The smoother the surface, the better the upholstery will look.
 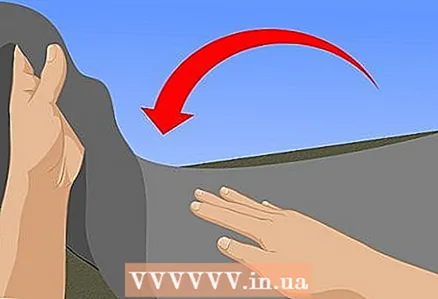 3 Place the new upholstery on top of the ceiling. Smooth it out to completely remove wrinkles.
  4 Fold the upholstery in half, leaving half of the ceiling uncovered. It is much more convenient to work with each half in turn.
  5 Prepare both surfaces for bonding. Mat the ceiling and back of the upholstery with a wire brush after applying a thin layer of glue to it.
  6 Pull the glue-coated part of the upholstery well onto the ceiling, carefully smoothing out any unevenness with your hands.
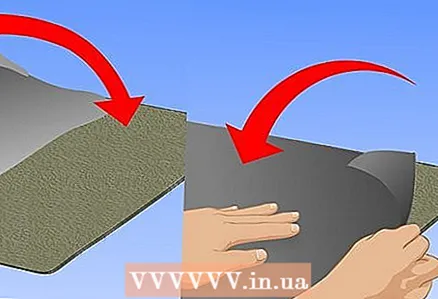 7 Repeat the process of preparing, gluing and pulling on the ceiling for the other part of the upholstery.
 8 Wait for the glue to dry. Drying time should be written in the instructions for the glue.
  9 Cut holes for lights, hooks, speakers and handles. You can use a scalpel for this.
  10 Trim off excess material at the edges of the ceiling before installing it in the machine. Leave the paint 1.5 cm around the perimeter, then wrap them in.
 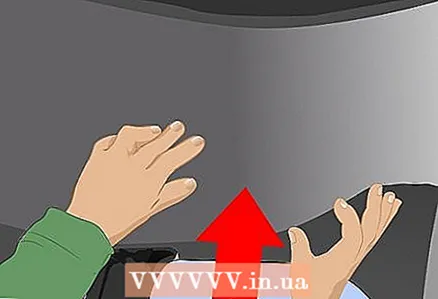 11 Install the ceiling back into the car.
- Fold the edges inward to make them even.
- Secure the ceiling with clips, if provided.
 12 Reinstall all the accessories you removed at the beginning.
Tips
- You can buy everything you need separately, but there are special ceiling re-upholstery kits on the market.
- To save money, try searching for fabric for the ceiling on the Internet or in discount stores.
Warnings
- Take the process of gluing the upholstery to the ceiling very responsibly. The glue sets quickly enough and once you lean the two surfaces against each other, it will be very difficult to break them apart.
What do you need
- Screwdrivers (Phillips and flathead)
- Upholstery
- Wire brush and fine sandpaper
- Rubber glue
- Scalpel
- Scissors


