Author:
Eric Farmer
Date Of Creation:
11 March 2021
Update Date:
1 July 2024

Content
Sealing shower joints with sealant is one of the most inexpensive ways to protect your bathroom from moisture and mold. Choose an appropriate sealant designed for bathrooms and resistant to fungus. A silicone seam will be stronger than a latex seam, but latex is easier to clean and easier to remove if the seam fails. Thoroughly clean the surface so that the sealant adheres well to it and the seam is more durable. Also, do not forget that before starting work, you must completely clean the surface of the remnants of the old sealant.
Steps
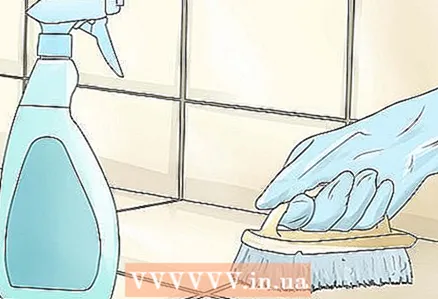 1 Remove soap deposits with a bath detergent.
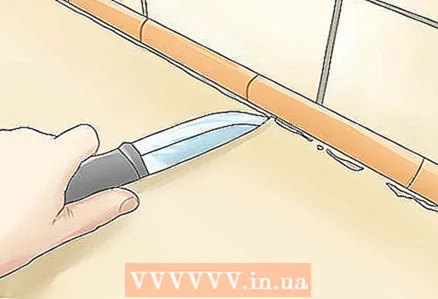 2 Remove old sealant with a scraper, assembly knife, or razor blade. Be careful not to scratch the surface of the shower stall.
 - If the sealant does not peel off, heat it up with a hair dryer.
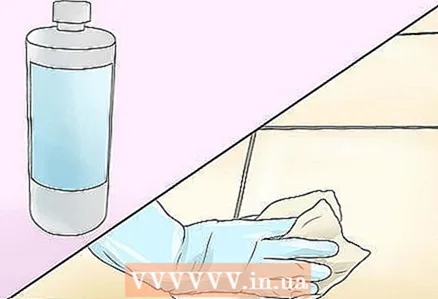 3 Wipe the surface. After cleaning off any visible sealant, wipe the surface with a cloth dampened with denatured alcohol. This will clean the surface of any soap residue and sealant residue.
 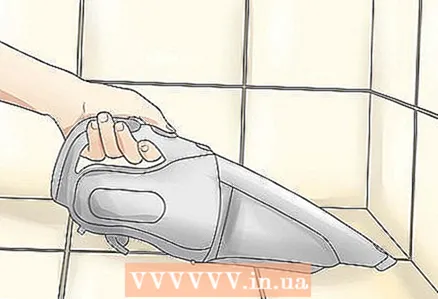 4 Vacuum all seams with a narrow nozzle. This will remove any loose, scraped-off sealant.
  5 Do not use the shower for 12 hours. This will ensure complete drying of the surface and good contact of the sealant with the surface.
Part 1 of 1: Apply Sealant
The sealant gun is a simple and inexpensive tool that will greatly simplify and speed up the sealing of the shower stall joints. Purchase a sealant in a special tube for such a gun.
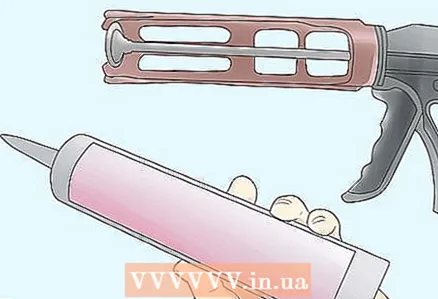 1 Insert the tube into the gun by pulling the pressure bar and placing the tube back into the gun.
 2 Squeeze the trigger lightly so that the pressure bar touches the bottom of the tube.
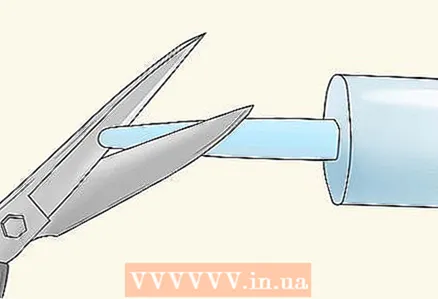 3 Using a knife or scissors, cut off the tip of the tube at a 45 degree angle. The hole should be narrow enough so that you don't squeeze out too much of the sealant, but it should still be enough for the bead of sealant to fill the joint.
  4 Position the spout of the tube in the gun at the uppermost point of the joint between the vertical surface and the inner side of the shower stall strip. Seal the vertical joints at the corners of the shower first.
 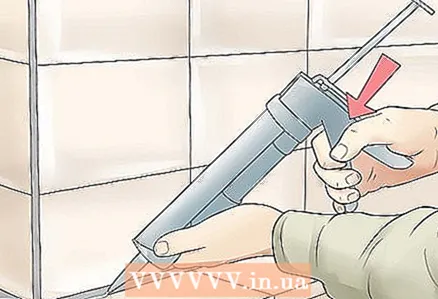 5 Smoothly pull the trigger and slowly slide down along the joint, squeezing out the sealant evenly. Try not to interrupt or stop to keep the sealant bead smooth.
 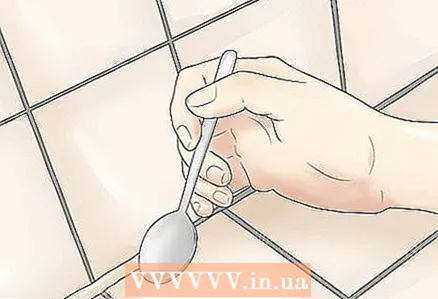 6 Smooth the seam with the back of a plastic spoon, working from the beginning of the seam. Press lightly on the spoon to press the sealant into the joint and smooth the surface of the sealant. Slowly sweep the spoon down the seam until the entire seam is smooth.
 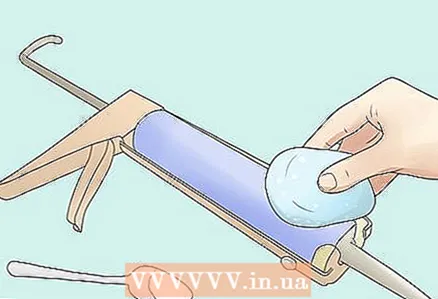 7 Wipe the spout of the tube and the spoon with a damp cloth. So the sealant will not dry out on their surface and it will remain smooth, which means that nothing will interfere with the even application.
  8 Proceed to the next joint and repeat the above until you have sealed all joints in the shower enclosure. Seal the vertical joints first, then the horizontal joints on the back wall, and then the joints on the side walls of the booth. Lastly, apply sealant between the door and the cab sill.
  9 Let the sealant cure for a day or two (see instructions) before using the shower.
Tips
- If you don't want to buy a sealant gun, you can use a tube sealant.
- Do not try to fill large (more than 6 mm) gaps with sealant. Use for this a dense insert (wood, plastic, etc.) or special waxed tape. Fill the gap with sealant over the insert.
- Plan the application of the sealant in one go. Taking breaks and going back to applying the sealant will not adhere evenly, creating points of moisture penetration and mold formation.
Warnings
- Do not use outdoor sealant in the bathroom. It is designed to be weatherproof and will not provide the same protection as a dedicated bathroom sealant.
You will need
- Liquid for cleaning plumbing
- Scraper, knife or razor blade
- Hair dryer (if necessary)
- Towel
- Denatured alcohol
- Vacuum cleaner with attachments
- Sealant gun
- Bathroom Sealant Tube
- Scissors or knife
- Plastic spoon
- Damp rag


