Author:
Ellen Moore
Date Of Creation:
12 January 2021
Update Date:
1 July 2024

Content
Freshly skinned snake skin requires protection from decay. The easiest way is to dry the skin. This method does not preserve leather as well as tanning, but it will stop degradation until further processing, or you can simply nail the dried leather onto the wall as a decoration.
Steps
 1 Remove excess flesh and flesh with a knife. A small layer of flesh can be left on, especially if you are going to tan your leather later. After drying, the flesh can be easily scraped off, so do not be very zealous, trying to scrupulously remove the flesh to the last piece.
 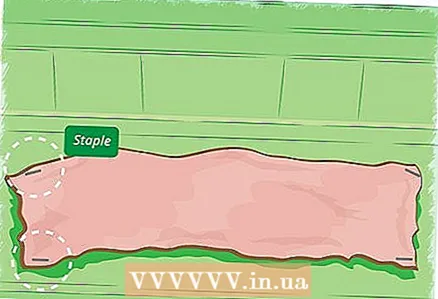 2 Spread the leather on the board, with the inside facing up. Make it as smooth as possible, it is most convenient to do this while the skin is still damp, because it will begin to curl at the edges as it dries. Therefore, you should not linger at the stage of removing the remnants of the flesh. If multiple holes around the edges of the leather are not a problem, you can use staples to nail the leather to the board. Straighten the edges of the skin as naturally as possible, giving the skin the desired shape. The tail of the rattlesnake's skin is the most problematic. One paper clip from each corner of the skin of the tail can fix the problem.
 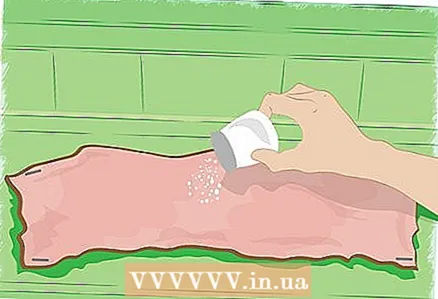 3 Salt the remnants of the muscles and tail segments heavily by rubbing salt into them. This is done for quick drying and protection from decay. If you are treating the skin of a snake other than a rattlesnake, skip this step.
  4 Place the net all over the skin, excluding the ratchet.
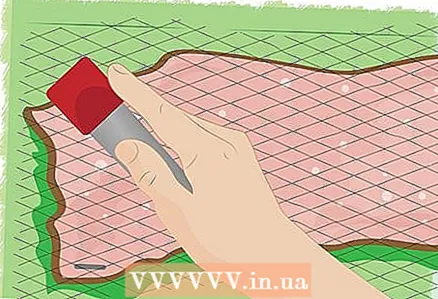 5 Press the net firmly against the skin, starting at the head, and nail to the board with staples. Keep the edges as straight and parallel as possible. Please note that in places where the skin can bend, especially at the edges, it will bend... Pull out a few staples, and drag the screen if irregularities appear. A small, narrow plank can help smooth out any bumps and kinks that appear. Pay special attention to the thin skin of the tail.
 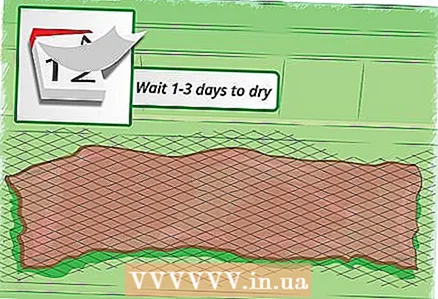 6 Dry your skin in a cool, dry place with good air circulation and away from direct sunlight. In dry climates, the skin dries up within 1-3 days. Higher humidity will increase the drying time.
 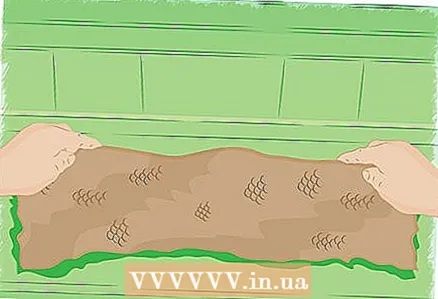 7 Remove the grid and carefully peel the skin off the board. It must be tough and completely dry. Note that simply dried leather tears like paper. If the skin does not lag behind the board, gently pry it off with something thin, such as a knife blade.
Tips
- It is better to remove the rattlesnake rattlesnake. After drying or tanning, it can be glued with super glue.
- If the skin is too large, a few staples in the middle will help to better lay the mesh. If you do not need extra holes on the treated leather, the mesh will have to be applied more carefully.
- If you are going to tan leather, you do not need to apply the mesh very carefully. You can even not apply it at all, but simply nail the leather to the board with staples along the edges and dry it like that. But the net, among other things, protects the skin from rats and other pests during drying.
Warnings
- Careful with the knife!
What do you need
- Fresh or frozen snake skin
- Knife
- Smooth and even board, larger than leather
- Aluminum or any other metal window net covering the entire skin area
- Construction stapler and staples
- Salt (for rattlesnake rattles)


