Author:
Gregory Harris
Date Of Creation:
7 August 2021
Update Date:
1 July 2024
Content
- Steps
- Method 1 of 3: Planting Butternut Squash
- Method 2 of 3: Caring for butternut squash
- Method 3 of 3: Harvesting Butternut Squash
- Tips
- What do you need
Butternut squash is a winter vegetable that is extremely tasty when baked or stewed, or as a warm winter soup. This pumpkin variety is planted during the spring season and harvested in the fall when its outer shell has hardened. Read this article to learn how to grow and harvest Buttermeg Gourd.
Steps
Method 1 of 3: Planting Butternut Squash
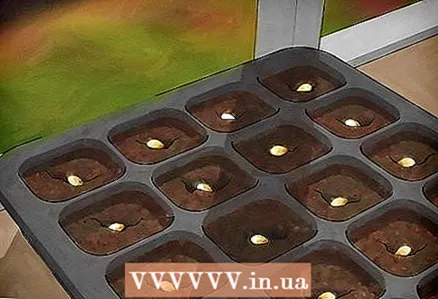 1 Plant the seeds as soon as the soil warms up. Butternut squash seeds do not germinate in cold soil and should be planted when you are confident that the last frost has passed. In warmer climates this may be in mid-spring, while in colder climates it may be necessary to wait until late spring. If you plant a pumpkin too early, it won't survive.
 - If you want to speed up the process, you can sow seeds for seedlings indoors 3 weeks before the last frost. Plant seeds 1 inch (2.5 cm) 1 cm deep in seedling potting soil in small pots or cups. Keep them warm and moisturize well until the last cold weather has passed, after which you can transplant them into your vegetable garden.
 2 Choose a warm, sunny spot to plant your pumpkin. Butternut squash needs a lot of sun and warmth to grow well. She will be fine in the sunniest place in your garden. Do not plant in the shade, as pumpkin will not ripen without direct sunlight.
 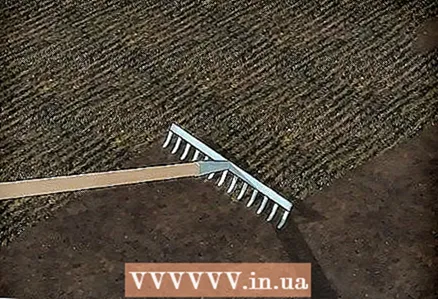 3 Fertilize the soil if necessary. Butternut squash needs fertile, well-drained soil. If the soil is infertile, loosen it to a depth of a dozen or two centimeters and mix with plenty of compost. Depending on how many plants you are planting, you may need to prepare a larger area. Plan to allocate about one square meter per pumpkin.
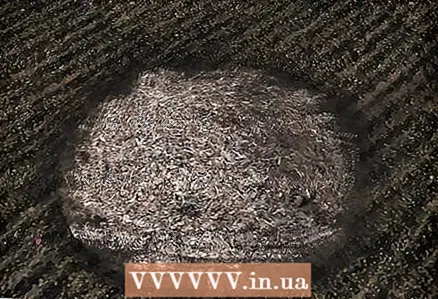
 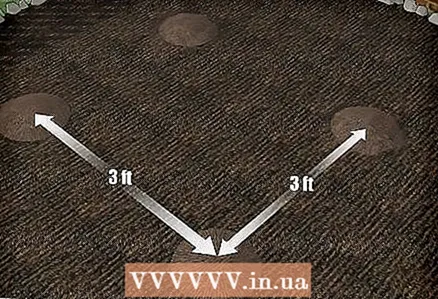 4 Plant the seeds in small mounds. Pumpkin grows best when it is planted in heaped soil. Make a slide for each pumpkin about 8 cm high, leaving 90 cm between the slides in one row, and 180 cm between the rows. At the top of each slide, make a depression about 2.5 cm and throw 4–5 pumpkin seeds into it. Cover the seeds with soil and tamp lightly around.
 - After the seeds have germinated, thin out the planting to leave 2-3 sprouts per mound.
- If you are planting indoor pumpkin seedlings, plant each plant in its own mound.
- Pumpkin shoots can travel along the ground or curl over a support. If you want the pumpkin to grow vertically, place a trellis or post next to each hill for support. When shoots appear, gently wrap them around the base of the support and they will begin to grow upward.
 5 Lightly mulch the pumpkin beds. Cover the beds with pine needles or other light mulch to protect the growing pumpkins.
Method 2 of 3: Caring for butternut squash
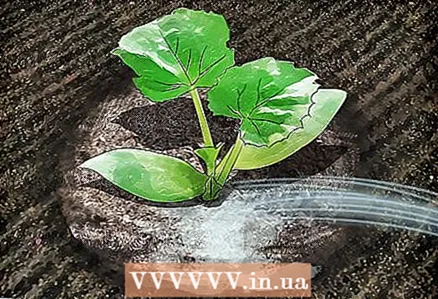 1 Water your plants regularly. Keep the soil moist throughout the summer by watering the pumpkin every few days. When the soil looks a little dry in appearance, water it abundantly. Water the root of the squash, being careful not to get the leaves wet to prevent sunburn or powdery mildew.
 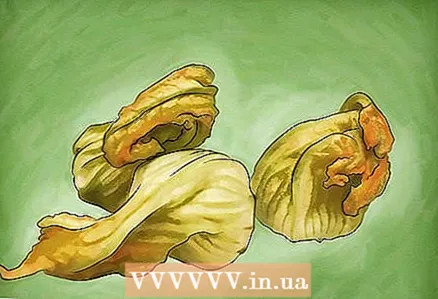 2 Eat early pumpkin flowers. The first pumpkin flowers are male and removing them will not affect plant health. If you want, you can pinch them off and add them to salads. Otherwise, they will just naturally fall off about a week after flowering.
 - The second set of flowers are female flowers that grow above tiny pumpkins. Leave the female flowers on the plants.
 3 Fight pests. As a rule, pumpkin does not attract pests until the end of the growing season, when the plants are already almost at the end of their life cycle. If you know there is a problem with pumpkin pests in your area, take steps to prevent them:
 - Protect young plants by covering them with plastic. Remove the film when the plants are in bloom to allow them to pollinate.
- Planting nasturtiums along your pumpkin patch can help fight insect pests.
- If you see weevils or leaf beetles on the pumpkin leaves, remove them by hand. Also look out for spider mites, aphids, or slugs.
- Adult click beetles and sprout flies are harmless to plants, but their larvae cause significant damage to the roots and future fruits, respectively.
Method 3 of 3: Harvesting Butternut Squash
 1 Wait until the pumpkin is ripe. When a pumpkin can be pressed with a fingernail without leaving a dent on the surface, it means that it is ripe. It is important to wait until the surface hardens, otherwise the pumpkin will quickly deteriorate.
  2 Harvest before the first frost of the season. If you wait too long and the pumpkin freezes, it will start to rot faster than if you harvested it before the temperature drops. Plan to harvest before the weather turns cold.
 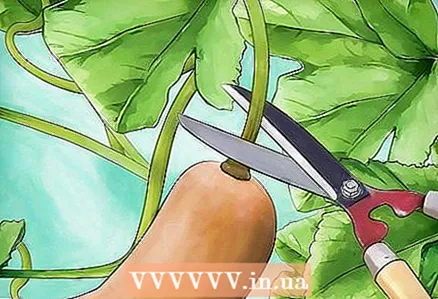 3 Cut the pumpkin from the stem. Cut the pumpkin with a sharp knife, leaving a few centimeters of the stem on it. Bring it into your home immediately and wash off any dirt from the surface. There is no need to leave it outside to ripen.
 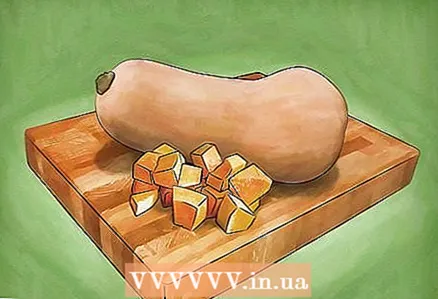 4 Store your pumpkin properly. Fully ripe butternut squash will last for several months if stored properly. Store pumpkins in a cool, dry place and cook them all winter. When you are thinking of preparing a pumpkin, you can read the following articles:
 - "How to cut a butternut squash";
- "How to Make Pumpkin Soup"
- How to bake butternut squash.
Tips
- Seeds can be germinated in indoor peat pots, then transplanted outdoors. Plant the seeds for seedlings in mid to late spring.
- If the soil under the pumpkin is mulched, the pumpkin will not touch the dirty soil, and the soil will retain moisture better.
What do you need
- Butternut pumpkin seeds
- Water
- Compost
- Hoe
- Insecticide
- Mulch
- Scoop or shovel

")

