Author:
Joan Hall
Date Of Creation:
25 July 2021
Update Date:
1 July 2024
Content
- Steps
- Part 1 of 3: Prepare the tree
- Part 2 of 3: Cover the wood with stain
- Part 3 of 3: Applying the finishing coat to wood
- Tips
Finishing is the final stage of woodworking. One type of protective coating, usually colorless, is applied to a wooden product. Finishing of wood, whether it is the restoration of old furniture or the manufacture of new ones, is necessary in order for the product to acquire a "presentation". To finish, start by sanding the wood, then stain and finish with a protective finish.
Steps
Part 1 of 3: Prepare the tree
 1 Sand the wood for the first time. Dents and notches often form on the surface of the wood. They appear during the processing of material on machines, due to its movement from place to place, or as a result of wear. Before you cover the wood with wood stain, topcoat or paint, you need to sand it so that the covering material fits well and the product looks flawless.
 - If you do not sand, the applied finish will only accentuate the existing defects.
- First, use a 10-N grit sandpaper over the wood (P 120). This will eliminate visible defects without causing additional damage.
- Always sand in the direction of the wood grain, not across.
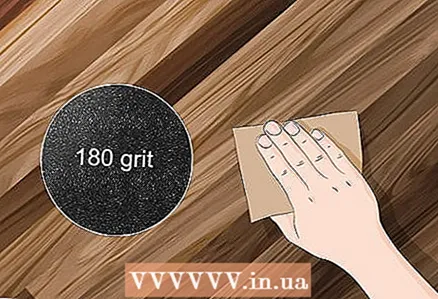 2 Sand the wood with a finer sandpaper. Finish sanding with 6-H grit (P 180).
 - Re-sanding removes coarse grain scratches from previous sanding.
 3 Examine the wood to see if the surface quality is good for you. The flaws are clearly visible under the illumination of a fluorescent lamp. It is also possible to facilitate the detection of defects by treating the surface with a solvent.
 - If you notice any imperfections, you may need to sandpaper the wood again. Do not sand for too long or you may ruin the surface.
- Don't go overboard with sanding trying to get the surface perfectly smooth. In some places there may be dents that cannot be aligned.
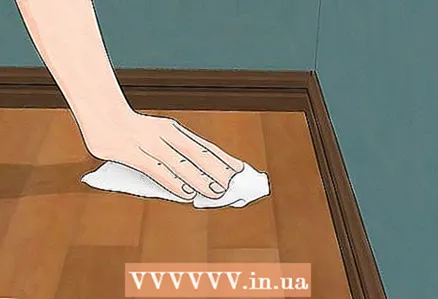
 4 Wipe down the wood with a rag to remove any remaining dust. It is most convenient to collect dust with special dust-collecting wipes.
 - If you do not remove dust from the wood, the product will look uneven and rough after applying the stain.
Part 2 of 3: Cover the wood with stain
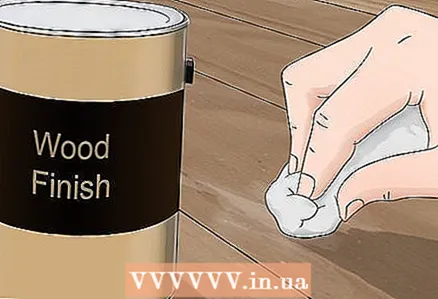
 1 Try the stain color. Dab some stain on the least visible part of the garment, such as the back of the bottom, or a block of the same type of wood. If the color suits you, start staining the product.
 - The remaining stain will not affect the color, but it may be quite noticeable after the product is stained, and the stained area may be slightly uneven.
- When preparing the stain, stir it, but do not shake it.
 2 Apply the stain with a cloth or brush. Spread the material evenly, leaving no puddles or lumps. It is more convenient to work with a brush, as this tool allows you to cover the tree as evenly as possible.
 - When dipping a cloth or brush into the stain, be careful not to drip it onto the floor.
- Cover the wood thoroughly, being careful to distribute it evenly. Brush over the same area several times.
 3 Start with a small area. You can start staining the table leg or the front of the drawer. After the first application, you will be able to determine the drying time. If the stain dries too quickly, you can recoat the area, but then it will darken. Wipe off excess stain immediately.
 - Having determined the drying time of the stain, you can start covering the rest of the product area.
- If the stain is not dark enough, you will need to re-coat the garment one or two more times.
 4 Continue staining the rest of the garment. Apply it with a brush, wiping off excess. Wait for the first coat to dry completely, then apply the second coat. Cover one side of the garment completely at a time.
 - Do not apply the stain a second time to the covered area, as the color may change.
Part 3 of 3: Applying the finishing coat to wood
 1 Choose a finish for your wood. Water-based coatings are less harmful, non-flammable and environmentally friendly. A clear polyurethane topcoat that provides excellent wood protection.
 - Choose a clear finish with the desired gloss level. If you choose a glossy finish, it will give a distinctive shimmer as opposed to a more matte finish.
- Wood can swell from watery finishes. Apply them in a thin layer several times.
- The roughness that appears after the first layer can be carefully sanded with a sandpaper. For an even and thorough finish, apply two more coats on top of the first, but this surface is more difficult to sand.
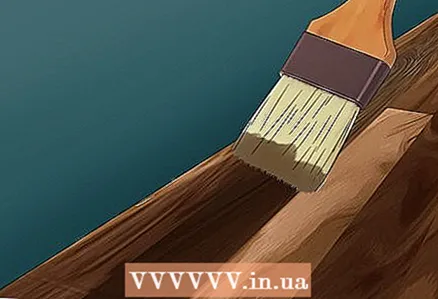 2 Apply a top coat to protect the wood from moisture, dirt, and grease. Take a natural bristle brush and paint in the direction of the wood grain.
 - Stir the product in a jar before use. Do not shake the jar to avoid bubbles forming. They must not be allowed to be transferred to the tree during application.
- The water-based polyurethane coating is excellent for wood. It enhances the texture and natural color of the wood.
- The oil-based coating combined with the wood stain ensures the durability of the wood.
- Stained wood used for decorative purposes is best varnished (solvent-thinned, oil-based polyurethane). It is easy to apply, but does not increase the durability of the product.
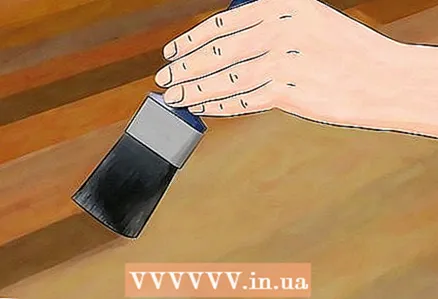 3 Apply the finish to the wood with a natural bristle brush. You can also use a 5 cm wide foam brush.Leave the first layer overnight to set.
 - It is necessary to apply the coating in several coats. Wait for the first coat to dry completely. Then sand it lightly before applying the next coats.
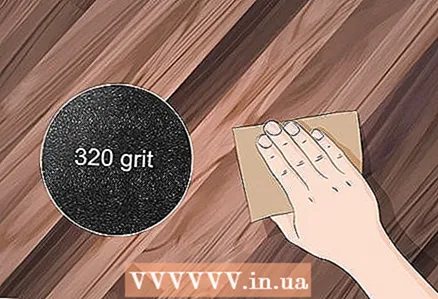 4 Sand the finished wood after drying. Sand the first layer with 4-H grit, M50 (P 280) or finer if the surface is almost perfectly flat.
 - Remove dust with a special cleaning cloth or vacuum cleaner, and then apply a second coat.
 5 Apply a second coat. Brush again where the bubbles appear. Try to brush in the direction of the wood grain.
 - On flat surfaces, brush from side to side and back and forth.
- Apply the coating as thin as possible. Use a strip-to-strip brush to evenly cover the entire surface.
 6 Sand each subsequent coat. Once the layer is dry, sandpaper over the wood to remove any dried-on dust particles.
 - Then, suck up sanding dust with a cleaning cloth or vacuum cleaner.
- 7 Apply only 2-3 coats of topcoat.
- There is no need to sand the last coat as the shine may completely disappear and the product will not look finished.
- After the last layer has dried, wipe it down with a rag to remove any trapped dust particles.
Tips
- To achieve a high-quality result, use two products: stain and topcoat. Do not use products that combine the properties of wood stain and topcoat.
- Apply the stain and topcoat in smooth, long strokes.
- Remember to collect dust with a cloth before applying a new coat.
- If you don't have a workbench, lay a piece of tarp and work on it. Stain stains are very difficult to rub off, therefore it is recommended to wear work clothes and protective gloves.


