Author:
Florence Bailey
Date Of Creation:
22 March 2021
Update Date:
1 July 2024
Content
- Steps
- Part 1 of 2: Removing the old distributor
- Part 2 of 2: Installing a new valve
- Tips
- What do you need
In automotive terminology, the distributor is an important component of the ignition system. Older car models used mainly mechanical valves. In modern cars, electronic valves controlled by a computer, or even ignition without a distributor, are used. The latter are practically indestructible, while the mechanical valves can be replaced, and even improve the performance of the engine. See below for tips on how to do this.
Steps
Part 1 of 2: Removing the old distributor
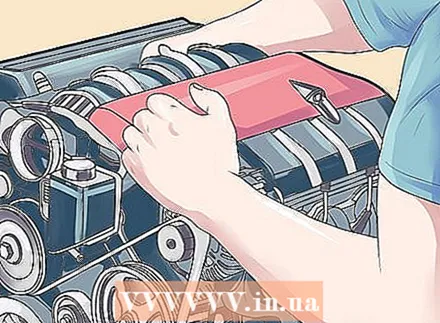 1 Find the location of the distributor. Drive into the garage and open the hood to access the engine compartment. Look for a distributor - usually a cylindrical piece with thick wires near the engine. Most of the valves are located above the V6 and V8 engines, or on one side of the inline engines.
 - The distributor has a plastic cover from which the spark plug wires come out. There will be one wire for each cylinder of the engine, and one extra wire connected to the ignition coil.
 2 Find the timing for your vehicle. To replace a distributor, you need a stroboscope to set the ignition timing after installing a new distributor. To do this, you must use timing characteristics that are unique to your vehicle. Often, they are written on a sticker under the hood or in the engine compartment. They can also be found in the owner's manual for your car, or on the Internet.
 - If you cannot find the timing for your vehicle, do not try to replace the distributor. In this case, it will be much easier and safer to take the car to the auto repair shop.
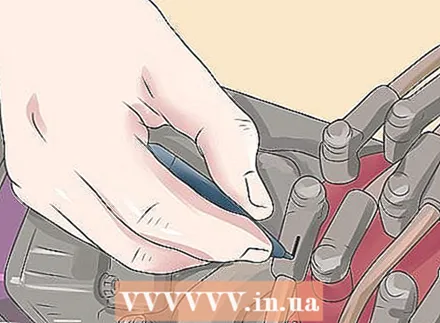
 3 Remove the cover from the distributor. As mentioned above, most distributors have a plastic cover from which the ignition wires come out. To remove the distributor, remove this cover. Some covers are held in place with clamps that can be loosened by hand, while others can only be unscrewed with a screwdriver or wrench.
  4 Disconnect all wires connected to the distributor. Before disconnecting the wires, mark each one so that you do not confuse them when connecting to a new distributor. As marks, you can stick pieces of electrical tape on each wire, and make notes on them with a marker.
 - When working with any electrical device, you must not forget about safety. Never touch the electrical wires of the car when the engine is running, or when there is current in the wires.
 5 Mark the place of the distributor attachment. To facilitate the process of installing a new valve, you can designate the place of its attachment on the outside of the housing. Select a location for which you can find the appropriate site on the new distributor. This will make it easier to dock the new valve with the engine.
 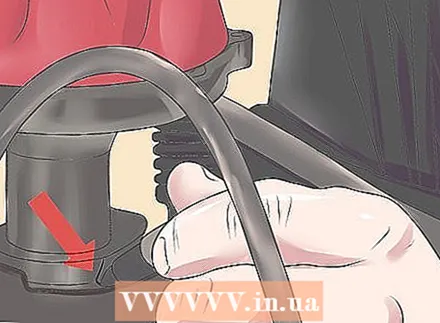 6 Mark the position of the rotor. This step is extremely important - if the rotor position on the new distributor does not match the rotor position on the old distributor, the machine may not start. Make a neat mark on the inside of the distributor housing to indicate the position of the rotor. Precision is important here - the rotor in the new distributor must fully fit the marking.
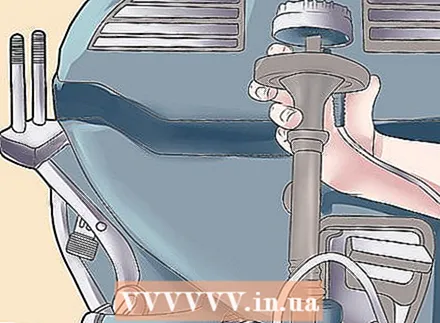
  7 Remove the old distributor. Unscrew the bolts holding the distributor to the engine. Pull the distributor out of the engine very carefully. Removing the distributor can accidentally set the rotor in motion - if this happens, use the position of the rotor that you originally noted.
Part 2 of 2: Installing a new valve
 1 Mark the new distributor accordingly. If you have not already done so, remove the new valve from the box. Make the same markings on the new dispenser as on the old one. In other words, transfer the marks that indicated the position of the rotor in the old distributor to the inside of the housing of the new distributor, and also mark on the outside of the housing of the new distributor the places of docking with the engine.
  2 Before installing, make sure the rotor is in the position corresponding to the mark. As mentioned above, the position of the rotor in the new distributor must exactly match the position of the rotor in the old distributor, otherwise the machine will not start. Make sure the rotor is in the correct position and try not to move it during installation.
 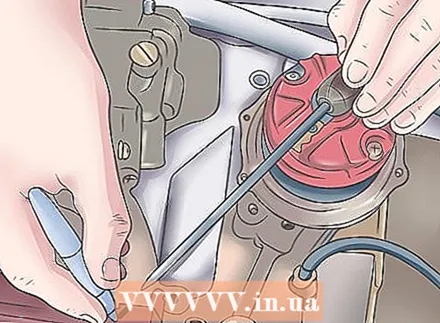 3 Install a new valve on the engine. Fix the distributor in the same place as the old distributor. The markings on the outside of the valve housing must mate with the mounting holes on the engine. Tighten all necessary fasteners.
 - Do not over-tighten the bolts - you may need to unscrew them with your bare hands.
 4 Connect the wires to the distributor and put on the cover. Connect the wires according to the marks you made. Make sure you fasten the wires properly.
 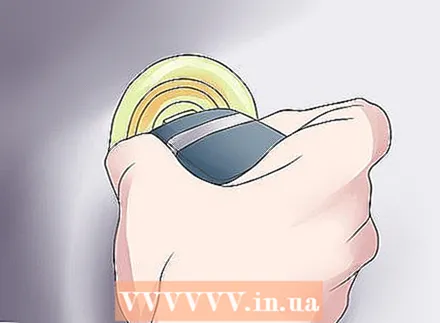 5 Start the engine. Before starting the car, check again that everything is connected correctly. If the car does not start, but sounds like it is about to start, try changing the rotor position slightly (no more than the width of the mark you made), and then try again. If the sound becomes weaker, change the position of the rotor in the opposite direction. If after that the sound became more lively, continue to slightly change the position of the rotor in the same direction.
 - When you can start the engine, let it warm up until it idles smoothly.
 6 Adjust the ignition timing. Stop the engine and point the stroboscope at the first spark plug. Start the engine. Adjust the ignition timing by rotating the distributor housing very slowly. Be sure to follow the instructions that are specific to your vehicle - as noted above, these instructions are different for each vehicle. Do not try to do it "at random"!
 - After you have adjusted the ignition timing, tighten the fasteners that you left unclamped.
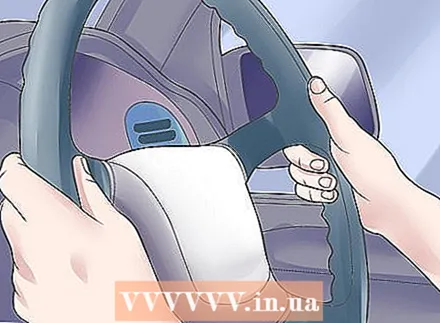
 7 Take a test drive. You are now done - test your new distributor at different rpm. You will most likely notice a difference in vehicle performance.
 - If something in the car's performance has changed for the worse, take it to a car mechanic. Do not drive a car in this condition - it can lead to more serious problems.
Tips
- In case you have a faulty distributor or ignition coil, it is highly recommended to replace other ignition related parts. Installing a new distributor or coil on a machine with old or worn spark plug wires and old / worn spark plugs is completely unwise. Look closely at the ignition system as a whole - most likely, the problem lies in the distributor or in the coil.
- After you remove the distributor, you can check all components (spark plugs, wires, etc.) in the ignition system for wear and / or corrosion. Replace if necessary.
- Lubricate the o-ring before installing the valve in the motor to prevent kinking.
- The ignition distributor is essentially the heart of the ignition system. The on-board computer is the brain that controls the valve. The latest car models do not have a distributor because they use a direct ignition system. A direct ignition system supplies the spark directly to the spark plug, rather than diffusing it through the distributor. The distributor consists of many parts, including moving mechanical parts and several electrical components, which are subject to the extreme conditions that the ignition coil produces. Most recent vehicle models, which still use valves, can pass between 20-50,000 volts. This voltage is supplied from the coil, passes through the distributor, and exits through the spark plug wire as a spark that ignites inside the cylinder. Worn spark plugs and wires return this voltage back to the distributor and ignition coil, causing a short circuit. Timely replacement of the distributor and other components of the ignition system (every few years) can prevent this problem and extend its life. But the breakdown of the distributor can also be caused by other factors, for example:
- Timing belt worn or stretched.
- The O-ring at the base of the valve does not seal.
- High resistance in spark plug wires or in the spark plug itself
- Worn distributor cap, rotor, or other worn ignition parts.
What do you need
- New distributor
- New cover and rotor (if not included with the distributor)
- Universal key
- Spanners
- Socket wrenches
- Flat and Phillips screwdrivers
- Stroboscope
- Timing characteristics of your vehicle


