Author:
Marcus Baldwin
Date Of Creation:
14 June 2021
Update Date:
1 July 2024

Content
- Steps
- Method 1 of 4: PC: Windows Movie Maker
- Method 2 of 4: PC: AVS Video Converter
- Method 3 of 4: Mac: iMovie
- Method 4 of 4: Mac: Zwei-Stein
Reducing or compressing AVI video files is done in order to upload them to the site or send them by email. Compression of AVI video files can be done through video editing programs on PC or Mac. The process is easy enough when done correctly; read how to do it by going below.
Steps
Method 1 of 4: PC: Windows Movie Maker
 1 Start Windows Movie Maker on your computer.The desktop icon usually represents this program; if not, you can also find the program by going to the "Start" menu, select "All Programs" and find the program.
  2 Click on the "Import Video" button under the "Capture Video" heading in the column on the left side. A window will appear to open, allowing you to view the video files that need to be compressed.
 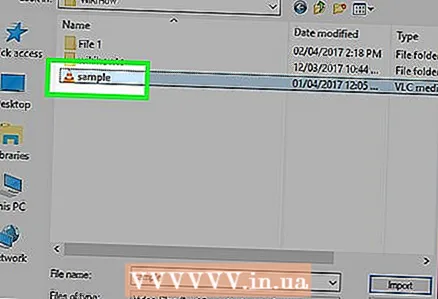 3 Select the AVI video file you want to compress by clicking on the file to highlight it. This will automatically place the name of the AVI file to compress in the "File Name" field in the video file selection window.
  4 Click the "Import" button. A window will appear showing the progress of importing the video file.
  5 Select all the components of the video files that were just imported into Windows Movie Maker. Do this by holding down the left mouse button and dragging the cursor over each component of the video file to select it.
  6 Drag video components to the Timeline function. Do this by continuing to hold down the left mouse button and dragging your selection into the Timeline section at the bottom of the Windows Movie Maker screen.
  7 Select "Save to my computer" located in the column on the left side. The "Save Movie Wizard" window will pop up.
  8 Enter the file name in the designated area to differentiate your original AVI video file from the newly compressed video file; then click the "Next" button.
 9 Select the new size you want to compress your AVI video file to from the video size dropdown menu. Click "Next." Your AVI file will then be compressed to a smaller size (in bits). After compressing the video, the "Save Movie Wizard" will prompt you to finish compressing the video and preview your movie. To do this, just click on the "Finish" button.
Method 2 of 4: PC: AVS Video Converter
 1 Download the "AVS Video Converter" software.
 2 Launch AVS Video Converter from the desktop icon.
 3 Click the "Browse" button located on the right side of the AVS Video Converter window.
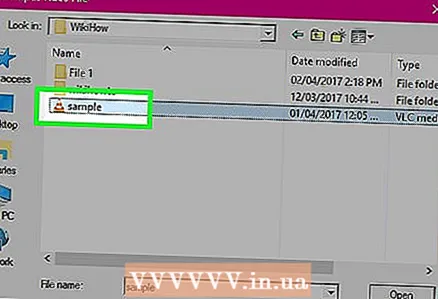 4 Find and select the AVI file you want to compress; click the "Open.’
  5 Select the "To AVI" tab located at the top of the AVS Video Converter window. If you want to compress your AVI file in a different format, select the appropriate file format from the tabs at the top of the AVS Video Converter window.
  6 Select the type of file you want to compress your AVI video file into from the "Profile" drop-down menu in the center of the AVS Video Converter screen. This will give you options based on how your compressed AVI file will be used; those. HD video, Blackberry video, MPEG4, etc.
 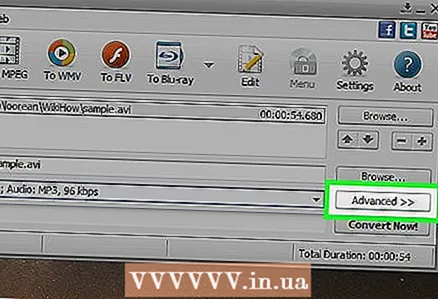 7 Click the "Edit Profile" button next to the "Profile" drop-down menu.
 8 Change the bitrate of the AVI video file by typing the bitrate file size in the "Bitrate" field in the "Edit Profile" window; click the "OK" button to apply the bitrate changes.
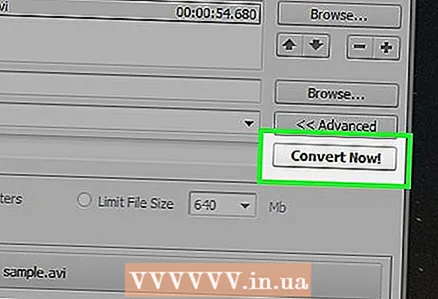 9 Click the "Convert Now" button located at the bottom left of the AVS Video Converter window. A program window will appear to start the file compression process.
  10 Click the "Open Folder" button once your file has finished compressing to play your compressed AVI file.
Method 3 of 4: Mac: iMovie
 1 Start the iMovie program.
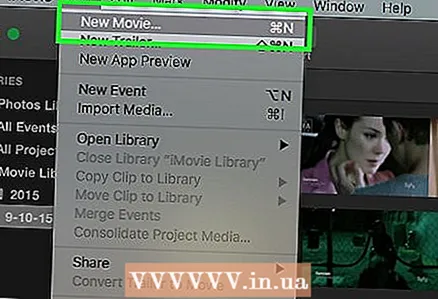 2 Select "New" from the "File" drop-down menu located at the top of the IMovie window.
 3 Enter the name of the new project you want to create as a compressed AVI video file.
 4 Choose where you want to save the new compressed AVI file from the dropdown menu labeled "Where;" click the "Create.’
  5 Select "Import" from the "File" menu in the upper right side of the IMovie window.
 6 Find and select the AVI video file you want to compress; click the "Open."The AVI video file will open in the Project Edit / Timeline window.
 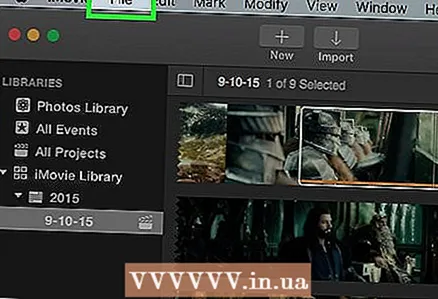 7 Select "Export" from the "File" menu.
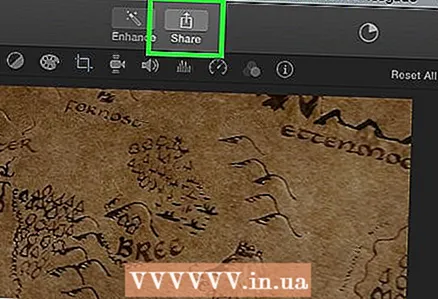 8 Click on the "QuickTime" icon.
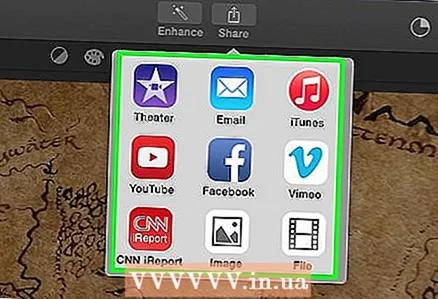 9 Select the "Email" or "Web" option from the drop-down menu labeled "Compress Movie For:"depending on what you are using the AVI file for.
 - Email: the "Email" option will provide the smallest file size available through this program. However, the video will only support low and low quality video viewing.
- Web: the "Web" option will maintain good quality video viewing, but also produce a slightly large file size.
 10 Select the "Share" button, then click the "Save.""This will export the AVI video file as a compressed file.
Method 4 of 4: Mac: Zwei-Stein
 1 Open the Zwei-Stein software on your Mac. If you don't already have it, you can download it for free over the Internet.
 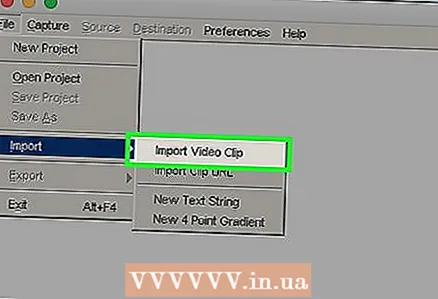 2 Select the "File" tab and scroll down to "Import."A sub-menu will open; select" Import Video Clip. "
  3 Open the AVI file you want to compress in the Zwei-Stein AVI file window, prompting you to do so.
 4 Click the "Destination" button, select "Video Format.""Select the lowest possible video resolution in order to compress your AVI video file.
  5 Click the "Destination" button again and select the "Frames per second" option. Choose small frames per second; the lower the frames per second, the smaller the AVI file size will be compressed.
  6 Click "Destination" again and go to "Export", then select "Video for Windows."’
 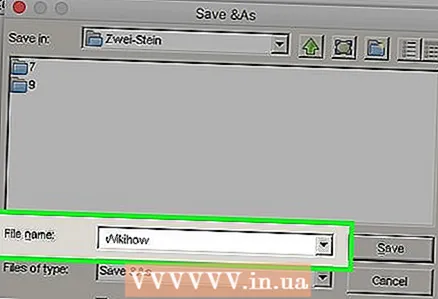 7 Enter the file name for the compressed AVI video file in the designated field, then click "OK.’
  8 Select the "Average Quality" option within the audio quality to reduce the size of the video file (even more so); click "OK."Zwei-Stein will compress the AVI video file up to the specified size.


