Author:
Virginia Floyd
Date Of Creation:
5 August 2021
Update Date:
1 July 2024
Content
- Steps
- Part 1 of 3: Preparing for installation
- Part 2 of 3: Laying the flooring
- Part 3 of 3: Resolving Common Problems
- Tips
- Required tools
The floating floor principle simply means that parquet or laminate flooring does not need to be nailed or glued to the floor underneath. At first glance, laying such a floor may seem intimidating, but with the right preparation and planning, any beginner can handle the task. Laying the floor on your own costs significantly less than with the help of a professional. See Step 1 How to get professional results without big losses.
Steps
Part 1 of 3: Preparing for installation
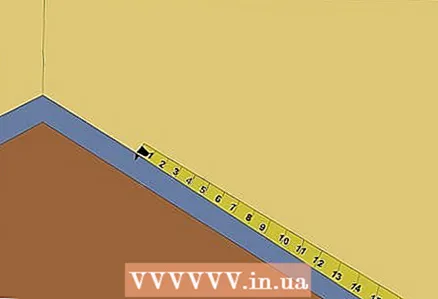
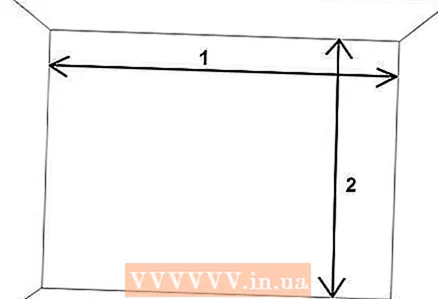
- 1 Assess the space in which you plan to install your parquet or laminate flooring. First you need to measure your floor area. Then purchase the required amount of parquet or laminate, while it is customary to take with a margin to take into account possible errors and corrections, especially if you are doing this for the first time.
- Use a tape measure to measure the area of the room. We measure the length, let's say it was 3.05 meters.
- Then we measure the width of the room. Let's say the width is 3.66 meters.
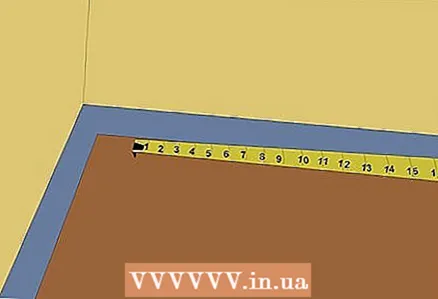
- We multiply the length by the width and we get the total area on which the flooring will fit. For example, multiply 3.05 mx 3.66 m and get 11.163 square meters.
- Use a tape measure to measure the area of the room. We measure the length, let's say it was 3.05 meters.
 2 If the floor on which you plan to install parquet or laminate is filled with concrete, then first lay a wooden base on it. Floating floors should not be laid directly on concrete for two reasons: insufficient insulation and dampness between the concrete base and your floor. When choosing a wood base, professionals usually use OSB (Oriented Strand Board) or plywood. Based on your measurements of the room, calculate how much OSB or plywood you need.
 - 3 Prepare the site. Before you really start laying the floor, there are a few things you need to take care of:
- Use a level to make sure the floor is really level. If there are irregularities in the floor, use a putty to remove them.
- Sand the floor to remove any small bumps and roughness.
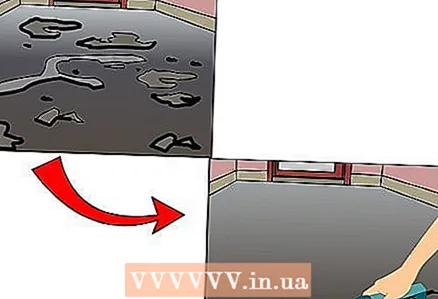
- When you're done leveling the floor, vacuum it to remove dust and debris.
- Use a level to make sure the floor is really level. If there are irregularities in the floor, use a putty to remove them.
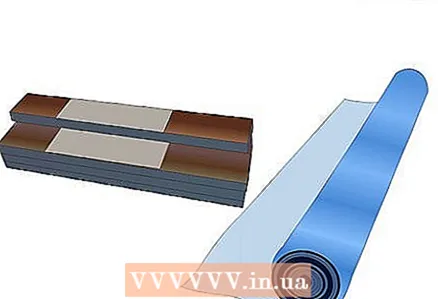 4 Select the floor covering you want to lay on the floor. Parquet and laminate flooring are of great variety. They differ in size, thickness, length, color and design. But there are general parameters that are expressed in the name of the type of wood from which or under which the coating is made, for example, oak, cherry, maple and walnut.Which option you choose depends largely on personal preference.
 - Calculate how many cover packs and liner rolls you need to purchase. You can find this information by reading the footage of each box and liner roll. Divide the total area of the room by the area of the box or backing coil.
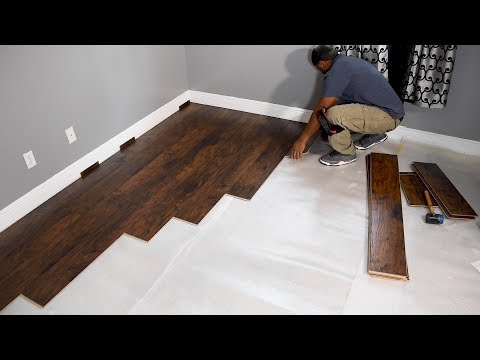
Part 2 of 3: Laying the flooring
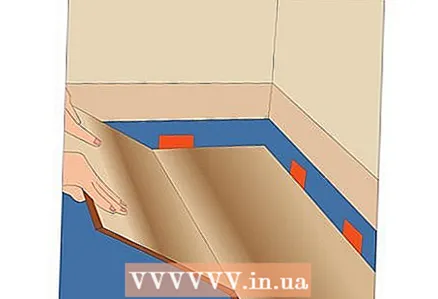
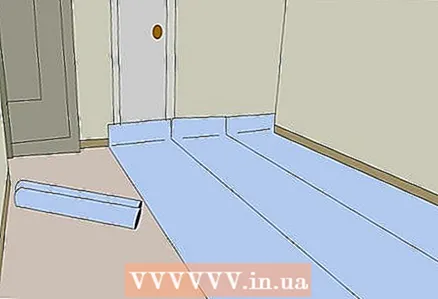 1 Spread the underlay on the floor in one layer. Cut to length with a construction knife. Attach the underlay to the floor and seal the seams with adhesive tape.
 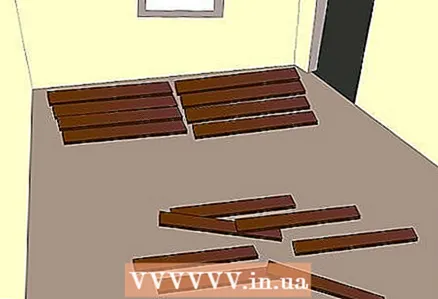 2 Decide in which direction you will lay the flooring. The easiest way is to lay parquet or laminate flooring parallel to the longest wall in the room. However, if the room has an irregular shape, then the covering can be laid diagonally.
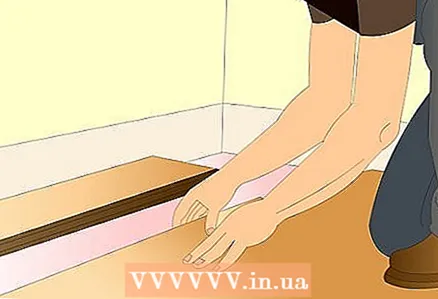
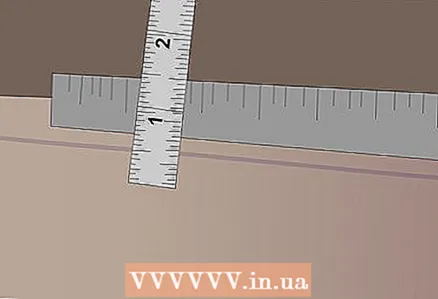
  3 Place the 7.94mm spacer wedges against the wall farthest from the door. Position the first floorboard with the grooves against the wall so that it fits snugly against the spacer wedges. Then lay the next plank to the edge of the first plank.
 - What are the spacer wedges for? Parquet, like laminate, can expand and contract under the influence of temperature changes. The presence of a small space between the edge of the covering and the wall makes it possible to avoid the formation of cracks with such changes.
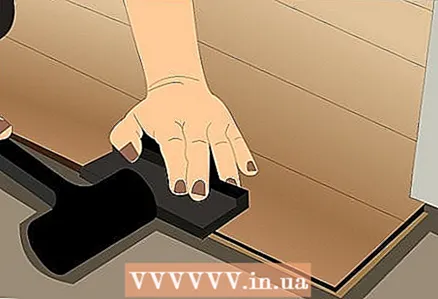
 4 Connect the grooves of the two boards. Place a block or wood block on the second board and tap it with a hammer, knocking one board against the other. Continue repeating this procedure along the entire length of the wall.
 - If you have a hammer with a rubber knob at the end, then you do not need an edge and a block. This hammer minimizes damage to wood products.
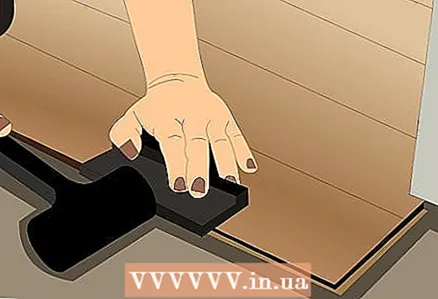
- If you have a hammer with a rubber knob at the end, then you do not need an edge and a block. This hammer minimizes damage to wood products.
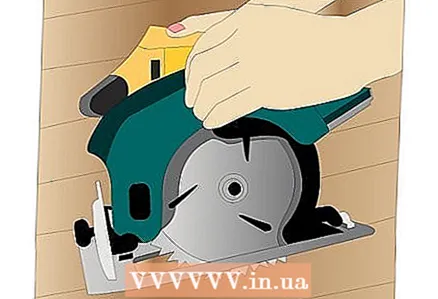 5 Trim the last plank in the row to fit, leaving space between the plank and the wall (for possible expansion and contraction). You can use a circular saw or jigsaw to trim the board.
 - If you are having trouble fitting the last piece due to a wall, then you can detach the penultimate board and lay the last panel first. After the last panel has been laid and is firmly seated against the spacer wedge, replace the missing board and secure the grooves.
- If you are having trouble fitting the last piece due to a wall, then you can detach the penultimate board and lay the last panel first. After the last panel has been laid and is firmly seated against the spacer wedge, replace the missing board and secure the grooves.
 6 Then start laying the next row. Adjust the joints so that they overlap. Trim the first piece so that it is not the same length as the first board from the previous row. This will strengthen the strength of the floor as well as add a pleasing aesthetic appearance. Use an impact tool, block or rubber knob hammer to connect one row to another.
 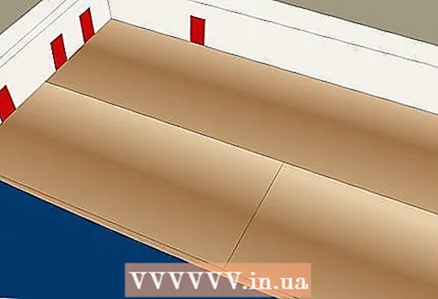 7 Continue to lay each new row until you have covered the entire room. Make sure that each new row is located in the same plane with the rest, thereby giving the entire composition a single appearance.
  8 When finished, be sure to remove the edge spacers near the walls. After that, install the skirting boards along the entire perimeter along the walls. Make sure that you are not nailing the skirting boards to the flooring, but to the wall, which will also prevent damage to the parquet or laminate flooring when it is expanded.
Part 3 of 3: Resolving Common Problems
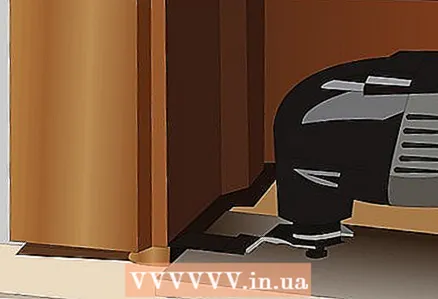 1 Trim the door frame if the flooring does not fit underneath. To do this, use a high-precision plane cut saw for wall and floor applications. Place an unwanted piece of flooring under the saw to make the correct cut, and gently push the saw into the door frame. Then slide the board into the cut to make sure it fits under the frame.
 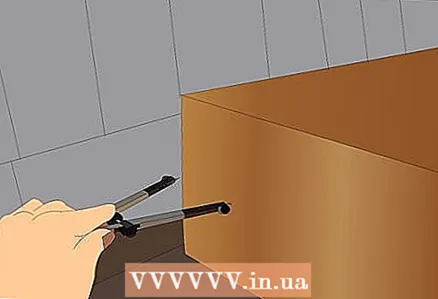 2 Use a marking tool to cut irregular angles and directions. It is good to have in your arsenal a knife for marking when working on wood. It will allow you to make precise cuts using the compass as a guide.
 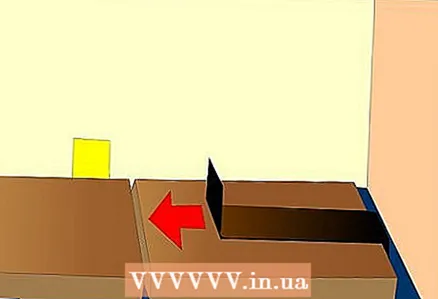 3 Use the brace to tie parquet or laminate panels in hard-to-reach places, mainly near walls. This is a long metal strip with edges bent in different directions. Place one edge of the bracket in the gap between the wall and the parquet or laminate panel and pull on the other edge, which is curved upwards, thus connecting the grooves of the panels.
Tips
- Make sure you cut the correct edge of the flooring. The grooves must be on the right side when joining the boards. To trim the desired side, it is best to lay the board down on the floor and mark with a pencil.
- Make it a rule to buy 5 percent more material.
- Use the underlay and decking as a measurement when trimming the door frame.
Required tools
- Roulette
- Notepad and pencil
- Flooring
- Substrate
- Saw for high precision cutting in the plane
- Level
- Putty
- Sandpaper
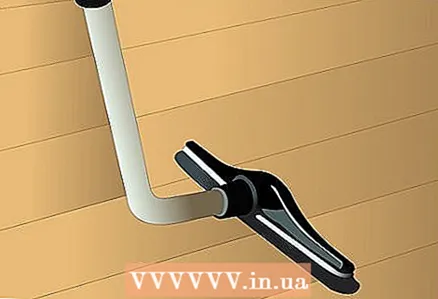
- Vacuum cleaner
- Construction knife
- Adhesive tape
- Spacer wedges 7.94 mm
- Tamping tool
- Wooden block
- Heavy hammer
- Jigsaw
- Circular Saw


