
Content
- Steps
- Method 1 of 6: 7-Zip (Windows)
- Method 2 of 6: WinRAR (Windows)
- Method 3 of 6: Archive Utility (Mac)
- Method 4 of 6: How to compress large video files
- Method 5 of 6: How to compress large images
- Method 6 of 6: How to compress large audio files
As a rule, in modern operating systems, compressing files is quite simple, but everything becomes more complicated if the files are very large, because you will not be able to use system archivers. But there are programs with which you can compress files of any size; if these programs are properly configured, the file size can be significantly reduced. If you are going to compress a media file, simply convert it to another format that will compress the file without significant loss of its quality. In this article, we will show you how to compress large files.
Steps
Method 1 of 6: 7-Zip (Windows)
 1 Install the 7-Zip archiver. This free archiver can compress very large files and folders. To install 7-Zip:
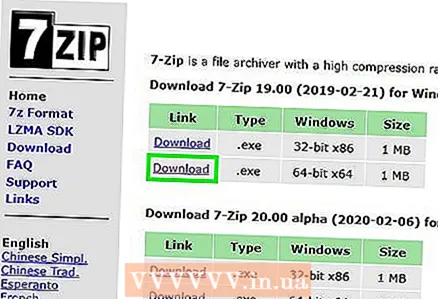
 - Go to https://www.7-zip.org/download.html in your web browser.
- Click Download next to the latest version of 7-Zip.
- Open the downloaded EXE file; you will find it at the bottom of your web browser or in your Downloads folder.
- Click Install.

Luigi Oppido
Computer technician Luigi Oppido is the owner and technician of Pleasure Point Computers, a computer repair company in Santa Cruz, California. Has over 25 years of experience in computer repair, update, data recovery and virus removal. He has also been broadcasting the Computer Man Show for over two years! at KSCO in Central California. Luigi Oppido
Computer technicianCompress files if you want to reduce their size or get one file. For example, if the size of the file you want to send by email is 12 MB, but you can attach no more than 10 MB to an email, compress the file to 7 MB - the recipient of the archive will unpack it and gain access to the original file.
 2 Right click on the file (or folder) you want to compress. A context menu will open.
 - Almost any file can be compressed, but some files are not compressed very much.
 3 Click on 7-Zip. This option is in the context menu; it will only be available if 7-Zip is installed on your computer.
  4 Click on Add to archive. The "Add to Archive" window will open.
  5 Please select Ultra in the Compression Level menu. This will select the highest compression level.
  6 In the Dictionary Size menu, select a value that is 10 times less than the amount of installed memory. The larger the dictionary, the better the compression, but the memory size should be 10 times the dictionary. For example, if the amount of RAM is 8 GB, select a number close to 800 MB for the dictionary size.
 - If the computer has a very large amount of RAM, it will not work to unpack the archive on less powerful computers. Therefore, in this case, choose a smaller dictionary size.
 7 Please select Continuous in the Block Size menu. In this case, the file will be compressed as a contiguous block of data, which will improve the compression ratio.
 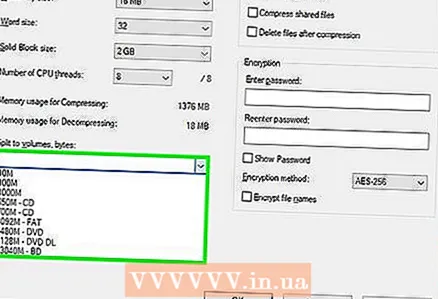 8 Select the option to split the archive into several small files (if needed). If the file is very large, split the archive into smaller files. For example, if the folder is 12 GB, split the archive into three smaller files to burn them onto three DVDs. To do this, open the "Split into volumes by size" menu and select the file size into which the archive will be divided.
 - To unpack the archive, you need all the files into which it was split. Therefore, do not delete or lose any of these files.
 9 Click on Ok. It's at the bottom of the window. The file will be compressed with the parameters you set.
Method 2 of 6: WinRAR (Windows)
 1 Install the WinRAR archiver. For this:
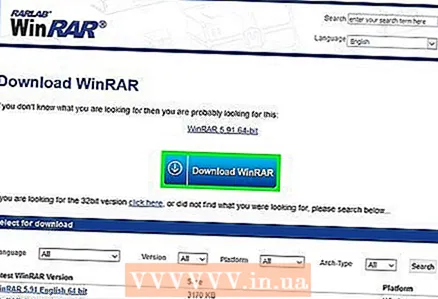
 - Go to https://www.win-rar.com/download.html in a web browser.
- Click Download WinRAR.
- Open the downloaded EXE file.
- Click Install.
- Click on "OK".
- Click Finish.
 2 Right click on the file (or folder) you want to compress. A context menu will open.
 - Almost any file can be compressed, but some files are not compressed very much.
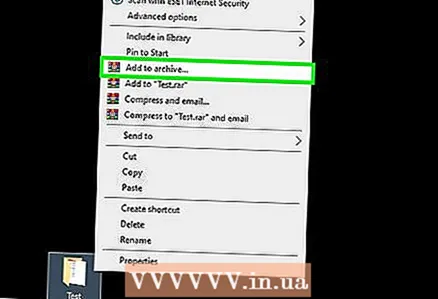 3 Click on Add to archive next to the WinRAR icon. This option is on the context menu. The WinRAR icon looks like a stack of books.
  4 Please select Maximum in the Compression Method menu. This will ensure the highest compression ratio.
 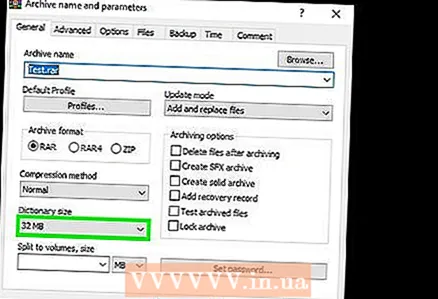 5 In the Dictionary Size menu, select a value that is 10 times less than the amount of installed memory. The larger the dictionary, the better the compression, but the memory size should be 10 times the dictionary. For example, if the amount of RAM is 8 GB, select a number close to 800 MB for the dictionary size.
 - If the computer has a very large amount of RAM, it will not work to unpack the archive on less powerful computers. Therefore, in this case, choose a smaller dictionary size.
 6 Select the option to split the archive into several small files (if needed). If the file is very large, split the archive into smaller files. For example, if the folder is 12 GB, split the archive into three smaller files to burn them onto three DVDs. To do this, open the "Divide into volumes by size" menu and select the file size into which the archive will be divided.
 - To unpack the archive, you need all the files into which it was split. Therefore, do not delete or lose any of these files.
 7 Click on OK. It's at the bottom of the window. The file will be compressed with the parameters you set.
Method 3 of 6: Archive Utility (Mac)
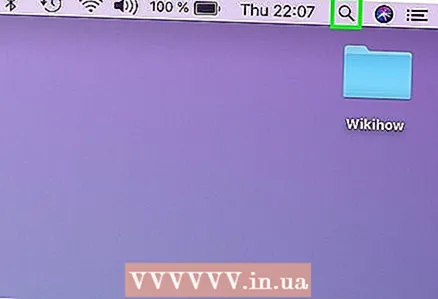 1 Click the magnifying glass icon
  . You will find it in the upper right corner of your desktop. The Spotlight search bar opens.
 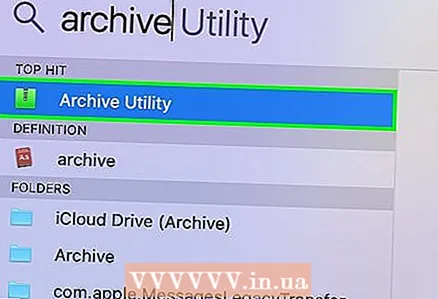 2 Enter Archive Utility.app in the search bar and click ⏎ Return. The archiving utility starts. It is a system archiver that is built into macOS. It doesn't have as many options as Windows archivers, but it can compress large files.
  3 Click on File. It's on the menu bar at the top of the screen.
 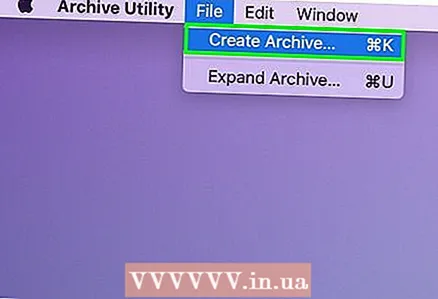 4 Click on Create archive. This is the first option on the File menu.
 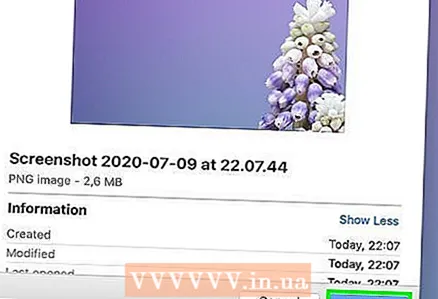 5 Select a file (or folder) and click Archive. The file will be compressed in GZIP format (.cpgz). This format provides a higher compression ratio than the standard ZIP format, but you will not be able to unpack such an archive in Windows.
 - To create a standard ZIP file, right-click the file in the Finder and choose Compress from the menu.
Method 4 of 6: How to compress large video files
 1 Install the free video editor Avidemux. It can be used to compress and convert video files on Windows, macOS and Linux. To install Avidemux:
 - Go to http://fixounet.free.fr/avidemux/download.html in a web browser.
- Click "FOSSHUB" next to the desired operating system.
- Click on the file link for the required operating system.
- Open the downloaded file; you will find it at the bottom of your web browser or in your Downloads folder.
- Follow the instructions on the screen to install the video editor.
 2 Start Avidemux. Click on the icon in the form of a numbering clapper; it's in the Start menu (Windows) or in the Applications folder (Mac).
 - Videos are large chunks of data that do not compress well when archived as described in the previous sections. Therefore, the video needs to be transcoded using Avidemux, which will reduce the file size at the expense of some quality loss.
- Typically, movies that can be downloaded on the Internet are already compressed. If you compress such a file again, the quality loss will be enormous, or the size of the archive will not differ much from the size of the original file.
- You cannot decompress a compressed video file. Therefore, you need to separately store the archive and the original file so as not to lose it.
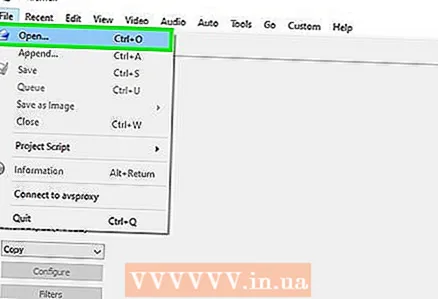 3 Open the video file in Avidemux. To do this, follow these steps (remember that this process may take several minutes):
 - Click "File".
- Click "Open".
- Select a video file on your computer and click Open.
 4 Please select Mpeg4 AVC (x264) in the Video Output menu. This is the most common video format.
 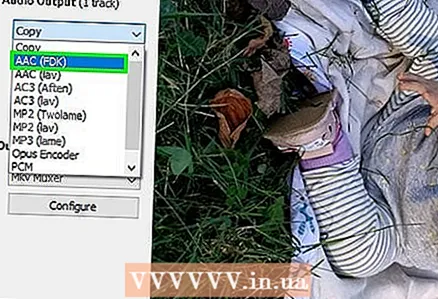 5 Please select AAC FDK in the Audio Output menu. This will compress the audio track of the video to reduce the file size.
  6 Please select MP4 Mixer in the Output Format menu. This will play the video file on most devices.
 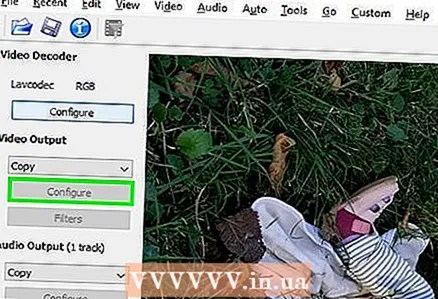 7 Click on Configure (Options) in the "Video Output" section. This is the first option of the specified section.
  8 Please select Video Size (Two Pass) (Video size, two passes) in the menu. It's under the Rate Control section.
  9 Enter the size of the final video file. Avidemux will change its settings so that the size of the final file is as close as possible to the size you specified (the size of the final file will be slightly larger or smaller than the specified size).
 - Keep in mind that if the size you choose is much smaller than the original file size, the loss in quality will be severe.
 10 Click “Save Video”. This option is indicated by a disk icon in the upper left corner. Now enter the file name; the conversion and compression process starts. The process will take some time, which depends on the size of the original video file and the quality settings.
Method 5 of 6: How to compress large images
 1 Remember what can be squeezed. Most of the pictures that can be downloaded on the Internet are already compressed. JPG, GIF and PNG are compressed formats, which means that further compression will result in severe loss of quality. Therefore, we recommend compressing images taken from a digital camera or BMP format.
 - You cannot decompress a compressed image. Therefore, you need to separately store the archive and the original image so as not to lose it.
 2 Remember the difference between lossless and lossy compression. Lossless compression means compression when the quality of the final file does not differ from the quality of the original; Typically, this compression is applied to drawings, diagrams, and medical images. Lossy compression is intended for situations where degradation is not critical, and is most often applied to photographs.
 - GIF, TIFF and PNG are lossless formats.
- JPG is the most common lossy format.
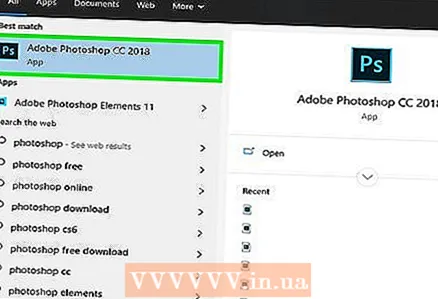 3 Start the graphics editor you are using. In almost any graphics editor, you can compress an image by saving it in a different format. When you choose the final format, you will be able to specify the compression rate.
 - In Photoshop, GIMP and even Paint, the picture can be saved in a compressed format. Almost any graphic editor is suitable for this, just some of them have more functions.
- Photoshop is the most popular paid graphics editor; if you want to use its free counterpart, install GIMP, which has many similar features to Photoshop.
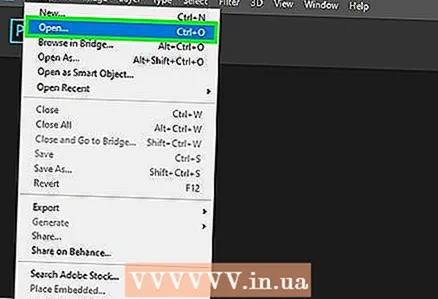 4 Open the image in a graphics editor. This process is practically the same in different programs. To open an image in the editor:
 - Click "File" on the menu bar.
- Click Open.
- Select an image.
- Click Open.
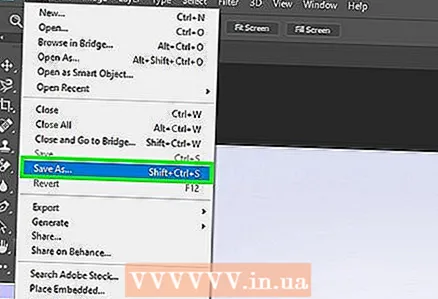 5 Open the Export menu. Do this to save the original image in a different format. To open this menu:
 - Click "File".
- Click Save As (Photoshop, Paint) or Export To (GIMP).
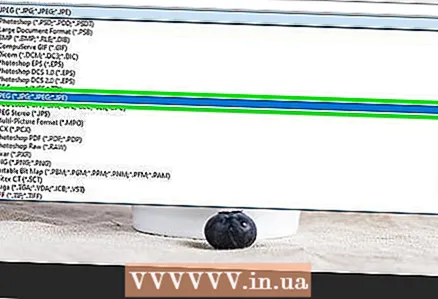 6 Select the format you want. In Paint, just select the format you want. In Photoshop, choose a format from the Format menu. In GIMP, open the Save as type menu and choose a format. Choose the format according to the type of the source file.
 - If you are compressing a photo, select the JPG format.
- If you are compressing an image with up to 256 colors, select GIF.
- If you are compressing a screenshot, drawing, comic book, or similar picture, choose PNG format.
- If you are compressing an image with multiple layers that you want to keep, select the TIFF format (note that this format does not always mean compression).
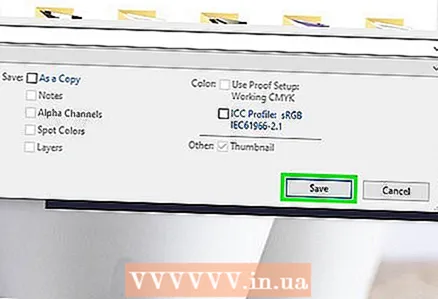 7 Click on Save (Photoshop) or Export (GIMP). The original image will be saved in the specified format.
 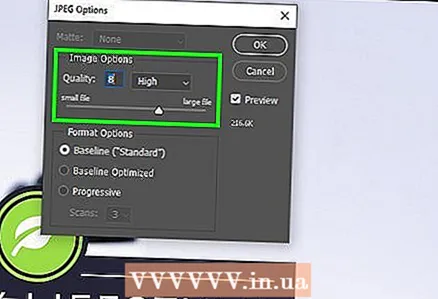 8 Specify quality parameters (if possible) and click Ok. When you click Export or Save, some editors will open quality and compression options. You can usually select the quality and compression ratio using the slider.
 - Increasing the compression ratio will result in a much smaller file, but the quality will drop significantly, such as artifacts or discoloration. So experiment with the settings to find a good balance between quality and file size.
Method 6 of 6: How to compress large audio files
 1 Remember what can be squeezed. Most audio files, such as MP3 and AAC formats, are already compressed. Further compression of such files will result in a significant decrease in sound quality.Therefore, we recommend compressing audio files in uncompressed formats such as WAV or AIFF.
  2 Install the free audio editor Audacity. It supports Windows, macOS and Linux. For this:
 - Go to https://www.audacityteam.org/download/ in your web browser.
- Click on the link for the required operating system.
- Click on the link to download the Audacity installer.
- Click on the file link for the desired operating system on the download page.
- Open the downloaded file; you will find it at the bottom of your web browser or in your Downloads folder. Now follow the instructions on the screen to install the program.
 3 Start Audacity. Click on the orange sound wave with blue headphones. This icon is located in the Start menu (Windows) or in the Applications folder (Mac).
  4 Open the audio file you want to compress. For this:
 - Click "File".
- Click Open.
- Select an audio file.
- Click Open.
 5 Create a monaural audio file (optional). This is fine for compressing recorded speech or similar audio files, but not music or audio files with stereo effects. A monaural audio file can greatly reduce the size of the original file. To convert an audio file to monaural:
 - Click ▼ next to the file name.
- From the menu, choose Split Stereo Track To Mono.
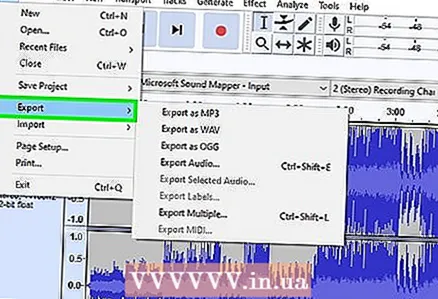 6 Open the Export Audio Data window. Here you can select the format of the final file and the folder to save it.
 - Click "File".
- Click Export.
- Click Export Audio Data.
 7 Select the target file format. All formats that are in the File Type menu are compressed (except WAV and AIFF). Choose the format that suits your needs. The most common compressed audio formats are:
 - MP3 is the most widely used format for music as it provides good compression without noticeable loss of quality. This format is played by most devices.
- FLAC is a lossless compression format. Choose this format if you are going to play music on expensive high-quality audio systems, but remember that not all devices support it. Also, this format will not greatly reduce the size of the original file.
- OGG - Similar to MP3, but with better sound quality. This format is not supported by all devices.
 8 Select the sound quality. Your actions will depend on the selected output file format. Lower quality will provide more compression.
 - MP3 - From the Quality menu, choose Standard or Medium for a decent compression ratio with moderate audio quality, or choose Extreme or Excessive for high quality audio with little compression.
- OGG / M4A (ACC) - Drag the slider to the left to increase the compression ratio and decrease the sound quality. Drag the slider to the right to decrease the compression rate and improve the sound quality.
- All other file types - select the sound quality and compression rate in the "Bitrate" menu. A lower bit rate will result in higher compression rates and lower audio quality.
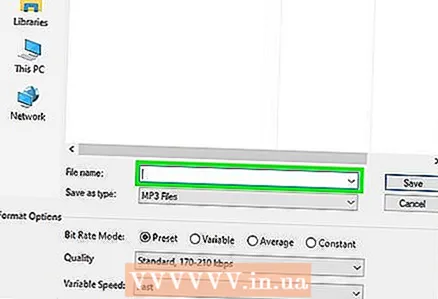 9 Change the file name (optional, but recommended). Do this to avoid overwriting the original file. To do this, change the file name in the "File name" line.
  10 Click on Save > OK. The audio file will be saved in the compressed format you specified.

")

