Author:
Janice Evans
Date Of Creation:
25 July 2021
Update Date:
1 July 2024

Content
- Steps
- Method 1 of 4: Knitting a Button Basics
- Method 2 of 4: Button Knitting Basics, Magic Ring Option
- Method 3 of 4: Decorating a knitted button
- Method 4 of 4: Closed Knit Button
- Tips
- What do you need
The knitted button has a fancy look and is pleasant to the touch. There are several different ways to make a button like this, but no matter how you make it, the button itself has a very basic look, making it easier to match it to your chosen project.
Steps
Method 1 of 4: Knitting a Button Basics
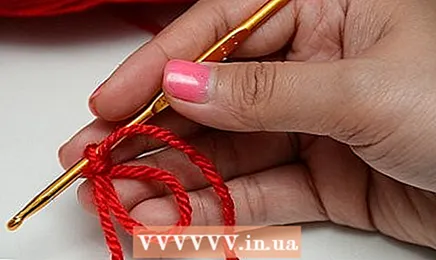
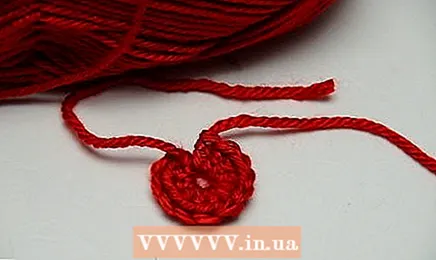
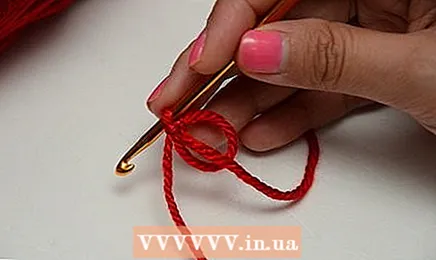
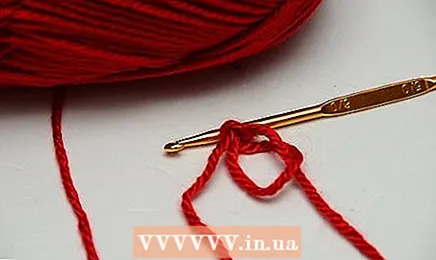 1 Make an air loop. Tie a thread of yarn around the needle of your crochet hook to form a loop at the tip of the crochet hook.
 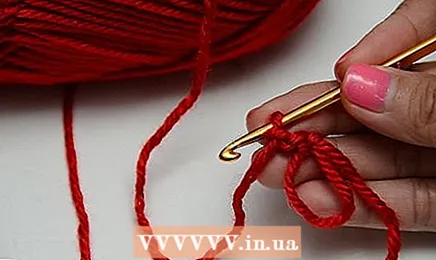 2 Weave two. Tie two consecutive loops from a knot at the tip of your crochet hook.
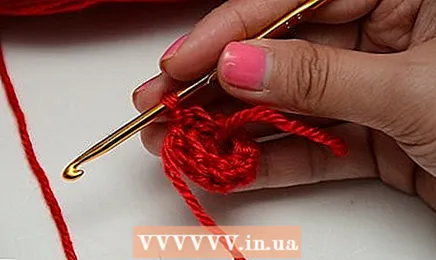
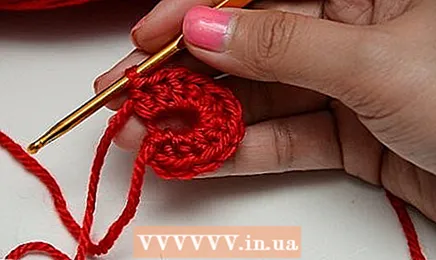
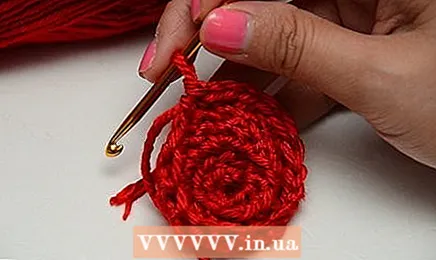
 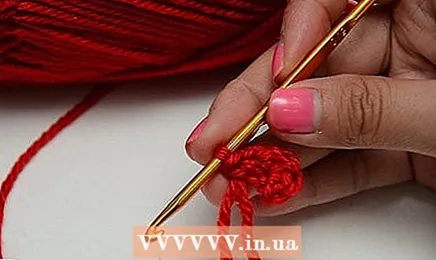 3 Make six single stitches. Crochet two single stitches in the second stitch, which can also be the first stitch you will knit. Use a chain stitch to connect the first link to the last.
 - You should make a total of six of these stitches in a circle.
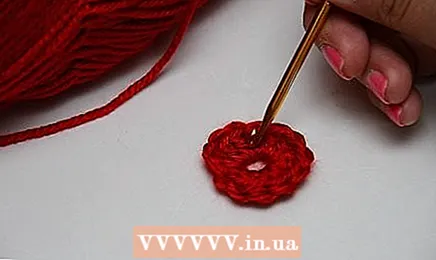
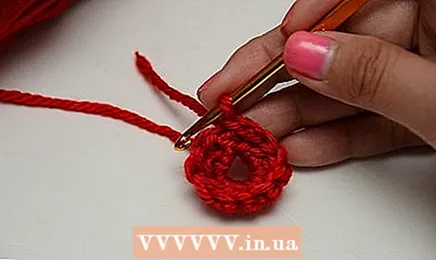
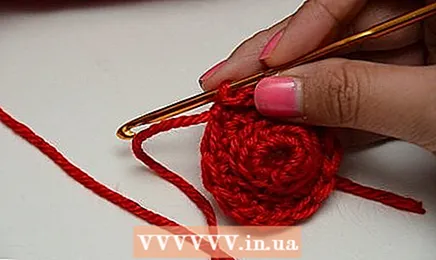
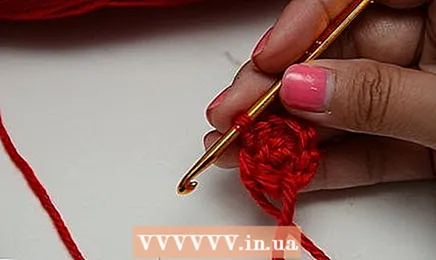 4 Weave one and make two single loops. Make one link from the crochet loop to start a new circle. Make two single loops in each stitch from the previous circle. Use a chain stitch to connect the first link to the last.
 - You should have a circle of twelve stitches in total.
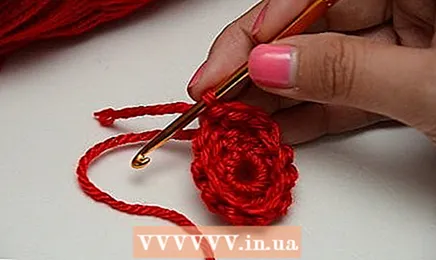
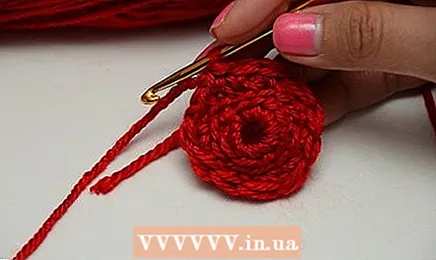
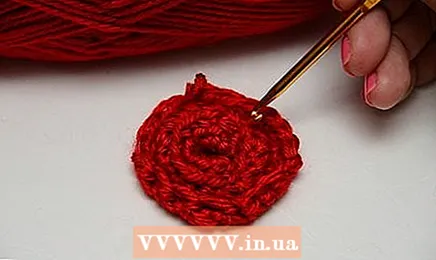
 5 Weave one and make six sets of two single stitches. Make one link from the crochet loop to start a new circle. A single buttonhole after two stitches from the previous circle and so on six times in a circle. Use a chain stitch to connect the first link to the last.
 - You must make a circle with six links in total.
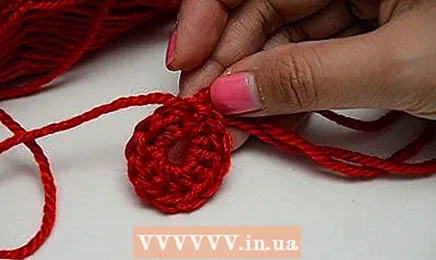
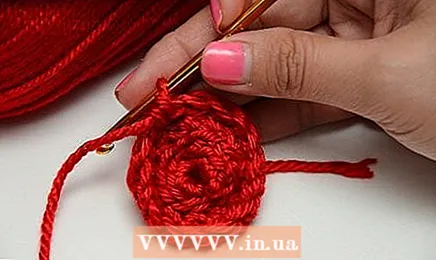
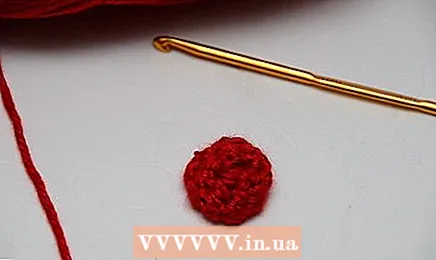 6 Hide the ends. Weave the ends into the loops on the back of the button, using an embroidery needle as needed.
 - Use your hands to smooth out the button slightly.
- When weaving the ends, do this through the entire thickness of the button to help secure.
Method 2 of 4: Button Knitting Basics, Magic Ring Option
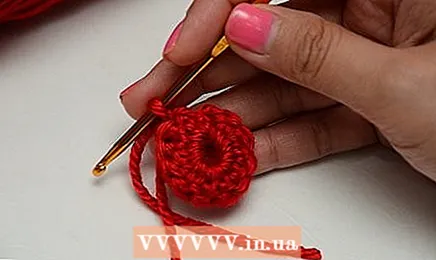
 1 Make a magic ring. Make a circle, more commonly known as the "magic ring", out of your thread. Sew one stitch to secure the buttonhole.
 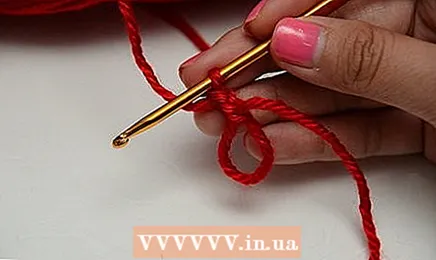 2 Weave two and make eleven double stitches. Make two more consecutive stitches from the buttonhole on your crochet hook. Work eleven double stitches around the magic ring. Pull the ends of the magic ring gently to form a tight circle.
 - Note that the first two consecutive stitches will count as one double stitch.
- Your circle should be twelve double stitches, including two sequential stitches.
 3 Seal the ends. Cut the thread, leaving a long tail, and pull that tail through the loop on the hook to tie it.
 - The tail must be at least 20 cm long.
 4 Thread the embroidery needle. Insert the end of the yarn into the eye of the needle and tie it loosely around it to secure.
 - Otherwise, you can simply hold the thread with your finger instead of tying it.
 5 Close the circle. Pass the embroidery needle through the top of the first double buttonhole and back through the back buttonhole of the last stitch.
 - Note that you must weave it into the actual first double stitch, not across the beginning of the set of two chains.
- It should look like an additional loop, and the circle on the front side should have smooth edges.
 6 Weave the ends. Use your embroidery needle to loop the ends along the entire back of the button, tightening them while concealing them.
Method 3 of 4: Decorating a knitted button
 1 Make a basic knit button. Each of these embellished buttons starts with the basic buttons described above. Since the stitches are better visible on the magic ring version, this is more acceptable, but you can experiment with any option.
 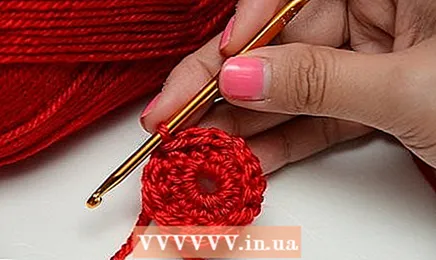 2 Make sharp edges with colorful threads. Use a crochet hook and an embroidery needle to weave colorful threads around the edge of the double stitches in the magic ring of the base button.
 - Insert the hook into the top of the double loop. Grab the colored thread and pull it through the loop to the right side.
- Without removing the loop from the hook, insert it between the double loop and pull out a new second loop.
- Pull the second loop through the first.
- Continue in the same way, working counterclockwise around the button and pulling out new buttonholes between the double buttonholes.
- While pulling the thread through the last loop, cut the end and thread it into the embroidery needle.Insert the needle under both loops of your first color stitch and back through the back loop of the last one. Pull the thread on the back of the button.
- Sew the ends into the back of the button with an embroidery needle.
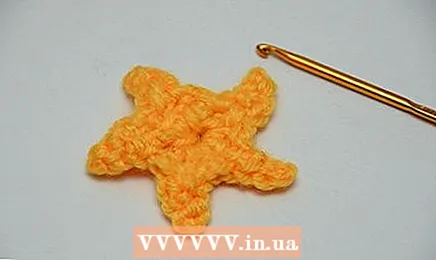 3 Make a center star or snowflake. You can make a simple six-pointed star or snowflake with a 30 cm cross braid using colored threads by pulling with a needle through the double loops of the magic ring.
 - Cut a piece of colored thread 30 cm long.
- Insert the end of the thread into the eye of the needle.
- Insert the needle under two stitches of one double buttonhole. When sewing the top of the button, insert the needle into the center of the button and pull it out from the back.
- Starting at the back, insert the needle again through the next two double stitches on the button. Starting from the front side, thread the needle through the center again.
- Continuing this way, you have six lines extending from the center to the edges.
- Weave the ends through the stitches on the back of the button to hold everything together.
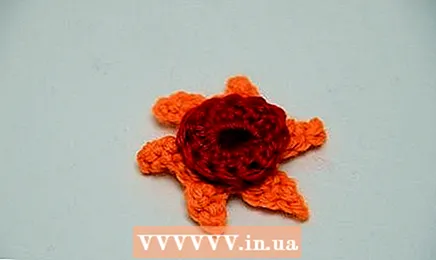 4 Flower decoration. Floral decorations are a little more complicated and require one color for the center and another for the five petals.
 - For the center of the flower:
- Thread the embroidery needle.
- Pass the needle through the center of the button. Weave it under one inner loop and return to the other side. Loop at the tip of the needle.
- Pull the entire thread through the two loops you just made.
- Repeat similar stitches through each buttonhole in the center of the button. Tie on the back of the buttons.
- For petals:
- Thread the needle.
- Pull the thread through the buttons, from under the center of your flower. Do not stretch through the center of the flower.
- Reinsert the needle in the center. Do not tighten the buttonhole, but rather leave it free to lie around the perimeter of the button.
- Starting at the back, insert the needle through the two loops on the edge of the button, pulling it towards the center and through the loop you made when you started from the center.
- Tighten the loop. The first petal is ready.
- Weave the needle along the outer edge of the petal and back to the back of the button.
- Starting at the back, repeat the same steps, creating four more petals. At the end, secure the edges on the back.
- For the center of the flower:
Method 4 of 4: Closed Knit Button
 1 Make a magic ring. Make a circle out of the threads, more commonly known as the "magic ring". At the end of the ring, make a loop to tighten it.
 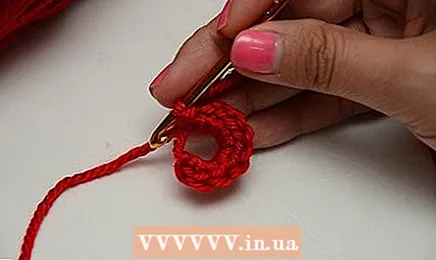 2 Create ten single stitches. Make ten single stitches in the center of the magic ring. Connect the last stitch to the top of the first stitch, with the first chain stitch.
 - Tighten the edges if necessary to make the circle taut.
- This is the end of the first round.
 3 Weave one and sew two single loops in each stitch. Sew one regular stitch to move to the next round. Make two single stitches in each stitch from the previous circle, joining the last and first at the top with another chain stitch.
 - This will visually enlarge your circle.
- In the second round, you should have a total of 20 stitches.
- After you're done, compare the button sizes. If you did everything correctly, you should have another circle covering the front of the button.
 4 Weave one and increase each successive single stitch. Sew one regular stitch to move onto the next round. A single buttonhole once on the first stitch from the previous circle, and then a buttonhole twice on the next stitch. Continue all the way around the button, joining the first and last stitches of this circle with another chain stitch.
 - You should have 30 stitches in this circle.
- At this point, the cover of your button should match the size of the button. If it's a little larger, that will work too, as the excess can be wrapped around the back.
 5 Form the fourth circle. Regular stitch once to move to the next circle. A single buttonhole once every five stitches from the previous round.Then make a single buttonhole, shrinking with each subsequent two stitches from the previous rounds. Repeat all in a circle, connecting the last and first sts with a chain loop.
 - You should have 26 stitches in this circle.
- The edges should curl into a plate shape.
 6 Add more reduced loops in the fifth circle. Weave one to go to the next circle. Single buttonhole once across the next two stitches. Then make a single buttonhole, decreasing with every next two stitches. Continue in a circle, connecting the last and first stitches with a chain stitch.
 - This circle should have 20 stitches.
 7 Decrease again for the sixth circle. Weave one to start the sixth circle. Single buttonhole once across the next two stitches. Repeat all the way in a circle, connecting the last and first sts with a chain stitch.
 - This circle should have 10 stitches.
- The knitted lid covers the button at this point. You may need to make sure of this before finishing the last stitch, just make sure the button fits inside.
 8 Decrease again for the seventh circle. Weave one to start the seventh circle. Single loop once through the next two stitches and repeat all over the circle. Connect the last and first stitches with a chain stitch.
 - This circle should have 5 stitches.
- At this point, the entire back of your button should be completely covered.
 9 Secure and hide the edges. Cut the thread, leaving an edge 20 cm long. Pull this edge through the loop on the crochet hook to secure it, then weave back and forth through the last stitches to finish and secure the edges.
Tips
- To reduce the buttonhole, wrap the thread around the tip of the crochet hook, insert it into the appropriate stitch, and wrap the thread around it on the other side.
- Draw this loop by wrapping the thread again and thread the hook into the next stitch.
- Wrap the thread over the other side and pull the other loop to the right side.
- Pull the last loop through two on your crochet hook to finish the stitch.
What do you need
- Yarn
- Crochet hook that matches your yarn number and size F button (3.75mm)
- Embroidery needle
- Scissors
- Yarn of a color other than the main one
- 1 additional button with a diameter of 3.5 cm (optional)


