Author:
Janice Evans
Date Of Creation:
28 July 2021
Update Date:
1 July 2024
Content
- Steps
- Method 1 of 3: Assembling the TIA Welding Machine
- Method 2 of 3: Welding metal
- Method 3 of 3: Different types of welds
- Warnings
- Tips
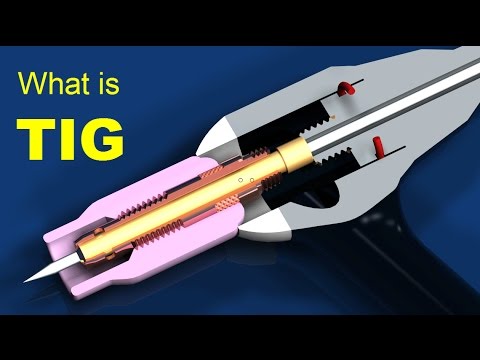
When welding with a tungsten electrode in an inert gas environment (TIA welding), as the name suggests, a tungsten electrode is used to heat the metal, and the inert gas argon serves to protect the weld pool from atmospheric gases. VIA welding is used to obtain high-quality clean welded joints of many materials, including steels, stainless steels, chromium, aluminum, nickel alloys, magnesium, copper, brass, bronze, gold. In this article, you will find a description of the TIA welding procedure, which will help you get started creating your own masterpieces today!
Steps
Method 1 of 3: Assembling the TIA Welding Machine
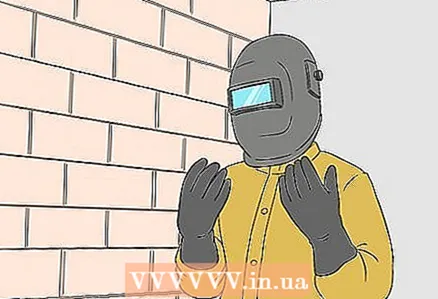 1 Take care of your safety. Before you start welding, take safety goggles, heavy fireproof clothing and a welder's mask with eye protection.
 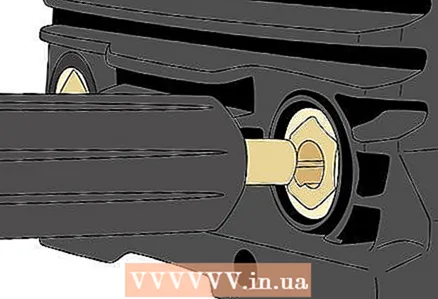 2 Collect the VIA burner. Any such burner consists of a ceramic nozzle for supplying argon, a copper sleeve for holding the electrode, and some kind of system for cooling them. Connect the torch to the front of the welding machine using the adapter from the spare parts kit.
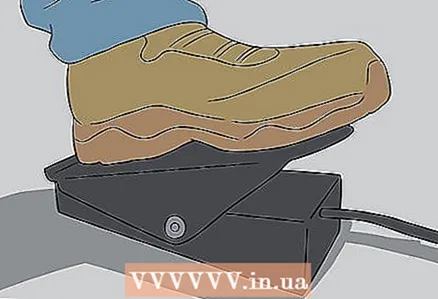
 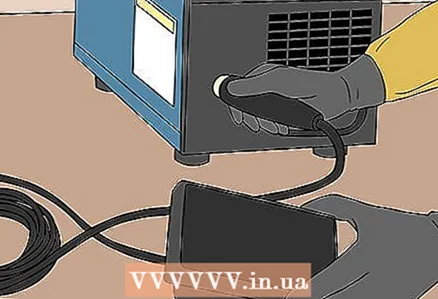 3 Connect the foot pedal to the device. This pedal is designed to control the temperature at which welding is performed.
 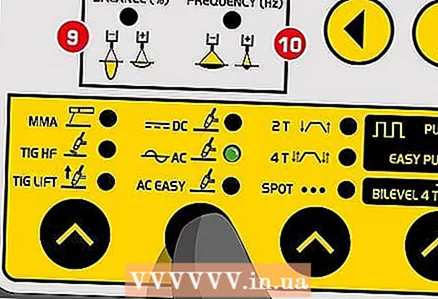 4 Match polarity. You will need different modes depending on the type of metal being welded. When welding aluminum and its alloys, the machine is used in alternating current (AC) mode. If you are welding steel or other metals, switch the machine to DC negative electrode (DCEN) mode.
 - If your machine has a high operating frequency, this will also require debugging. When welding aluminum, the machine operates in high frequency mode throughout the entire process. For steels, the high frequency is only used at the beginning of the welding process.
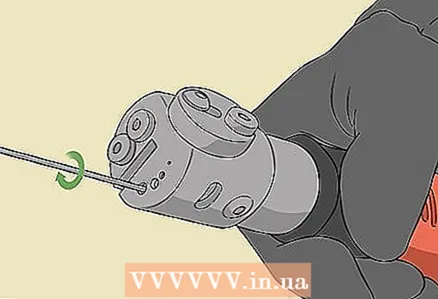 5 Grind the tungsten electrode. The dimensions of the electrode are determined by the thickness of the metal to be welded and the current used. Grind the electrode radially, i.e. across, not along the wire.
 - Use a flat, fine-grained stone for sanding. Grind until the tip of the electrode is noticeably displaced as you rotate it for safety reasons.
- Grind the electrode tip so that it is ball-shaped when using AC, or sharpened like a needle when using DC.
- If you need to make a butt or open fillet weld, grind the electrode to a thickness of 5-6 millimeters.
 6 Connect the gas. You will need either pure argon or a mixture of argon and another gas such as helium. Remove the plastic protective cover.
 - Move the valve quickly to open and close again to remove any debris in the valve threads.
- Connect the regulator, then tighten the nut tightly while turning the regulator until it is firmly connected to the valve.
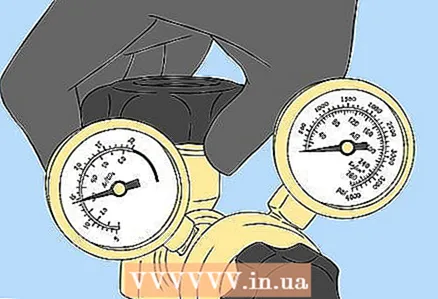
- Tighten the regulator with a wrench, making sure that the pressure arrow is turned to the full counterclockwise position.
- Connect the gas line and flow meter, then open the barrel valve. Open it smoothly and slowly.As a rule, it is sufficient to unscrew it a quarter of a full turn.
- Finally, check for leaks - listen for whistling sounds, or use an aerosol spray to spot leaks.
- Set the gas flow using the barrel regulator. Although this speed can vary depending on the welding process, it usually ranges between 4 and 12 liters per minute.
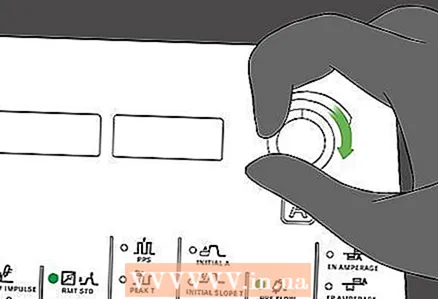 7 Adjust the amperage. Its value helps you control the welding process.
 - The thicker the metal to be welded, the more amperage is needed.
- The better you handle the foot pedal, the more amperage you can set.
- Here are some commonly used amperage values (depending on the thickness of the electrode): 1.6 mm, 30-120 A; 2.4 mm, 80-240 A; 3.2 mm, 200-380 A.
Method 2 of 3: Welding metal
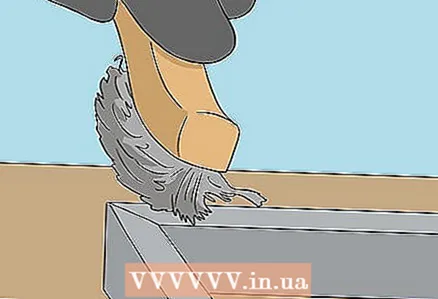 1 Clean the material to be welded. Before welding, its surface must be free of dirt.
 - To prepare for welding carbon steel, use a sander or sandblaster to polish the surface of the material.
- For aluminum, it is best to use a stainless steel wire brush.
- In the case of stainless steel, simply wipe the surfaces to be welded with a cloth soaked in some kind of solvent. Make sure to store this rag and solvent in a safe place before welding.
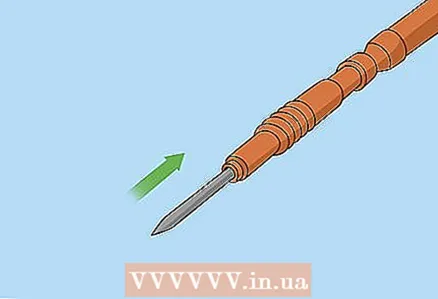 2 Insert the tungsten electrode into the sleeve. Loosen the electrode holder on the sleeve, insert the tungsten electrode into the sleeve and tighten the holder. Typically, the electrode should protrude about 6 mm (quarter inch) from the sleeve shield.
 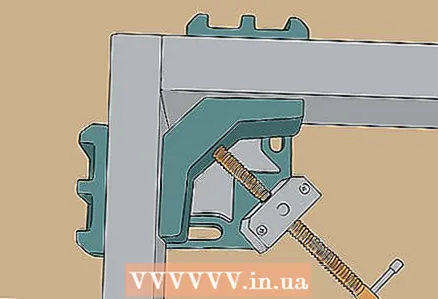 3 Press the parts to be welded together. Use a metal corner or strip with clips to secure the parts to be welded.
 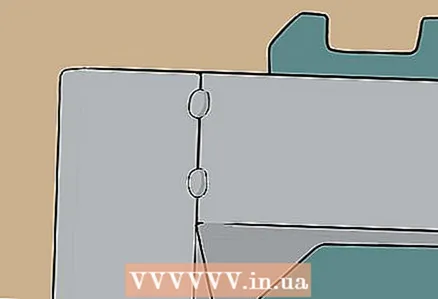 4 Tie the parts to be welded together. A tack weld is an intermittent fine seam designed to hold parts in place during the welding process. Place the tack welds 10-20 centimeters (several inches) apart.
  5 Hold the welding nozzle correctly. Maintain it at an angle of about 75 degrees, with a distance of no more than 6 mm (quarter inch) to the metal to be welded.
 - Do not touch the metal to be welded with the electrode to avoid contamination.
 6 Control the temperature with a foot pedal. The weld pool should not be wider than 6 mm (quarter inch). It is important to keep the pool volume constant to avoid contamination of the weld.
 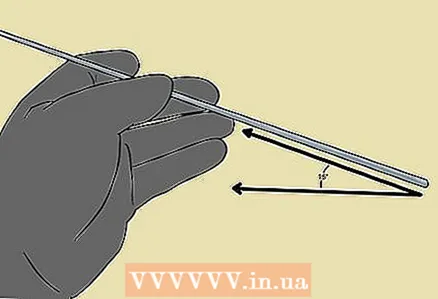 7 Take the filler wire with your free hand. Hold it almost horizontally at a 15-degree angle to the surface to be welded, close to the torch flame.
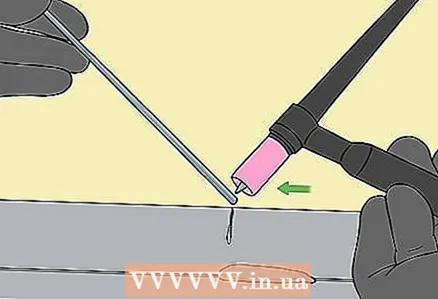
  8 Heat the metal to be welded with a torch. An electric arc discharge will melt the metal, and at the place of the weld pool, the two pieces of metal will join.
 - Once the edges of both pieces to be welded are melted, lightly dip the filler wire into the melt, avoiding excessive dissolution in it.
- The filler wire will add extra strength to your weld.
 9 Use the arc to control the direction of propagation of the weld pool. In contrast to consumable electrode welding, in which the direction is set by the torch, in TIA welding, the pool spreads in the direction opposite to the tilt of the torch.
 - When welding, operate with your hands as if you were left-handed writing with a pen. While a right-hander would move the handle as in consumable electrode welding, tilting it from right to left, a left-hander would tilt the handle the other way, moving it to the right.
- Continue shaping the pool until all the material has been welded - and your weld is complete!
Method 3 of 3: Different types of welds
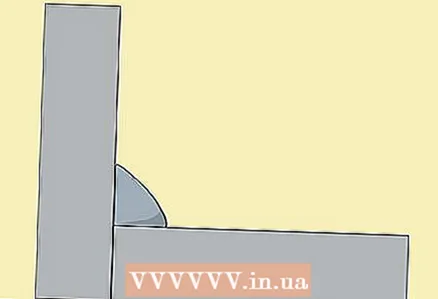 1 Master the fillet weld. This type of seam is convenient for starting the development of TIA welding. A fillet weld connects two pieces of metal at right angles. Shape the tub so that it covers at a 45-degree angle two sheets joined at right angles. From the side, such a seam looks like a triangle.
 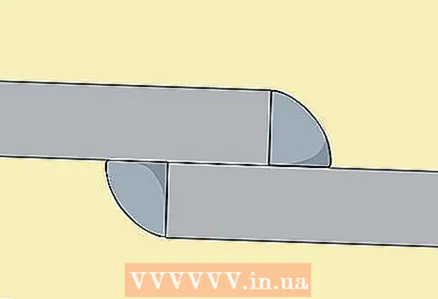 2 Overlapped seam. Form a weld pool between the edge of the metal overlaid on top of another piece. When both edges are melted, feed the filler wire into the bath.
 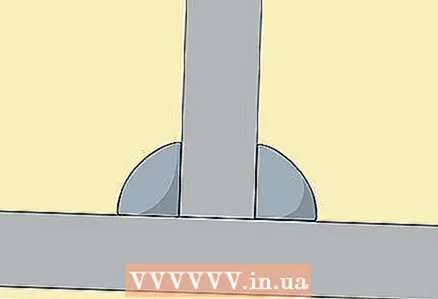 3 T-joint of two metal fragments at right angles. Aim the flame to heat the flat metal surface. Maintain a short arc by sliding the electrode out of the ceramic nozzle. Place the filler wire at the junction of the two pieces to be welded.
 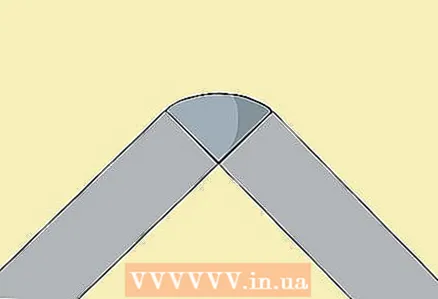 4 Melt the gusset. Melt both metal fragments where they meet. Support the tub in the center of the junction of the two pieces of metal. You will need a fairly large amount of filler wire since the pieces to be welded do not overlap.
 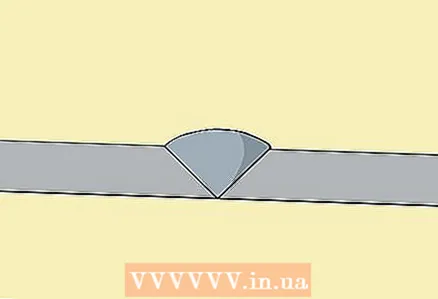 5 Butt welded connection. Form a weld pool where two pieces of metal meet. Compared to other types of weld seams, this will require additional effort since the pieces to be welded do not overlap. Finally, reduce the amperage to fill the crater that has formed.
Warnings
- Protect your face with a welder's mask with suitable glass and light filters.
- Put on dry insulating gloves before turning on the welding machine.
- Use protective goggles with side shields under the welder's mask.
- Use heavy, fireproof clothing and shoes.
- Do not mix argon with CO2. CO2 is an active gas and will damage your tungsten electrode.
Tips
- If the metal is clean, there will be no sparks during the welding process.
- The main secret of VIA welding is the art of forming a pool simultaneously from both sides of the border.
- When welding TIA, there should be no smoke or soot. If they are observed, it may be worth cleaning the metal surface more thoroughly.
- TIA welding can be carried out from all positions, both below and at the level and above the level of the welder.
- When TIA welding, no flux is used, so the slag does not interfere with the view of the bath.
- When the gas in the cylinder starts to run out, you will have to increase its consumption, since the gas is less pure at the bottom of the cylinder.


