Author:
Marcus Baldwin
Date Of Creation:
22 June 2021
Update Date:
1 July 2024

Content
- Steps
- Method 1 of 5: Method One: Drying Pumpkins in the Field
- Method 2 of 5: Method Two: Dry the pumpkins already plucked
- Method 3 of 5: Method Three: Hanging Pumpkins to Dry
- Method 4 of 5: Method Four: Scraping
- Method 5 of 5: Cleaning Pumpkins After Drying
- Tips
It seems that drying pumpkins was inherent in us at the genetic level. Man has been drying pumpkins for the manufacture of tools, vessels, utensils and appliances for various arts and crafts for several millennia. Master this ancient pastime using the following methods.
Steps
Method 1 of 5: Method One: Drying Pumpkins in the Field
 1 Leave the pumpkins on the vine where they grow. Mature pumpkins tolerate frost and can even withstand several freeze and thaw cycles. When the plant turns brown and dies, the pumpkins dry up and fall off.
 - If the pumpkins are ripe by the end of the season and have not had time to dry, you can leave them on the vine all winter. When the snow melts and the pumpkins are under the spring sun, they will continue to dry where they have been since the fall. However, there is some risk that they will start to rot if left over the winter.
 2 Take a pumpkin and shake it. Dry pumpkins are light and empty on the inside. Hear the sound of the seeds beating against the walls of the pumpkin. Although it sometimes happens that the seeds inside stick to the walls and do not knock.
 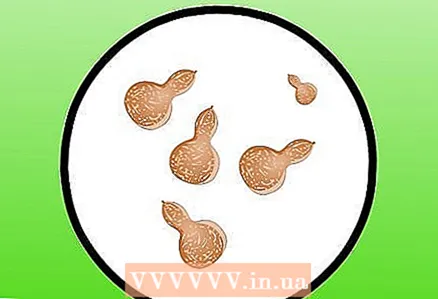 3 Collect the pumpkins from the field when they are completely dry. If they are still attached to the plant, you can cut the stem off the pumpkin, or leave a small portion of the stem on it - it will be a pretty decorative piece when it dries.
 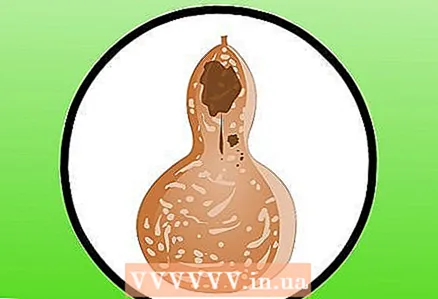 4 Compost any pumpkins that have started to rot before they are completely dry. It doesn't matter how you decide to dry the pumpkins, a small portion of them will rot anyway - be prepared for that.
Method 2 of 5: Method Two: Dry the pumpkins already plucked
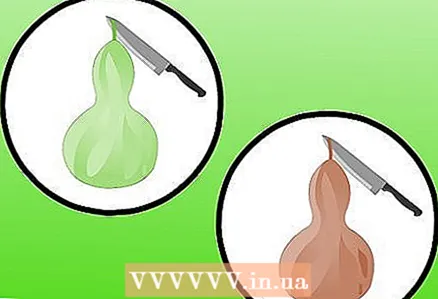
 1 Cut ripe pumpkins from the vine when the leaves and stem are brown. Use a sharp pruning shear for a nice, even cut. Leave 2-5 cm of stem on each pumpkin. Part of the stem is left in order to improve the evaporation of moisture from the fruit. The skin of the pumpkin is thick and not porous, and the porous stem will wick moisture away.
 - If you have pumpkins that look immature (soft and light green) and are worried that the first frost will kill them, cut them off the vine and use them as a temporary decoration. You basically won't be able to dry them properly. Also, you can leave these pumpkins on the vine - most likely, the frost will harden them, and not kill them.
 2 Wash the pumpkins in warm, soapy water. This will remove bacteria and prevent rot.
 - You can also soak them for 20 minutes in a solution made from 1 part household bleach and 9 parts warm water.
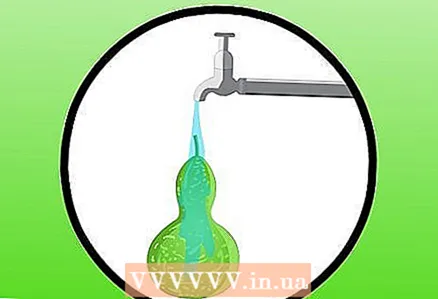 3 Rinse the fruit with cold clean water after washing or soaking. This will remove any soap or bleach residue.
  4 Choose an area outside your home where the pumpkins can be arranged and allowed to dry. The fruit can dry out in a cold place, but remember that repeated episodes of freezing and thawing often damage the seeds inside. Because of this, you will not be able to use them for planting next season.
 - You can dry pumpkins in your garage, shed, or home, but it's best to do it outdoors, where there is better air circulation. It may take several months for the pumpkins to dry out completely. Remember that a large amount of drying pumpkins creates an unpleasant odor. If you dry the pumpkins indoors, you will need some more time to remove the odor.
 5 Arrange the pumpkins in a single layer on a raised surface like a wooden pallet. By raising the pumpkins above ground level, you will get better air circulation from all directions.
 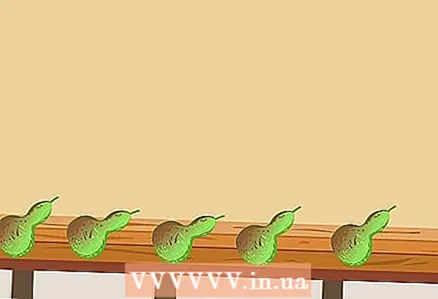 6 Remember that drying will take time. Depending on the size - from 6 weeks to 1 year.
 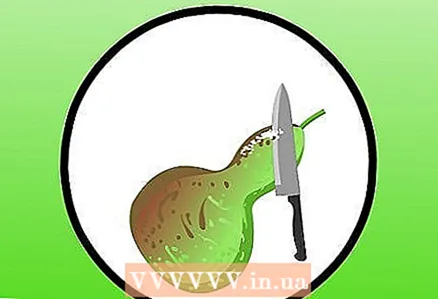 7 Clean off any mold that may appear on the pumpkin. Use the dull side of a butter knife to scrape off the mold. You can also wash off the mold with a rag. If the pumpkins get soft, you will have to throw them away.
 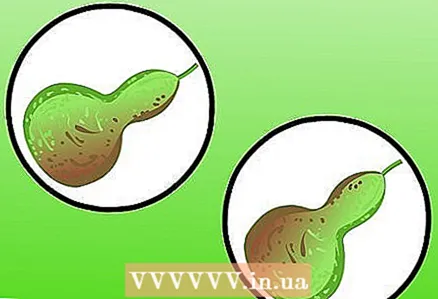 8 Flip the pumpkins. Turn the pumpkins every 1 to 2 weeks to allow air to reach the bottom.
Method 3 of 5: Method Three: Hanging Pumpkins to Dry
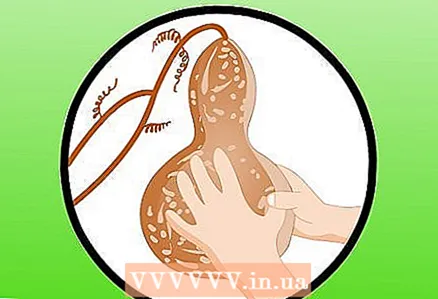
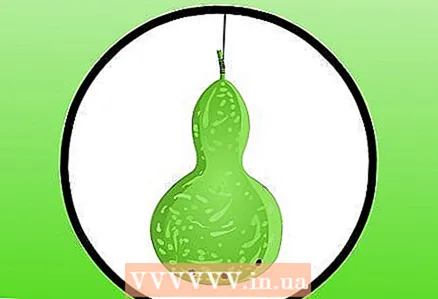
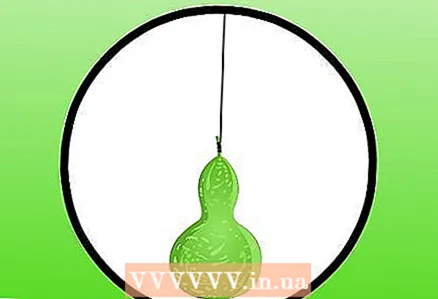 1 Hang the pumpkins by the stalk. If you need to dry some pumpkins, tie some fishing line around the stem and hang them on a tree branch to dry them.
 - You can also hang pumpkins in a building ventilation or along a hedge. Hanging pumpkins on your fence will give your backyard a festive fall look.
 2 Use a nail to make 2-3 small holes at the end of the pumpkin. This is a controversial way. Pass the line through these holes and hang the pumpkin upside down.Be aware that piercing the pumpkin can cause mold to grow inside.
 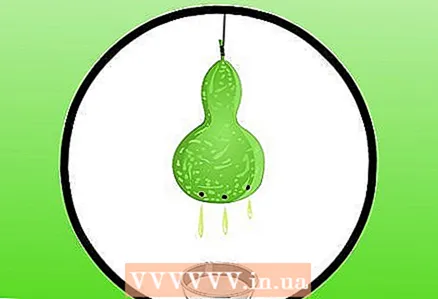 3 Place a tray or newspaper underneath the hanging fruit to allow the escaping liquid to drip onto it. If you don't mind the holes in the fruit, this can speed up the drying process.
Method 4 of 5: Method Four: Scraping
 1 You need to understand the pros and cons of scraping pumpkins. It is a controversial method. Some gardeners recommend it to speed up the drying process and reduce the chances of mold. Others say that any treatment of the surface of the pumpkin before it is completely dry increases the risk of damage to the fruit or the occurrence of infection.
 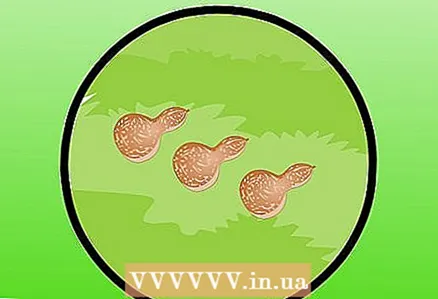 2 Let the pumpkins dry after you harvest them. Let them dry for just a couple of weeks (they should only dry slightly).
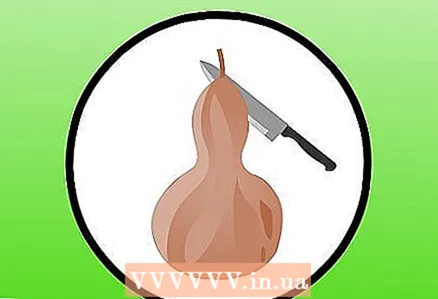
 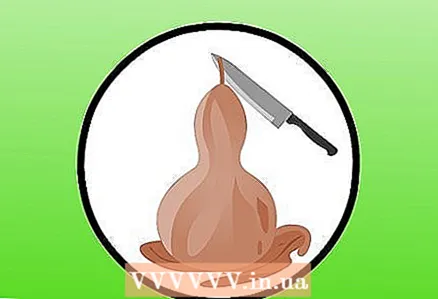 3 Use the blunt side of a cutlery knife to scrape off the top layer of leather. This will reveal softer layers underneath.
  4 Finish drying after scraping. Place the pumpkins in a warm, well-ventilated, light place. Turn them over every 2-3 days if dry on a flat surface.
 - Note that if the fruit dries out too quickly, it is likely to wrinkle.
Method 5 of 5: Cleaning Pumpkins After Drying
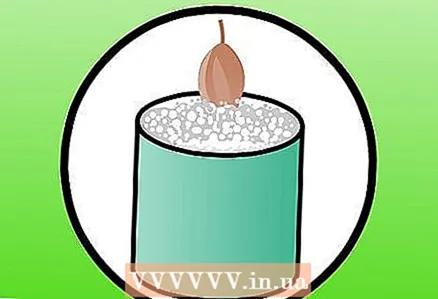
- 1 Peel the pumpkins after they are completely dry. Submerge the pumpkins in a bucket of warm, soapy water. This will help soften the skin and surface mildew that may have appeared.
- You can add bleach to the water to make all the pumpkins the same color, but this is not necessary.
 2 Use the dull side of a cutlery knife to scrape off the outside of the rind. During this process, it can become wrinkled and blotchy. In general, you need to scrape it off completely.
 - You can use a wire loofah or sandpaper to remove the outer layer. Any other instrument will leave marks on the surface of the fetus. If you are going to paint pumpkins, use only a wire loofah or sandpaper.
 3 Fill holes or marks with wood putty. Although not necessary, this will give you a uniform surface. You can also sand the outside of the pumpkin to make it smooth.
Tips
- Frost will not hurt you if you are going to dry pumpkins, however, it will spoil the seeds if you plan to plant them for a new harvest. If the seeds freeze even once, they will become unusable.
- Mold often occurs on the surface of pumpkins when they dry. This is completely normal and requires no intervention. When the pumpkins are completely dry, the mold will fall off. However, mold can darken the surface and discolor it. Wipe off or scrape off the mildew if you want an even color.


