Author:
Janice Evans
Date Of Creation:
3 July 2021
Update Date:
1 July 2024

Content
- Steps
- Method 1 of 3: Method One: Drying onions for the winter
- Method 2 of 3: Method Two: Oven Dry
- Method 3 of 3: Method Three: Using a dehydrator
- What do you need
- Drying onions for the winter
- Drying in the oven
- With a dehydrator
You can dry the onions for long-term storage (“dry”), or dry them for use as a seasoning or snack in the oven or dehydrator. Both methods are quite simple, but slightly different from each other.
Steps
Method 1 of 3: Method One: Drying onions for the winter
 1 Choose a sharp onion. Sweet (or mild) onions do not dry well, so when you are going to dry or dry them for the winter, take the hot onions.
 - You can use the following rule of thumb: Sweet (mild) onions are much larger and covered with skin that resembles the skin of a pepper, which is very easy to peel off. When such an onion is cut, a lot of juice is released, and its rings are quite thick.
- Sharp bows are noticeably smaller, their skin is denser. When you cut such an onion, you will see that the rings are thin, and tears will flow from your eyes.
- Sweet (mild) onions, dried or dried, can be stored for a month, at best two. In comparison, spicy onions can last all winter if the conditions are ideal.
- The sulfurous substances that cause tears when you cut open spicy onions also slow down the vegetable's rotting process.
- Common yellow onions with small bulbs are typical spicy varieties.
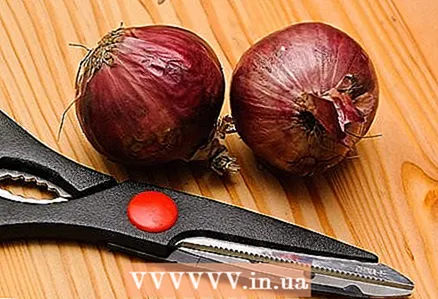 2 Cut off the leaves. Cut off the dried leaves with scissors, brush the roots from the ground.
 - This step is only necessary if the onions are harvested from your garden. The leaves of the purchased onion have already been trimmed and the dirt has been cleaned.
- Note that you need to pick the onions after the leaves of the plant begin to wither and fall off - this is a signal that the bulb has stopped growing. Only fully ripe bulbs are suitable for drying for the winter.
- Also, keep in mind that for best results, dry or dry onions immediately after picking them.
 3 Transfer the onions to a warm, sheltered place. Arrange the bulbs in one layer in a barn or closet, the optimal temperature is 15-27 degrees.
 - In this initial stage, soak the onion in this manner for a week.
- If the weather is dry and warm, and your onion crop is reliably protected from animals, you can leave it in the garden for the first couple of days. Although it usually has to be moved to a garage, shed or covered veranda.
- Be careful when carrying your bow. If the bulbs are tightly pressed against each other, streaks and "bruises" will appear on them. At this initial stage, you must make sure that the bulbs do not touch each other.
- Avoid placing the onion in direct sunlight as it will dry out unevenly.
 4 Consider drying the onion by tying it into a pigtail. You can finish the process by simply laying out the bulbs in one flat layer, or you can tie the tops of the bulbs in a pigtail and finish drying this way.
 - To braid the onion, you need to cut off all the leaves except the last three. Tie or braid these remaining leaves together with the rest of the bulbs, and hang the bunch vertically to finish drying.
- Please note that this is entirely a matter of personal preference and space. According to research, onions do not get worse or better when dried in a pigtail or laid out in a layer.
- Soak the onion in this way until the process is complete - 4-6 weeks.
 5 Trim the tops. During the drying process, you will need to trim the tops two or three times as they dry out. Once the onions are completely cooked, cut them off completely. The roots also need to be cut.
 - Trim the tops of the bulbs two to three times throughout the process.
- After the drying / curing process is completely finished, trim off the tops completely.
- After the first couple of weeks of drying, use scissors to trim the roots back to 6 mm.
 6 Store onions in a cool, dry place. For example, in the winter you can keep the bow in the basement.
 - Transfer the onions to a snap-on bag, wooden baskets, or flat cardboard boxes with holes. Spread the onion in small portions to allow good air circulation.
- At zero temperature, hot onions are stored for 6-9 months, while sweet (mild) ones - from 2 weeks to a month.
Method 2 of 3: Method Two: Oven Dry
 1 Preheat oven to 71 degrees. Prepare two or more baking trays lined with parchment paper.
 - On average, you will need 1-2 standard baking trays for each onion.If you're only drying one, prepare two baking sheets. If there are two onions, 4 baking sheets, and so on. Better to let the bow have more free space than less.
- Do not let the temperature rise above 71 degrees during the drying process. Otherwise, you may burn or fry the onions rather than dry them.
- The baking trays you will be using should be 5 cm narrower than the oven to get the necessary air circulation.
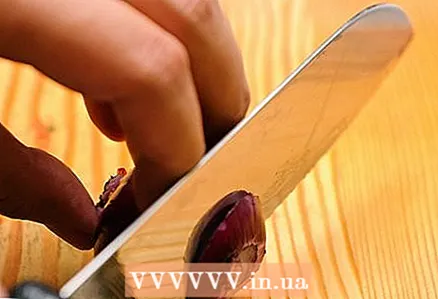 2 Cut the onion into thin slices. You need to cut off the roots, top and skin, and cut the onion itself into rings of 3-6 mm.
 - The easiest way to slice onions for this purpose is to use a grater with a special slicing blade. If you don't have this tool, chop the onion with your sharpest kitchen knife.
 3 Spread the onions over a baking sheet. Transfer the chopped onion to the prepared baking sheet and arrange in a single layer.
 - If you stack the onions in a heap, they will take longer to dry and will not dry evenly. By doing this, you can make yourself a problem, when among the onions stored in reserve, two or three poorly dried pieces come across.
 4 Dry the onions in a preheated oven. Place the onions in a preheated oven and dry for 6-10 hours, turning the baking sheet over from time to time to reduce damage from uneven heat spots.
 - If possible, keep the oven door slightly ajar (approx. 10 cm clearance) to prevent excessive heat. If you choose to do this, you can also direct a fan into the lumen to provide better air circulation.
- Leave about 7 cm of free space between the trays and between the top tray and the oven roof. You need to provide maximum air circulation.
- Watch the onions closely, because if you overexpose them in the oven, at the end of the process they can easily burn out. Burnt onions are less tasty and less healthy.
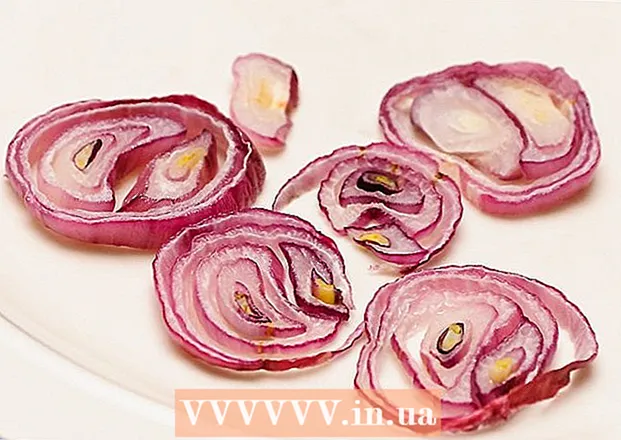
 5 When the onion is ready, it will begin to crumble. Once dry, the onions will be brittle enough to be crumbled in your hands. This is how you can make onion flakes.
 - To make onion flakes, chop the onion with your hands. If you want to make onion powder, place the onion in a plastic bag and roll it out with a rolling pin.
- You can leave the rings intact, but keep in mind that they are fragile and can easily break if handled carelessly.
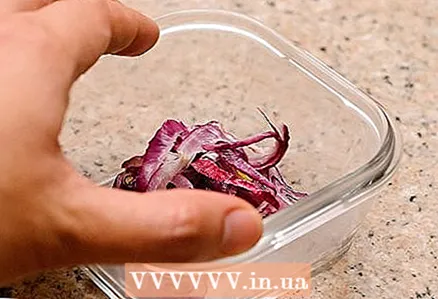 6 Store in a cool dry place. Place the onion flakes in an airtight container and store in a closet or similar location.
 - If you use vacuum bags, onions can be stored for up to a year. In less sealed conditions, it will last from 3 to 9 months.
- Watch out for moisture. If you notice moisture in the middle of the container (bag) during the first few days of storage, remove the onions, continue drying and dry the container before returning the onions to it. The moisture will quickly spoil the onions.
Method 3 of 3: Method Three: Using a dehydrator
 1 Prepare your bow. The onions need to be peeled and cut into 3 mm thick rings.
 - Cut off the roots and the top, peel the skin from the bulb.
- Use a grater with a special cutting blade at the finest (or next to last) setting. If you don't have this tool, use a kitchen knife to chop the onion as thin as possible.
 2 Place the onions on the shelves in the dehydrator. Place the onion wedges in one layer on the dehydrator shelf, positioning the shelf for maximum air circulation.
 - The onion slices or rings must not lie on top of each other or touch. Keep them at a sufficient distance from each other for better air circulation.
- The shelves themselves in the dehydrator should also be at a sufficient distance from each other. Leave at least 5-7 cm between them to increase air circulation.
 3 Run the dehydrator for about 12 hours. If the dehydrator has a thermostat, set it to 63 degrees. Wait until the rings are completely dry.
 - If you have an old or cheap dehydrator that doesn't have a thermostat, you need to carefully adjust the drying time.The duration of the process may differ in one direction or another by an hour or so. Use an oven-safe thermometer to take the temperature into account and make the necessary correction.
 4 Store dried onions in an airtight container. Keep onions in a cool, dry place. Eat it as simply or add it to your meals.
 - If you vacuum-seal the onion, it can last for up to a year. In less sealed conditions, it will last from 3 to 9 months.
- Watch out for moisture. If you notice moisture in the middle of the container during the first few days of storage, remove the onions, continue drying and dry the container before returning the onions to it. The moisture will quickly spoil the onions.
- You can grind the onions into flakes or powder for culinary purposes.
 5finished>
What do you need
Drying onions for the winter
- Knife or scissors
- Snap-necked bags, wooden baskets or flat cartons
Drying in the oven
- Trays
- Parchment paper
- Sharp knife or grater with a slicing blade
- Sealed container
With a dehydrator
- Dehydrator
- Sharp knife or grater with a slicing blade
- Sealed container


