Author:
William Ramirez
Date Of Creation:
18 September 2021
Update Date:
1 July 2024
Content
In this article, you can learn how to create a shadow in Paint.NET, a free program that did not natively support shadows. This article is suitable for Windows users.
Steps
 1 Open Paint.NET. If you don't have Paint.NET, download from http://www.getpaint.net/
  2 Click on File and select Open.
 3 Select an image.
 4 Select Magic Wand from the toolbox and select the background part of the image. Now press on Ctrl + A and Delete. This will remove the background.
  5 Open Effects, select Photo and click on Glow.
 6 In the Glow box, set the desired parameters. You can change the radius, brightness and contrast.
  7 Select the entire image and copy it. You can do this by pressing Ctrl + A and then Ctrl + C.
  8 Open File and click New.
 9 Click OK.
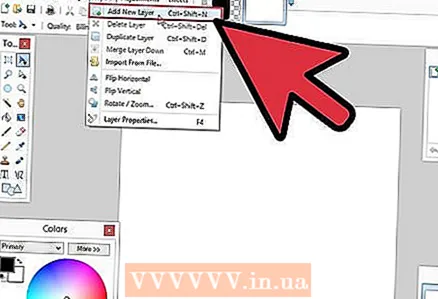 10 Go to Layers, and choose Add New Layer.
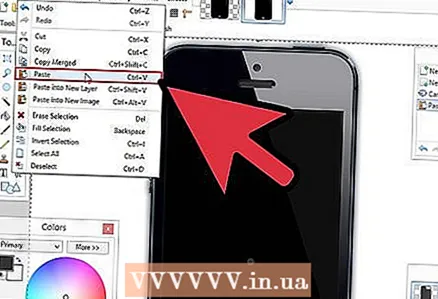 11 Open Edit and choose Paste. You have just created a shadow on the image.
Tips
- Don't overdo it with effects. The simpler the better. Others are unlikely to like it.
- For Paint.NET, there is a shadow plugin.
- For small text, try using a pixelated font such as "Visitor".
- Make sure you have a transparent layer for the shadows to work. You may need to use the Magic Wand tool to remove unused portions of the images.
- For cool effects, change the color of the bottom layer.
What do you need
- Windows computer
- Paint.NET


