Author:
Mark Sanchez
Date Of Creation:
2 January 2021
Update Date:
29 June 2024

Content
This tutorial will walk you through an easy way to create a cube in Adobe Illustrator.
Steps
Method 1 of 2: Create manually
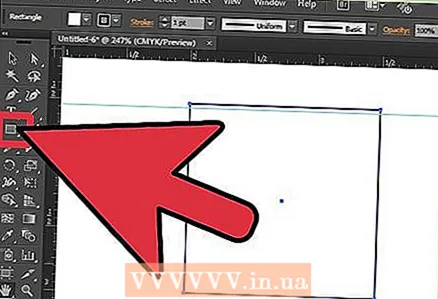 1 Create a new square using the Rectangle Tool.
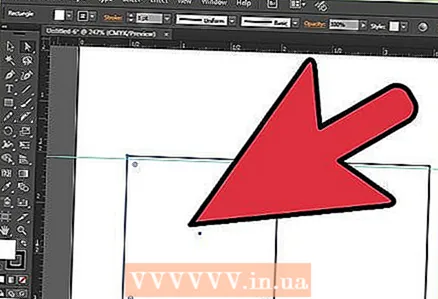 2 Make a copy of it to get two identical squares.
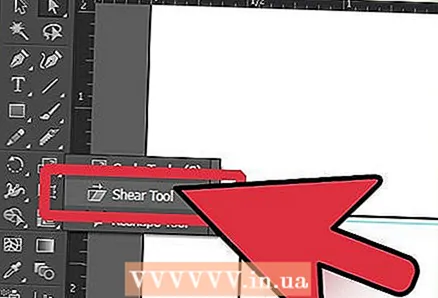 3 Click on the left square and go to the Tilt tool.
 4 Select the top right corner and move it down the vertical axis. Do the same for the second square.
 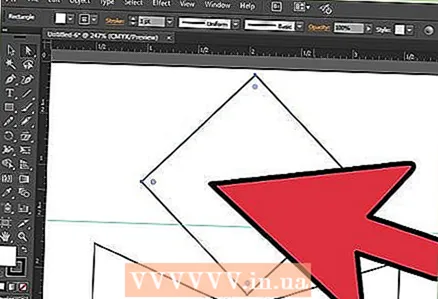 5 Create a new square and rotate it 45 degrees.
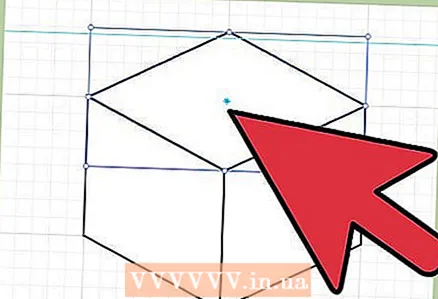 6 Increase it in width until it becomes equal to the total width of the adjacent squares. Click on the new square and go to the menu item Transform> Reset Borders>, select the top point of the square and drag it down along the vertical axis until the angle between the sides of this square is equal to the angle of two adjacent squares.
 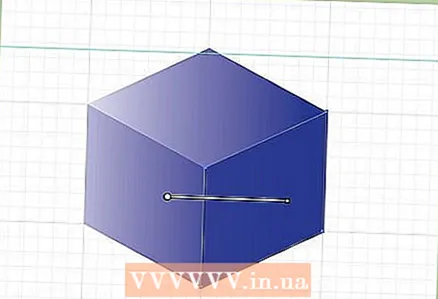 7 To make it look more like a cube, color it according to the direction of the light. In the picture, the light is coming from the left side. Number 1 should be the lightest, and number 2 and number 3 should be the darker sides.
 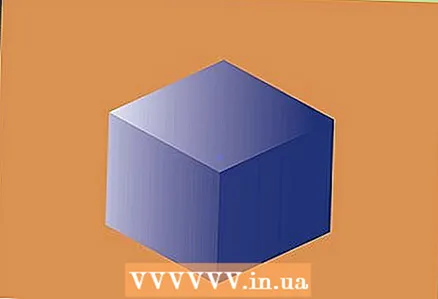 8 Ready.
Method 2 of 2: Using a hexagon
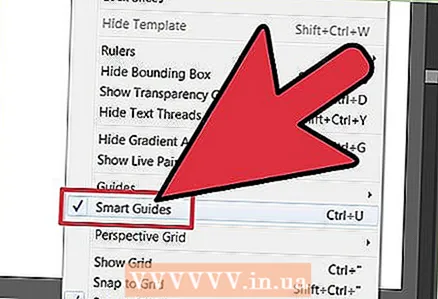 1 To make this job easier, make sure you check the box. Smart guides. It's on the tab View.
  2 Using the Polygon Tool, draw a hexagon shape. Hold down the "Shift" key while drawing it to make it correct.
 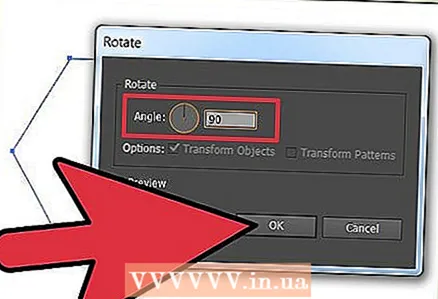 3 Rotate the hexagon 90 degrees. Select it, then go to Object> Transform> Rotate.
 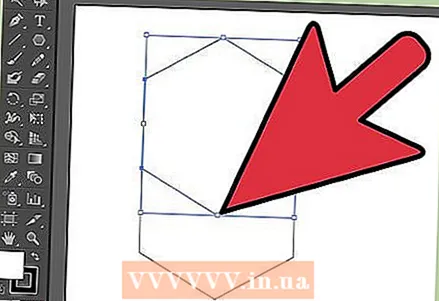 4 Make a copy of the hexagon and place it in the upper corner of the older copy. Smart guides help you get great results. Your hexagon should be exactly aligned as shown.
 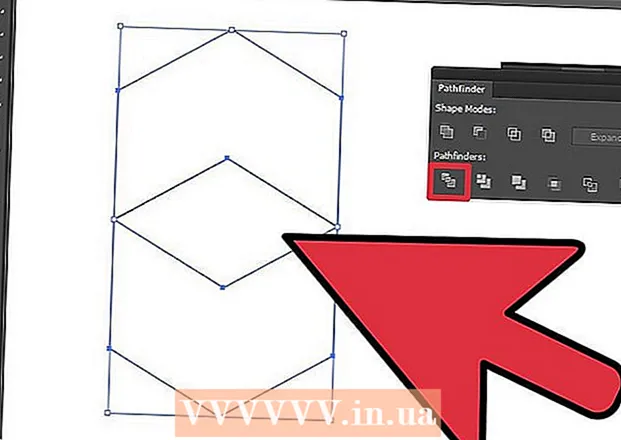 5Using the Direct Selection Tool (white arrow), select both hexagons and hit the option Divide on the Pathfinder panel (Window> Pathfinder)
 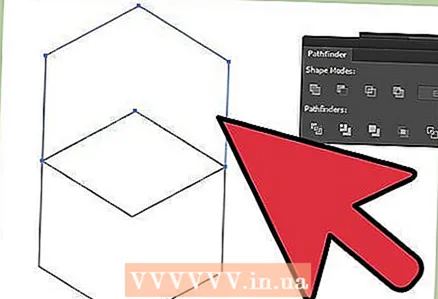 6 Your hexagons are now split into three pieces. Select the top part and delete it.
 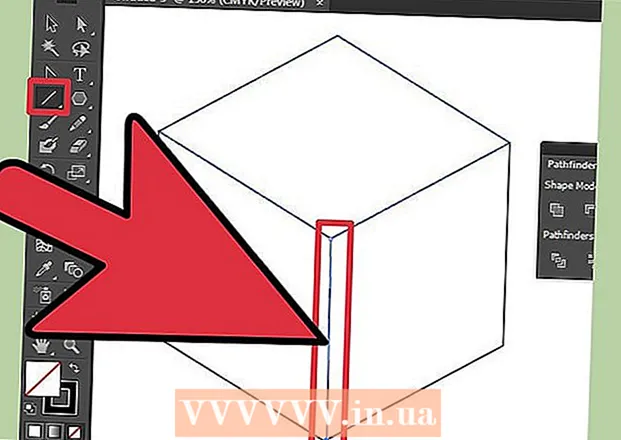 7Since the rest of the pieces are aligned, just draw a line the same thickness as the sides of your shapes, from the bottom corner of the hexagon (bottom) and up to the middle corner (It should be longer than the side)
  8 Select the bottom and line and press again Divide on the Pathfinder panel. Make sure to do it with a tool Direct selection(white arrow).
 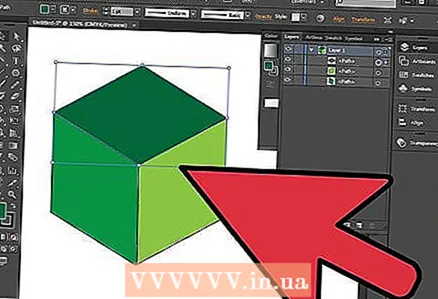 9 Select each part and paint over it with the desired color or gradient.
 10After that select all three parts and group them (Object> Group)


