Author:
Gregory Harris
Date Of Creation:
15 August 2021
Update Date:
1 July 2024

Content
- Steps
- Method 1 of 2: Create Alpha Server with VPN
- Method 2 of 2: Create an Alpha Server Using Port Forwarding
Minecraft Alpha began in June 2010 and ended in December of that year. A lot of people talk about the alpha as the “good old days of Minecraft,” as it was updated very often and provided players with the opportunity to look at new things. Minecraft Alpha server will allow you and your friends to enjoy the old version of the game. In fact, you can open a server of the "good old" times yourself. Read on to find out how to do this.
Steps
Method 1 of 2: Create Alpha Server with VPN
 1 Install Virtual Private Network (VPN) software. To download the VPN software, open your web browser and type hamachi.en.softonic.com/download. Click on the “Free Download” button in the center of the screen.
 - After the download is complete, double click on the .exe file, then click on “Run” to start installation, and “Accept” after reading the terms of use of the program.
- Select “Custom” to avoid downloading unnecessary programs, select “No, thanks,” then click on “Next”; this will start downloading Hamachi.
- Hamachi will automatically open upon completion of the download.
- The VPN software will automatically set up a VPN, making it easy to create your own server.
 2 Download the alpha server. Open mediafire.com/download/ng6o5fw0wmvh4hq/Minecraft_Server.exe. Click on the green “Download” button to download the alpha 1.2.6 server.
 - New server versions come out along with game updates. To host a server for a specific version of Minecraft, the game profile and server must match.For example, if the latest server version is 1.7.9, then the game client must be the same version.
- Minecraft.net provides the option to download the latest version, so you'll have to look elsewhere to download older versions.
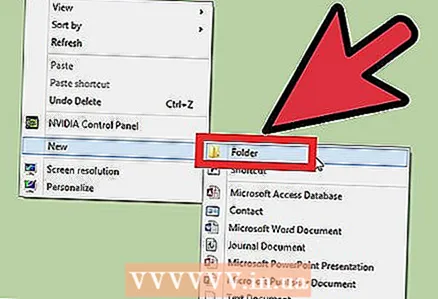 3 Create a folder called “Alpha” on your desktop. Then, click anywhere. Select “New” - “Folders” to create a new folder. Right click on the new folder and select "Rename", enter "Alpha."
  4 Transfer the data from the server file to the Alpha folder. Open your downloads folder and transfer the contents of the server to the Alpha folder.
  5 Create a new network with a VPN program. Note that the IP address shown in the VPN is not the local IP of your computer; this is the IP address that other players will need to connect to your server.
  6 Start the server. If it is launched by an .exe file, then double-click on it. If the server is started with a .jar file, then right-click on it and select “Open with Java Platform SE binary”.
 - When starting the server for the first time, you will have to wait a little while the server adds files to the current folder.
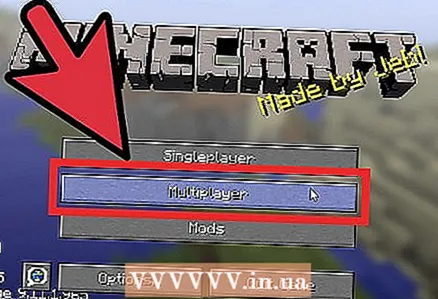 7 Start Minecraft and select “Multiplayer.” Start the Minecraft game by double clicking on the icon on the desktop; then, on the main screen, click on “Multiplayer” to start the game.
  8 In the IP field, enter “localhost” and click “Connect.” After loading the map, you will appear on the server.
 - In order for others to connect to the server, instead of “localhost,” they will have to enter the IP address assigned by the VPN.
Method 2 of 2: Create an Alpha Server Using Port Forwarding
 1 Open a command prompt. Click on Start, then select “Run ...” and type “Cmd” and then press Enter.
 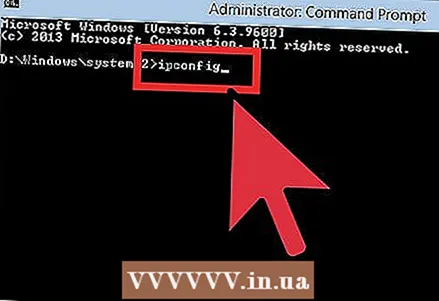 2 Enter “ipconfig.” No quotes. You will see the IP addresses of your computer.
  3 Find “IPv4 Address.” After that, copy it.
  4 Find “Default gateway” in the same list as IPv4.
 5 Enter the IP address of the default gateway into the address bar of your web browser. The login screen will appear. To log in, enter the username and password from the admin panel of your router.
  6 Set up port forwarding. Find the “Advanced” section in Settings and select “Add service.” Change the service name to “Other” and enter the IPv4 address you copied. Change the start and end port to 25565.
 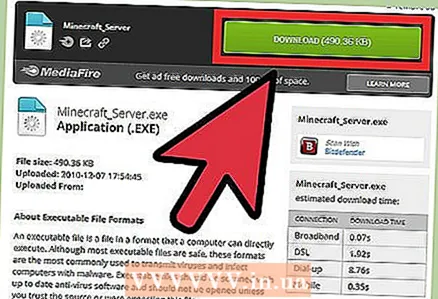 7 Download the server version between 1.2.0 and 1.2.6. These versions are for alpha servers.
 - To download the alpha version, go to mediafire.com/download/ng6o5fw0wmvh4hq/Minecraft_Server.exe. In the upper right corner of the screen, click on “Download,” the download will start automatically.
- You will need the same server and client versions, so download the alpha version of the server.
 8 Create a folder called “Alpha” on your desktop. Then, click anywhere. Select “New” - “Folders” to create a new folder. Right click on the new folder and select "Rename", enter "Alpha."
 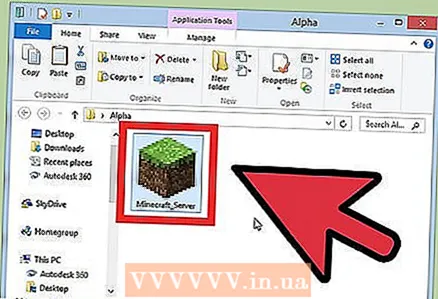 9 Transfer the data from the server file to the Alpha folder. Open your downloads folder and transfer the contents of the server to the Alpha folder.
 - When you start the server for the first time, other files containing the server settings will be created.
 10 Open the server. This can be done in two ways, depending on the downloaded files:
 - For the .exe file, double-click the file to start the server.
- For a .jar file, right click on the file and click on “open with Java Platform SE binary” to start the server.
 11 Start Minecraft in Multiplayer mode. Launch Minecraft and select the “Multiplayer” option on the home screen.
  12 Connect to your server. There will be a text box in the center of the screen, type in “localhost” to connect to your server.
 - For others to connect to your server, go to cmyip.com and copy your IP address.


