Author:
Clyde Lopez
Date Of Creation:
25 June 2021
Update Date:
22 June 2024

Content
- Steps
- Part 1 of 3: How to choose a first aid kit
- Part 2 of 3: How to Build a First Aid Kit
- Part 3 of 3: Teaching Your Child to Use the First Aid Kit
- Warnings
Children are often in trouble, so it's best to be prepared. A first aid kit will always come in handy. Teach your child to use the first aid kit so that he can take care of himself in an emergency. Having a well-designed first-aid kit for your child on hand will help you relax and worry less about injuries. Of course, you can purchase a ready-made first-aid kit at a pharmacy or via the Internet, but if you complete such a kit yourself, then everything you need will be at hand.
Steps
Part 1 of 3: How to choose a first aid kit
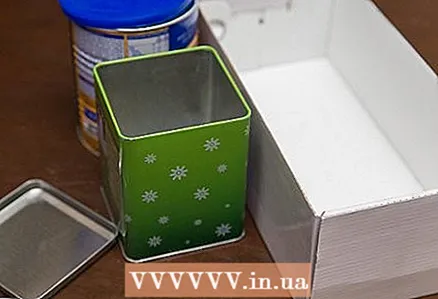 1 The right size. When determining the type of container for a baby first aid kit, it is necessary to take into account the cases of its use, as well as the potential storage location. A school first aid kit should fit in a locker. A first aid kit for the home should not be too large or cumbersome for a child to use easily. When choosing a child-friendly first aid kit, in which you can put everything you need, you should be guided by the size of the shoe box.
  2 Suitable material. In stores, you can find first aid kits of various sizes and materials. The choice of a suitable material also depends on the application. If the child will always carry a first-aid kit with him, then it is better to choose a container made of durable plastic so that it fits into a packed backpack and remains intact. If the first aid kit is intended for the home, then you should opt for a more durable material such as metal, tin, hard plastic. Consider the following:
 - The container must be waterproof to keep everything intact.
- Choose a container with a handle to make it easy for your child to carry from place to place.
- The material of the container should not be too heavy for the child.
- Transparent materials allow you to see the content and purchase missing funds.
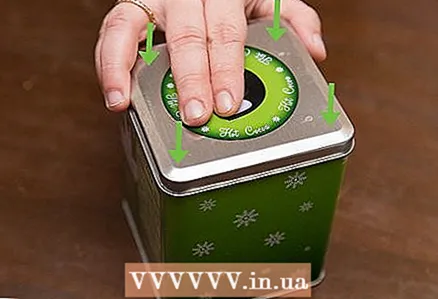 3 The container must be closed. While the first aid kit is on the shelf, it is important to make sure that the smallest family members cannot reach the contents of the box. It is recommended to choose a container with a snap. Also, thanks to the latch, the first aid kit will not open while carrying. The clamp should be secure, but open quickly and easily in an emergency. It is advisable to find a container with the same latch as on children's lunch containers. It is unlikely that the child will use the first aid kit too often, so it is better to practice opening the latch with him so that he does not forget how to do it.
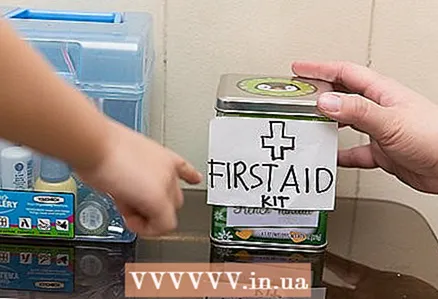
  4 Make a first aid kit tag. The container must be clearly labeled as a baby first aid kit. If you use a brightly colored marker (especially red), the first aid kit will be conspicuous even in an overcrowded locker. Also, do not forget to mark it with a special symbol that will not allow the first aid kit to be confused with other boxes. Usually a medical sign or cross is used for this (white on a red background and vice versa).
 - It is important that the kids' first aid kit tag is different from the adult first aid kit. For example, you can also put the child's name on it (CARINA'S FIRST AID KIT).
- An adult first aid kit can be positioned higher so that children cannot reach it, or use a more sophisticated lock or latch.
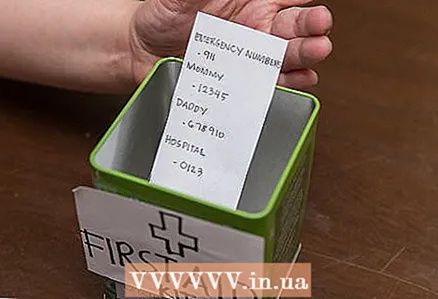 5 Put emergency numbers on the medicine cabinet. In addition to first aid equipment, it is recommended to supplement the first aid kit with emergency telephone numbers. Indicate the number of the ambulance, school nurse, as well as your contact numbers, phones of neighbors, relatives, family friends.Clearly mark the name or name of the organization next to each number.
 - Each telephone number can be provided with a symbol to make it easier for the child not to get confused in a tense situation.
- Tell your child about all the symbols and phone numbers so that he understands who is who, as well as how and to whom to call in a particular situation.
Part 2 of 3: How to Build a First Aid Kit
 1 Make a list of the things you need. Indicate in it all the things that you need to complete the first aid kit. Thanks to the list, you can not only buy everything you need, but also keep track of everything that needs to be purchased, check the expiration date and completeness of the first-aid kit. When folding the first aid kit for the first time, show the list to your child and explain the purpose of each item.
  2 Bandages and bandages. All dressings, plasters and bandages should be placed in one of the compartments of the first aid kit. If there are no dividers in the container, put the bandages in a plastic bag and write “BANDAGES” on it with a marker. You can also purchase smaller plastic containers to fit in your medicine cabinet and label them accordingly. It is recommended to complete the first aid kit with the following dressings:
 - 2 absorbent compression bandages (12 x 22 centimeters);
- 25 adhesive bandages of various sizes;
- 5 sterile gauze compresses (8 x 8 centimeters);
- 5 sterile gauze compresses (10 x 10 centimeters);
- gauze bandage;
- cloth-based plaster;
- elastic bandages 8 and 10 centimeters wide in case of injury to the wrist, elbow, ankle and knee;
- 2 kerchiefs;
- sterile cotton and cotton swabs.
 3 Basic medical instruments. The first aid kit is intended for children, so do not use dangerous tools in it. Be sure to revise the suggested list based on your child's age. The instruments help remove foreign material and prepare the wound before using the bandage. Instruments should also be placed in a separate container marked. It is recommended to buy the following tools:
 - small sharp scissors with rounded, child-safe tips;
- tweezers;
- 2 pairs of non-latex gloves;
- oral thermometer (not mercury);
- artificial respiration mask (with one-way valve);
- ready-made cold compress;
- ready-made hot compress;
- antibacterial hand gel;
- 5 antiseptic wipes or spray (for external cleaning only);
- plastic bags with a sealed fastener (for medical waste).
 4 Additional first aid equipment. Depending on the size and storage location, the first aid kit can be equipped with additional tools. Such means are suitable for older children, since such items may be unsafe for small children:
 - sterile drinking water;
- eye protection;
- sterile eye lotion;
- packaged heat-shielding (warming) blanket;
- aluminum finger splint;
- safety pins (for fixing splints and bandages);
- syringe or other aspiration agent (for washing wounds);
- antibiotic ointment (which includes bacitracin or mupirocin);
- lotion for insect bites;
- hydrocortisone cream, ointment, or lotion (for itching);
- flashlight and spare batteries.
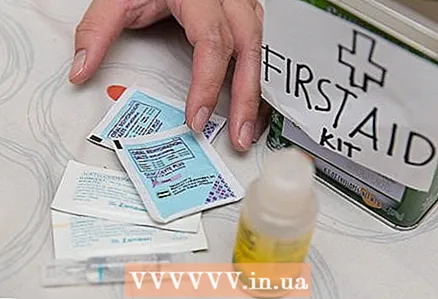 5 Choose medication based on your child's age. The decision about whether to include medicines in the first aid kit is determined by the age of the child. Be sure to store them separately from bandages or tools, and clearly label the container or bag. Also buy a measuring cup for liquid medications and list the dosage limits for each medication. It is recommended to buy the following drugs:
 - pain relievers and antipyretics (aspirin, paracetamol, ibuprofen);
- antihistamines in case of allergies and swelling;
- remedies for nasal congestion;
- antiemetic medicines for motion sickness and other types of nausea;
- remedies for diarrhea;
- antacids for stomach upset;
- laxatives;
- small doses of prescription drugs that your child is taking
- a syringe for self-injection of epinephrine (if necessary).
Part 3 of 3: Teaching Your Child to Use the First Aid Kit
 1 Show your child where the first aid kit is. Children need to know where to find a first aid kit in case of emergency. Place it in a convenient location so that children do not have to look around the entire cabinet. Choose a specific location that is clearly visible and suitable for placing your first aid kit. Also, do not forget about the safety of the location if there are very young children in the house.
 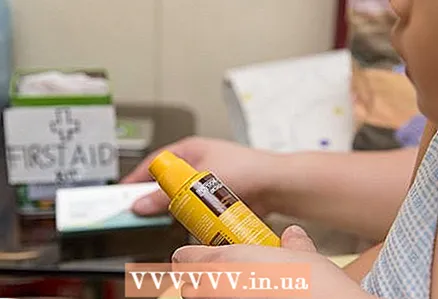 2 Tell your child about each item in the medicine cabinet. As you fold the first aid kit, tell the children about each item in turn. Explain how and when to use each remedy. Speak calmly and do not frighten the child. By passing on such knowledge to children, you will help them not to get lost in a critical situation. Consider 3 subjects a day so as not to overwhelm the child with information.
  3 Come up with a symbol for each item. Even the most careful instruction does not exclude the possibility that in an emergency the child may forget everything. Help him remember the purpose of each item by making a picture book. Use images from the internet instead of symbols to illustrate the application using pictures as examples. Take a close look at each child image. Separate brochures can be made for each compartment of the medicine cabinet (bandages and dressings, tools, medicines).
 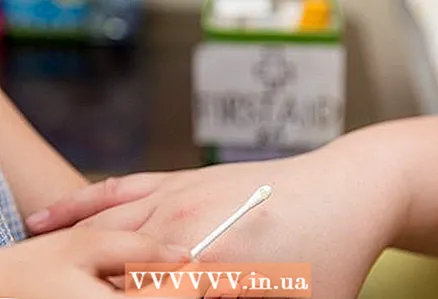 4 Teach your child to use the first aid kit. Think of several situations in a playful way to make it easier for your child to understand the contents of the first aid kit. Ask him to show you how he will use each item. Teach in a relaxed atmosphere and make sure your child is not distracted. Play scenes in which you will be the patient and the child will be the doctor!
  5 Update the contents of the first aid kit. Use the checklist to regularly check the contents of your first aid kit. Review the container after each use to inspect your inventory and buy what you need. Do not forget to keep track of the expiration date of the medications and change them to new medications in a timely manner. Pay attention to the condition of reusable products as they may become unusable over time.
Warnings
- Remember to show your child to a doctor after using first aid. The doctor will assess the severity of the injury and the general condition of the body to make sure there is no danger.


