Author:
Helen Garcia
Date Of Creation:
17 April 2021
Update Date:
1 July 2024

Content
Have Windows XP but don't have a genuine serial number? In this article, you will learn how to make Windows XP genuine forever in a few steps without buying a serial number.
Steps
 1 Click Start and select Run.
 2 Type "regedit" (without quotes).
 3 Double click on HKEY_LOCAL_MACHINE or click on the "+" sign next to it.
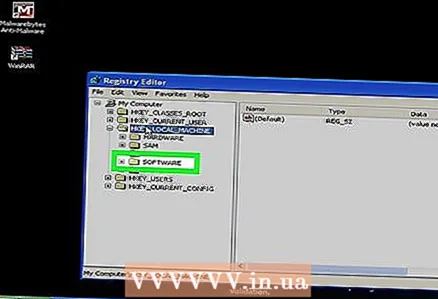 4 Click "Software".
 5 Click Microsoft.
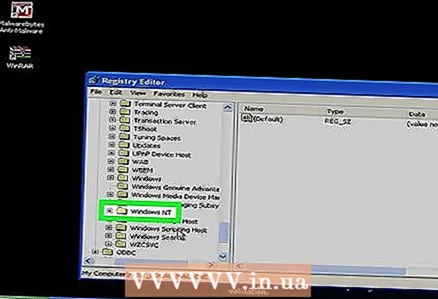 6 Click Windows NT.
 7 Click "CurrentVersion".
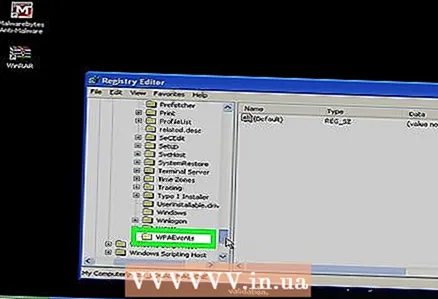 8 Select "WPAEvents".
 9 Right click on "OOBETimer" and select "Modify".
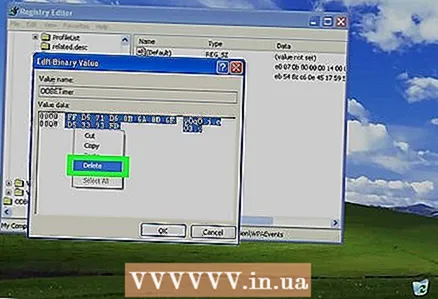 10 In the "Edit Binary Value" box, delete all numbers. Click "OK" and close the registration editor.
  11 Go back to the Run window and type the following command (without the quotes): "% Systemroot% system32 oobe msoobe.exe / a".
  12 In the Windows activation help module, select the second option. It should read, "Yes, I want to call a service representative to activate Windows." Click Next.
 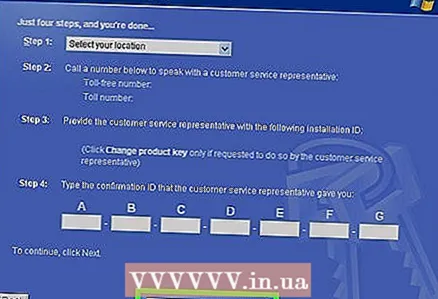 13 Click Change Product Number.
 14 Enter your original product number in the "New number" box and click "Update".
 15 Check if you have genuine Windows XP (optional). Type in "Run" without quotes: "oobe / msoobe / a" .br>
 - If you receive the message "Windows is already activated" in response, it means that the system is genuine.
 16 After deleting the WPA timer value through Run, right-click on WPAEvents. Select Permissions and check Deny for all groups and users. After restarting, the computer will return the values. If you do not deny permissions, the settings will not be reinstalled.
Tips
- If you want Windows XP to be genuine all the time and don't want legal trouble with Microsoft, you need to revert critical Microsoft Windows updates. Here's how to do it:
- Enter "Start", then "Control Panel" (make sure that the "Control Panel" has a classic look).
- Go to "Automatic Updates" and double click on them.
- Click Turn Off Automatic Updates and Apply. Ready!
- And one more thing: it is not very pleasant to receive messages about disabled updates every two minutes. To remove them, double-click on the small red icon in the lower right corner next to the clock. The "Security Center" will appear, there will be several options on the left. Select "Change messages from Security Center" and uncheck the box next to "Automatic updates".


