Author:
Sara Rhodes
Date Of Creation:
18 February 2021
Update Date:
1 July 2024
Content
- Ingredients
- Steps
- Method 1 of 3: Part One: Combining Ingredients
- Method 2 of 3: Part Two: Tempering the Chocolate
- Method 3 of 3: Part Three: Shaping and Serving the Finished Product
- What do you need
Making your own dark chocolate at home isn't likely to save you money or time, but the experience itself can be fun. The process is surprisingly simple, but you need to be careful and precise to be successful in your chocolate making endeavors.
Ingredients
This ends up with about 225 grams (8 ounces) of chocolate.
- 125 (8 tablespoons) ml cocoa powder
- 95 ml. (6 tablespoons) cocoa butter OR 60 ml (4 tablespoons) coconut oil
- 15-30 ml. (1-2 tablespoons) powdered sugar OR honey OR maple syrup
- 2.5 ml. (1/2 tablespoon) vanilla extract
- 60 ml. (1/4 cup) chopped nuts OR dried fruits (optional)
- 15 ml. (1 tablespoon) chia seeds (optional)
Steps
Method 1 of 3: Part One: Combining Ingredients
 1 Prepare a small baking dish or tin baking sheet. Use a 15cm by 15cm mold and line it up with wax or parchment paper.
 - Candy tins can be used instead of a baking sheet. Most forms do not require any special preparation. Just make sure they are clean and dry before using.
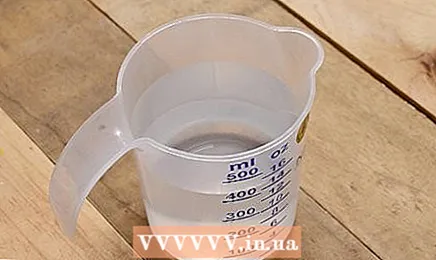 2 Heat water in a double boiler. Fill the bottom of the steamer about 1 inch (2.5 cm) with water. Place it on the stove and bring the water to a boil over medium heat.
 - If you don't have a steamer, you can simulate it as follows.Place a heat-resistant cup or small saucepan inside a larger saucepan. This must be done in such a way that the inner container is held by its edges or handles by the edges of the outer one, while not touching the bottom of the surface of the water poured into the outer pan.
 3 Melt the cocoa butter. Place it in the top section of your steamer and heat slowly, stirring occasionally, until the whole piece of cocoa butter is melted.
 - The cocoa butter should reach a temperature of 50 degrees Celsius. You can control the temperature with a candy thermometer.
- Before you put the cocoa butter in the steamer, you can cut it into equal pieces. This will allow the oil to melt evenly and at a faster rate.
- Note that cocoa butter melts quickly and does not need to be allowed to overheat. To do this, you can reduce the heat to quiet. If the chocolate is overheated, a layer of white bloom will form on it.
- For the preparation of real dark chocolate, cocoa butter is used. But if you're looking for a healthier alternative, then you can substitute coconut oil for it. Coconut oil should be melted and processed in the same way as recommended for cocoa butter in this recipe.
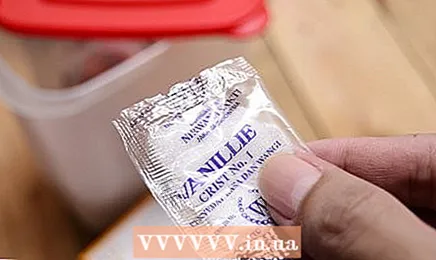 4 Combine cocoa powder, sweetener and vanillin. Stir in a bowl until smooth.
 - You can use any cocoa powder. Processed cocoa powders taste great, are cheaper than natural cocoa powders, and are easier to find. But the processing process removes some of the cocoa's antioxidants. Natural cocoa powder is healthier. It contains more antioxidants.
- Use sugar, honey, or maple syrup as a sweetener. Note that dark chocolate cooked with sugar can be stored at room temperature, while chocolate cooked with honey or maple syrup should be kept in the refrigerator.
- The percentage of cocoa in chocolate depends on how much sweetener you put in.
- Putting 15 ml (1 tablespoon), the cocoa content will be 85%.
- Putting in 22.5 ml (1.5 tablespoons), the cocoa content will be 73%.
- Putting 30 ml (2 tablespoons), the cocoa content will be 60%.
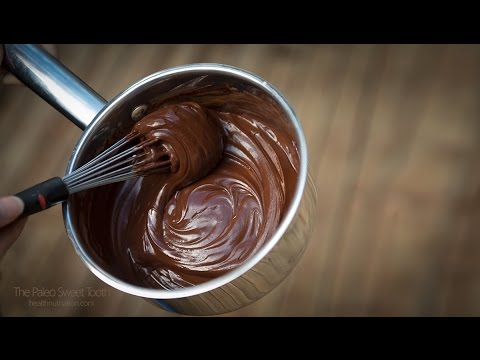
 5 Mix the resulting mixture with melted cocoa butter. Gradually pour the cocoa powder mixture into the butter pan, stirring thoroughly, until the new mixture is smooth. Then remove the product from the heat.
 - Before removing the mixture from the hotplate, let it warm up again to 50 degrees Celsius.
Method 2 of 3: Part Two: Tempering the Chocolate
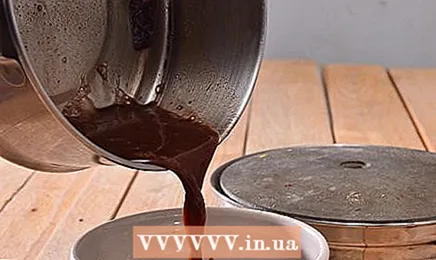 1 Pour some of the chocolate onto the marble board. Gently pour about 3/4 of the chocolate mixture onto a glass cutting or marble board with a low rim around the edges. Set aside the remaining mixture.
 - The tempering process may seem like a lot of extra work, but it is nevertheless highly recommended to do it. During this process, the cocoa butter solidifies into a special crystalline structure and, as a result, the chocolate acquires a more beautiful texture and shine.
- Note that untempered chocolate can have problem edges, become stained, have a curved inner texture, or a white, greasy coating on the surface.
 2 Smear the chocolate. Use a flexible plastic scraper or palette knife to smudge the chocolate and make it as thin and smooth as possible.
  3 Collect chocolate. Use a knife to scoop the chocolate from the edges to the center as quickly as possible.
  4 Repeat for 10 minutes. Smear the chocolate quickly to get a thin layer and immediately collect it back to the center. This process must be repeated all the time. The chocolate should be in motion for 10 minutes.
 - Allow this first chocolate to cool to 28 degrees Celsius before moving on to the next step.
 5 Add the remaining chocolate. Add the chocolate that is left on the plate to the one with which you worked on the board. Mix the two chocolates quickly by spreading and gathering in the center.
 - After adding the hot chocolate mixture to the tempered chocolate, the temperature should be around 32 degrees Celsius.
 6 Check consistency. To make sure the chocolate has been properly tempered, add a drop of chocolate to an empty spot on the board. It should freeze very quickly.
 - If the chocolate mixture does not freeze when checking, continue tempering for a few more minutes and then check again.
Method 3 of 3: Part Three: Shaping and Serving the Finished Product
 1 Add additional ingredients as desired. If you want to add nuts, dried fruits, or chia seeds, sprinkle them over the surface of the chocolate, then quickly stir them into the chocolate mass.
  2 Pour the chocolate into the prepared mold. Collect the chocolate mixture with a large spoon and transfer it to your paper-lined mold. When all of the chocolate has been laid out, quickly smooth the surface of the chocolate with a scraper or palette knife.
 - If using curly molds, transfer the chocolate to a bottle or piping bag and squeeze it into the molds. When all the forms are complete, tap them lightly on the table to remove any air bubbles that may have formed.
- If you want to make chocolate chips, place the chocolate mixture in a narrow nozzle piping bag and squeeze the chips onto a baking sheet lined with wax or parchment paper.
 3 Let the chocolate harden. You can leave it to freeze at room temperature or refrigerate or freeze it.
 - If you put the mixture in the freezer, then it should be ready in about 30 minutes, if in the refrigerator, then a little more than an hour. At room temperature, the mixture can harden for several hours.
- Note that dark chocolate made with honey or maple syrup may not completely solidify at room temperature. So, it would be better to put it in the refrigerator or in the freezer.
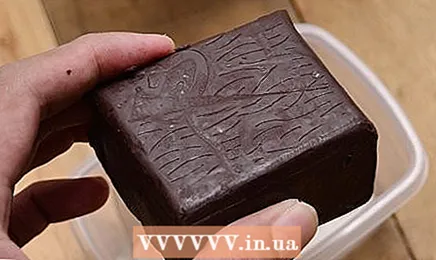 4 Remove the finished chocolate from the mold. When the chocolate is completely hardened, remove it from the mold and remove the paper from it.
 - To remove the chocolate from the curly mold, turn it upside down over a sheet of waxed paper or parchment paper. Tap the bottom of the pan with your fingers or a butter knife, or gently peel back the edges of the pan to loosen the chocolate a little. When you do this, the chocolate should fall out.
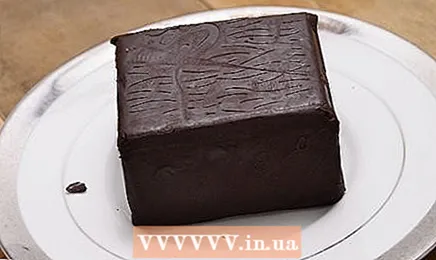 5 Eat right away or save for later. Your chocolate is ready! You can eat the entire tile or break it into smaller pieces. But if you don't want to eat it now, wrap it in a clean sheet of waxed paper or put it in a resealable bag to save for later.
 - Dark chocolate made with sugar can be stored at room temperature. But, if you made chocolate with honey or maple syrup, then you need to store it in the refrigerator.
What do you need
- Small baking sheet or mold for 225 g
- Parchment or wax paper
- Double boiler
- Mixing spoon
- Small cup
- Kitchen whisk
- Marble or glass cutting board
- Flexible plastic scraper or palette knife
- Candy thermometer
- Big spoon
- Pastry bag (optional)
- Closing package (optional)


