Author:
Bobbie Johnson
Date Of Creation:
8 April 2021
Update Date:
1 July 2024

Content
- Steps
- Part 1 of 3: Preparing for a haircut
- Part 2 of 3: Cutting the "pad"
- Part 3 of 3: Completing the "pad" and hairdo
- Tips
- Warnings
- What do you need
Men's hairstyle "playground" has already become a classic - wouldn't it be great to do it yourself at home, instead of going to a hairdresser or barbershop? In fact, it is not at all as difficult as it seems. You may need several tries to get your hand filled, but in general this is a rather "unpretentious" haircut, where some flaws are permissible. Grab your clipper and follow our instructions!
Steps
Part 1 of 3: Preparing for a haircut
 1 Decide how much hair you want to cut. Talk to the person you are going to cut and decide how long the crown and sides will be. This information will help you decide which clipper blades to buy (see step 3).
 - Does he want the hair to appear thicker on the sides, or is it desirable for the skin to be visible around the head?
- How much hair should be left on the crown?
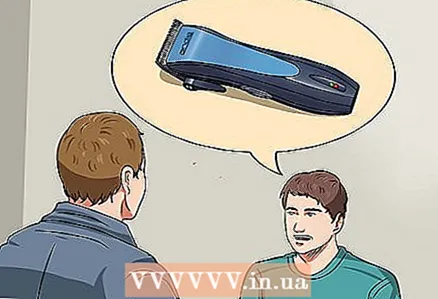 2 Purchase a hair clipper from a hair supply store or online. The three main brands are Oster, Wahl and Andis.
 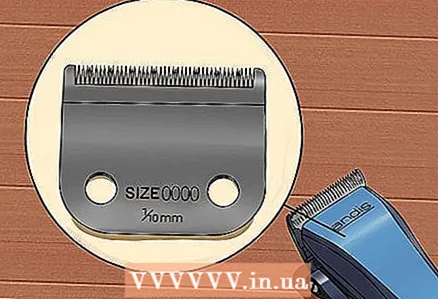 3 Purchase replacement steel clipper blades from your local store or online. The blades come with specific length settings. For example, Oster's 000 blade cuts hair down to 1/4 inch (6.4 mm). In general, 1/4 "to 3/8" (6.4 to 9.5 mm) blades are best suited for a standard pad.
 - For very short side trims where the skin is visible, choose the smallest blades (e.g. Oster 0000 for 3.2mm length).
- Although the clipper comes with detachable plastic attachments, they are not as effective for getting a smooth and even hairstyle in one go as steel blades.
Part 2 of 3: Cutting the "pad"
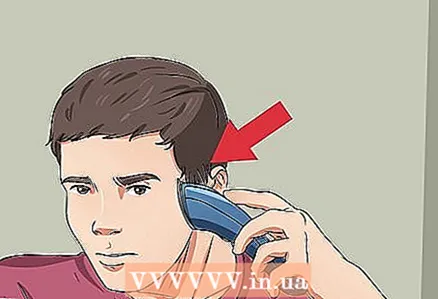 1 Start on the right side of the head at the temple, working the clipper from bottom to top in a vertical line. Work in small areas, moving towards the back of the head.
 - Use the technique with the blade close to the skin while trimming the vertical sections on the sides and back. To perform this technique, comb a small section of hair downward, position the clipper attachment close to your skin, starting at the bottom of your section (the part with the blade pointing upward), and work your way up a vertical line.
- When trimming your sides, be sure to follow an imaginary vertical line upward, rather than following the curve of your head. When your head curves towards the top of your head, just keep pointing the clipper up into the air.
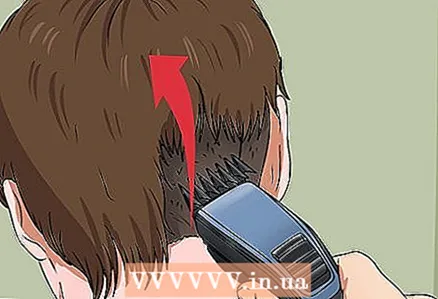 2 At the back of the head, point the clipper up towards the top of the head and then round slightly. Although the platform is a square haircut, a smooth transition should be made from the back of the head to the top of the head so that it looks balanced.
 - Rounding in this case means: instead of working out a completely vertical line towards the crown (as you would do on the sides), you should slightly repeat the contours of the head where the crown begins.
 3 Finish on the left side at the temple. On the left, use the same technique you used on the right, that is, move straight up the vertical line.
 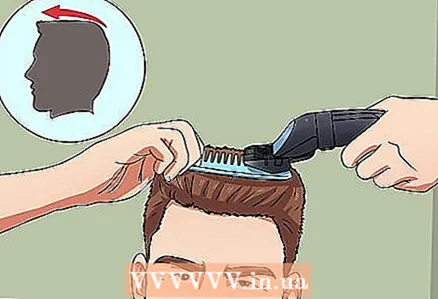 4 Trim the top of your head with a comb and clipper.
- Start at the back of the crown and, keeping the comb parallel to the floor, lift a small section of hair to the desired length.
- Use the clipper to trim off excess hairs that are protruding from the comb. Keep the clipper parallel to the comb.
- Work section by section towards the forehead. It is best to work in small areas to avoid visible lines from the clipper.
- Each section should be the same length as the previous one.
- Comb your hair back from your forehead and repeat the process of trimming the crown for a neat and even result.
Part 3 of 3: Completing the "pad" and hairdo
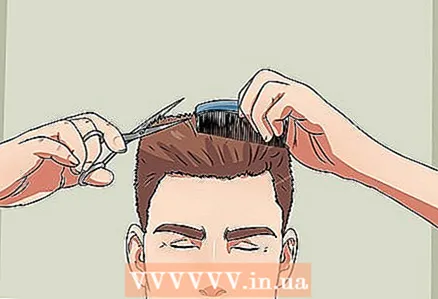 1 Look at the fruits of your labor. Cut off long hairs and trim the areas that require it with scissors.
 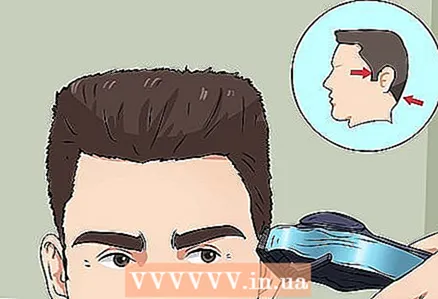 2 Use the T-trimmer to trim the tanks and neck hair to the desired length.
- Hold the T-trimmer with the blade against your skin and pull the clipper further at the same angle.
- Start at the bottom and work your way upward - moving downward can cause irritation.
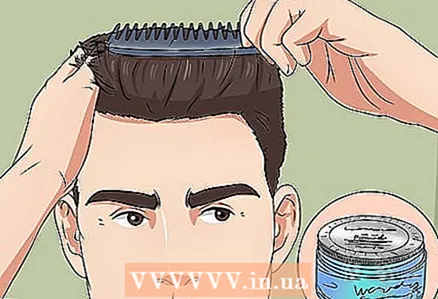 3 Use pomade or styling wax to fix the hair at the crown, which should be straight. Apply a little product and comb the crown up with a brush or comb.
 - For extra volume and shape, blow-dry your hair.
- When finished, dry your forehead with a towel so that no care products remain on your skin.
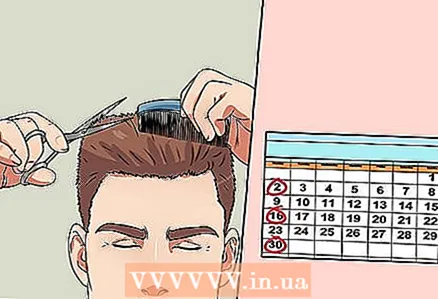 4 Trim your area every few weeks. Long hair on the crown is likely to grow back quickly, so regular grooming is essential to keep it looking fresh.
Tips
- Buy a good hair clipper and use it exclusively on your hair to keep it from getting dull.
- Observe a hairdresser with extensive experience in "playground" haircuts.
- Buy a hairdresser's negligee or use a towel to keep hair from falling on the person.
- Steel blades can be quite expensive, so if you only want one, pick one that gives you the length of the pad you need - for example, 1/4 "might be a good choice.
- When in doubt, use a bit that is slightly longer than the desired length. You can always shorten your hair later!
- When trimming the crown, use hairspray and a comb to keep your hair straight so you have more control over your hair style.
Warnings
- If the person needs to sneeze or move, ask them to alert you so you can pause the haircut.
- It is best to keep children away from the area where you work.
What do you need
- Hair clipper
- Machine attachments
- Flat comb
- Scissors
- T-trimmer
- Towel or negligee


