Author:
Virginia Floyd
Date Of Creation:
7 August 2021
Update Date:
1 July 2024

Content
- Steps
- Method 1 of 3: Barefoot Green Feet
- Method 2 of 3: Green outsole marks
- Method 3 of 3: Edible Green Footprints
- What do you need
- Bare green feet
- Green footprints from the sole
- Edible green footprints
Do you want to fool your kids by saying that you had a little Leprikona in your house on the eve of St. Patrick's Day? If so, then you need to learn how to make Leprikon's footprints so that curious kids can take his trail. Learn how to make tiny gnome footprints from this article.
Steps
Method 1 of 3: Barefoot Green Feet
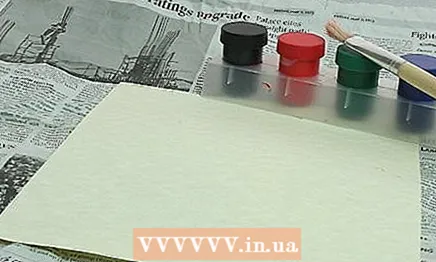
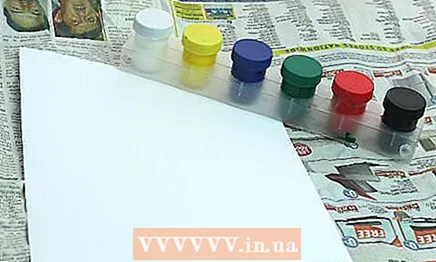
 1 Get your paints and work surface ready. You will need green stationery paint and a flat, hard surface like heavy paper or window glass.
 - Choose water-borne paints, especially if you intend to paint marks on a window or other surface that can be washed off.

- Tempera works best. For easy cleaning, mix a few drops of dishwashing liquid with paint before using.

- You will also need a paintbrush or saucer to pour paint into.

- For less clutter, place newspapers or plastic wrap on your work surface.
- Choose water-borne paints, especially if you intend to paint marks on a window or other surface that can be washed off.
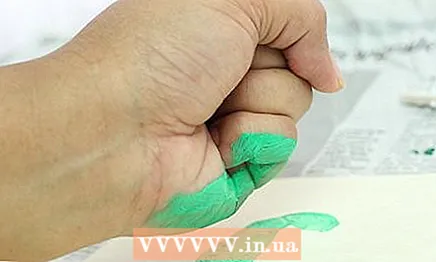
 2 Make a fist. Curl your fingers so that the tip of your little finger touches the center horizontal line of your palm.
 - Wash your hands thoroughly before starting a project.

- Wash your hands thoroughly before starting a project.
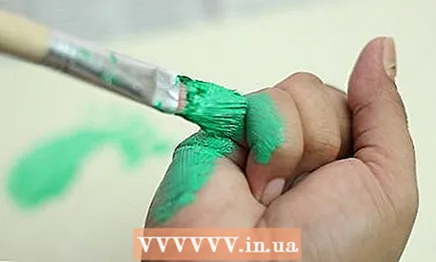
 3 Apply paint to the crook of your fist. Take a paintbrush in your other hand and dip it in green paint. Paint the entire fold of the fist from the pinky side from the tip to the wrist.
 - Alternatively, you can pour paint into a saucer and soak your fold in it. Hold your hand over the plate for a few seconds to allow excess paint to glass.

- Alternatively, you can pour paint into a saucer and soak your fold in it. Hold your hand over the plate for a few seconds to allow excess paint to glass.
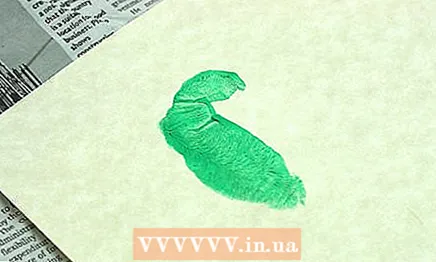
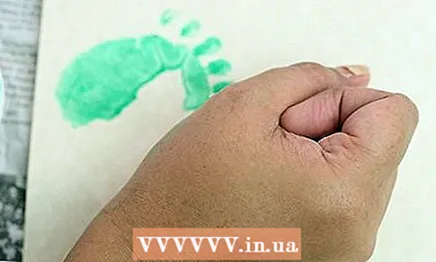
 4 Print the paint onto the surface. Press the colored side of the clenched fist onto the drawing surface.
 - Press firmly on the surface with your fist and immediately raise your hand. Do not unclench your fist, as this action can ruin the Leprericon's trail.
- The resulting shape forms the basis of the footprint.
- Press firmly on the surface with your fist and immediately raise your hand. Do not unclench your fist, as this action can ruin the Leprericon's trail.
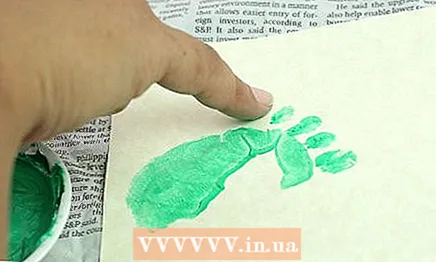
 5 Dip your pinky finger in paint. Use a paintbrush to paint your pinky finger green. You only need to cover the tip of your finger.
 - Just like last time, pour paint in a saucer and dip your pinky right into it. Allow excess paint to drain.
- 6 Add toes to the base of the track. Draw five small dots. The points should go along the top edge of the trail drawn and be equidistant from each other.
- Keep in mind that the first point should be drawn over the short side of the base. This will be the "big toe", so it should be the largest of all the points drawn.

- The remaining points should gradually decrease, down to the little finger.
- Keep in mind that the first point should be drawn over the short side of the base. This will be the "big toe", so it should be the largest of all the points drawn.
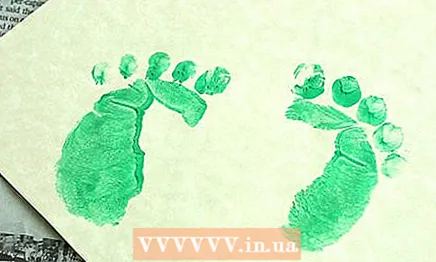 7 Use your other hand to draw the footprint of the opposite foot. Repeat the same steps, only with the other hand.
 - Paint the fold of the fist of the other hand.
- Press the cam against the pattern surface.
- With your pinky, draw five toes along the top of the base.

- Paint the fold of the fist of the other hand.
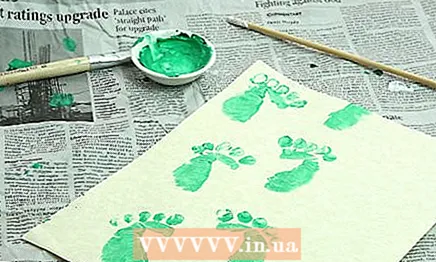 8 Leave the drawing to dry. Allow the pattern to dry before using the surface.
 - Let the first chain dry, and then paint on the second to keep the marks from smearing. If you are short on time, paint from top to bottom on the surface so as not to hurt the drawn tracks.
Method 2 of 3: Green outsole marks
 1 . Get your paints and work surface ready. You will need green stationery paint and a flat and smooth surface. Anything from a piece of paper to a kitchen table or window glass will do.
 - Water-based paints work best, especially if you intend to wash them off later.
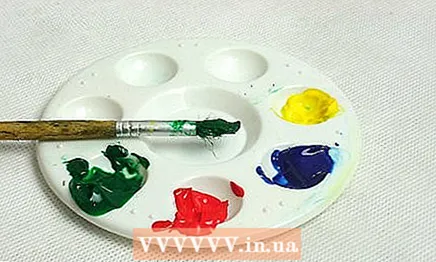
- Green tempera is beyond competition. For easy cleaning, mix a few drops of dishwashing liquid with paint before using.

- Take a paintbrush and a saucer into which you can pour paint.

- For less clutter, place newspapers or plastic wrap on your work surface.

- Water-based paints work best, especially if you intend to wash them off later.
 2 Find a pair of booties or doll shoes. Choose your shoe size, but since Leprikons are smaller than people, their foot size is also smaller than that of the average adult. Most likely, you will have to get hold of shoes that are even smaller than those of the kids you are going to play.
 - For the “big” Leprericon, choose baby or doll shoes for a 45 cm doll.
- For the “little” Leprericon, choose doll shoes for the 29 cm doll.
- Use baby or doll booties if possible. As a last resort, use slippers, but not doll heels.
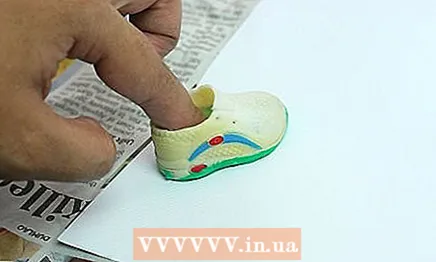
 3 Dip your boots in the paint. Dip the sole of one shoe in the puddle of green paint on the saucer.
 - Let it drain, because the excess paint will distort the shape of the track.
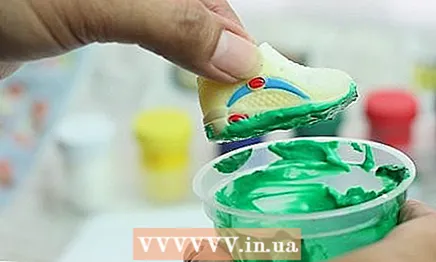
- You can also brush over the sole of your shoe with a brush. Dip the brush into the paint and smear the sole of the brush with it. This method is more neat.
- Let it drain, because the excess paint will distort the shape of the track.
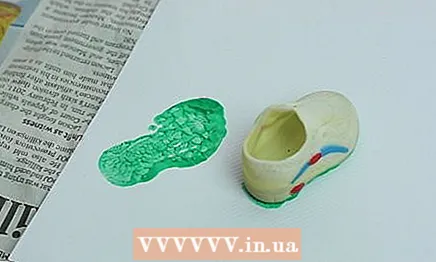
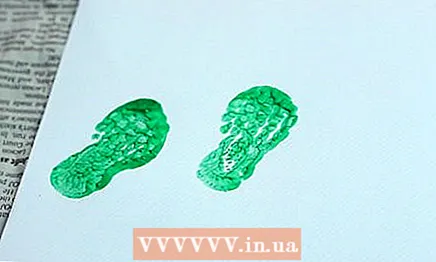 4 Imprint a mark on the surface. Press the dyed shoe against the pattern surface.
 - Do not fidget or shake the shoe, because the shape of the track will be distorted.
- This print is a ready-made track.

- Repeat with the other shoe.
- Do not fidget or shake the shoe, because the shape of the track will be distorted.
 5 Let the tracks dry. Let the paint dry before using the painted surface.
 - Let the first chain dry, and then draw the second so that the traces are not smeared. If you are short on time, paint from top to bottom on the surface so as not to hurt the drawn tracks.
Method 3 of 3: Edible Green Footprints
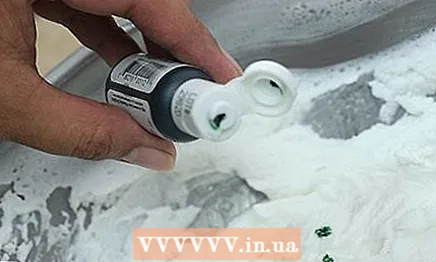
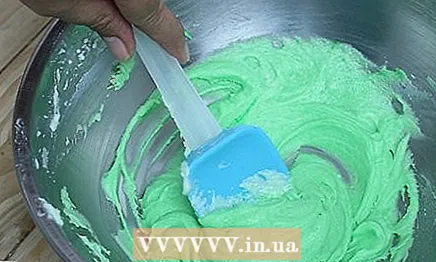 1 Add green food coloring to the white frosting. Add 10 to 20 drops of green food coloring to a standard store-bought can of white frosting. Mix until the color is uniform.
 - The amount of dye you add determines the original color. The more food coloring you add, the darker and richer the color will be. If you add just a little dye, a light green frosting will come out. And if you add too much glaze, you will need to further dilute its consistency.

- The frosting should be exactly white, because you will not be able to paint chocolate, strawberry or any other already colored frosting.
- The amount of dye you add determines the original color. The more food coloring you add, the darker and richer the color will be. If you add just a little dye, a light green frosting will come out. And if you add too much glaze, you will need to further dilute its consistency.
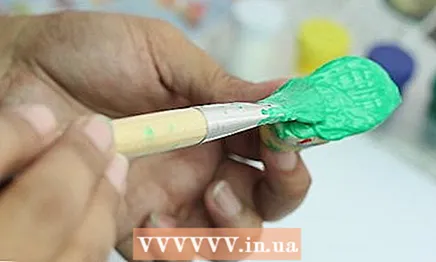
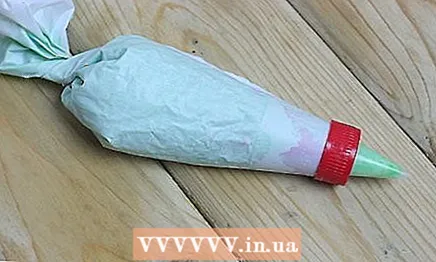 2 Pour the icing into a piping bag. Spoon the green frosting into a piping bag with a smooth nozzle. No sophisticated attachments needed. On the contrary, a regular nozzle will create the straight lines we need.
 - The amount of glaze will vary depending on how many marks you want to make.

- Instead of a bag, you can take a plastic bag, cut off the small end, and pour the green frosting into it.

- The amount of glaze will vary depending on how many marks you want to make.
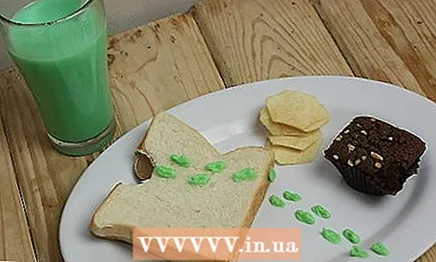 3 Serve on a plate. You can put any food you like on the plate. To create the perfect meal, adjust everything as if Leprikon was here. To do this, nibble on a sandwich or cut off one of the corners, as if it had been bitten off by Leprikon.
 - Here are some examples of a perfect meal:
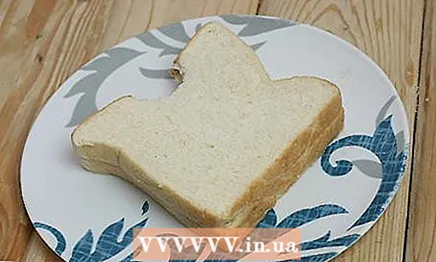
- Bitten sandwich
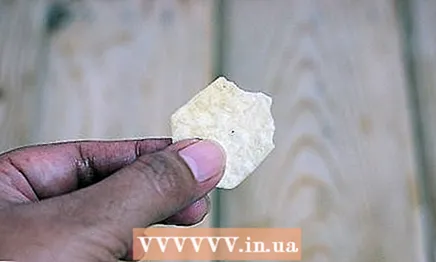
- Chips with "gnawed" edges

- Slightly gnawed muffins or biscuits.
- Here are some examples of a perfect meal:
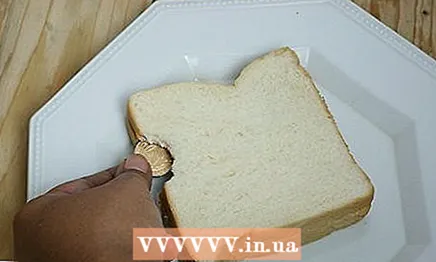 4 Hide the small gold coin under the dish. Place a small gold token under the "eaten" portion of the dish. This is the last stop of our Leprikon on his way.
 - You can also take a chocolate coin wrapped in gold foil.
- Usually Leprikonov is associated with a treasure, therefore every Leprikon who has bitten off a piece of a child's breakfast should leave a gold coin as a thank you.
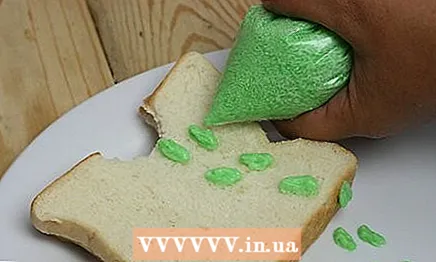 5 Draw small ovals leading to the coin. Use your icing bag to draw small, narrow ovals from the edge of the plate to the coin hidden in the food.Play around with the location of the ovals so that they look like a chain of tracks, rather than a straight dashed line.
 - Approach the Leprericon Trail with enthusiasm. Trace his footprints around food as if he doesn't like it, and walk to whatever food he decides to try.
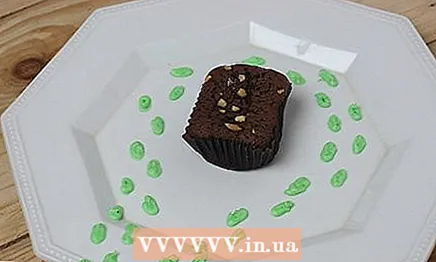
- Approach the Leprericon Trail with enthusiasm. Trace his footprints around food as if he doesn't like it, and walk to whatever food he decides to try.
What do you need
Bare green feet
- Tempera green paint
- Dishwashing liquid
- Paint brush
- Saucer
- Newspaper or plastic wrap
- Working surface
Green footprints from the sole
- Tempera green paint
- Dishwashing liquid
- Paint brush
- Saucer
- Newspaper or plastic wrap
- Working surface
- Booties or doll shoes
Edible green footprints
- One can of white glaze
- Green food coloring
- Piping bag or strong plastic bag
- Scissors
- Plate and food
- Gold tokens or chocolate coins in gold foil


