Author:
Ellen Moore
Date Of Creation:
12 January 2021
Update Date:
1 July 2024
Content
- Steps
- Method 1 of 2: Lego Pistol
- Method 2 of 2: Professional Lego Assault
- Tips
- Warnings
- What do you need
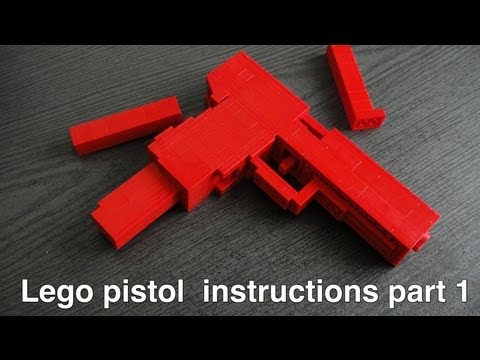
Digging up an old Lego box and thinking about throwing it away? Before you do this, ask yourself, "Will I ever bully / play anybody else?" If your answer is yes, don't throw away the constructor: it's time to make an almost real pistol! (we are not responsible for the failure of any of your relationships)
Steps
Method 1 of 2: Lego Pistol
 1 It is necessary to understand the mechanism of the future pistol. The pistol will not be able to annoy your loved ones if it does not shoot. Fortunately, many Lego pistols work according to the same pattern: an elastic band extends from a fixed hook or notch from the front end of the pistol (where the muzzle should be) to a special mechanism at the other end (where the trigger is supposedly located). When you "pull the trigger", the position of the mechanism will change and allow the "bullet" to fly in the direction in which your "barrel" is located.
 - There are many options for "design" pistols, however, as well as types of their mechanisms. However, the basic principle of these mechanisms is that the rubber band jumps out of its place, launching the projectile.
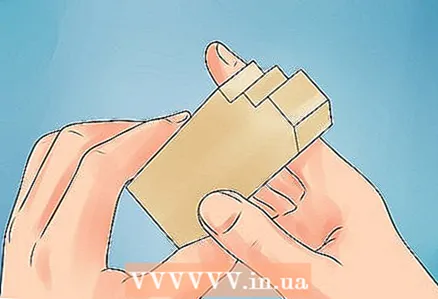
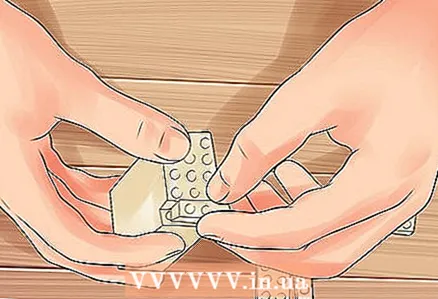 2 Build your trunk. The size and elasticity of the elastic you choose will affect the length of the gun base. The "barrel" must be strong enough to withstand the pressure of one or more rubber bands.
 - A good base for the "trunk" will be two long, thin Lego blocks connected to holes the size of one small block.The space between the blocks gives room for a trigger that can easily be set to rotate in one of the holes in the plates.
- Be sure to install a notch or a bulge where you will hook the rubber band of the gun. Make sure it holds well and can withstand the pressure of the rubber band!
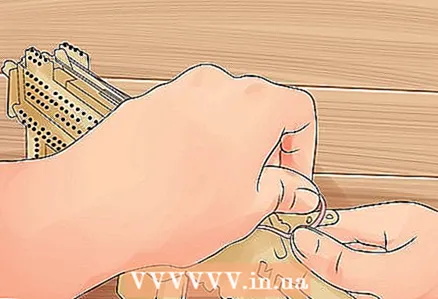
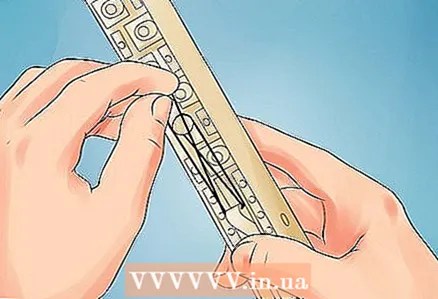 3 Place the trigger in the barrel. An elementary trigger is an elastic band attached to an axle between the walls of the "barrel". It is necessary to avoid free rotation of the mechanism axis - the "trigger" of the pistol, until it is activated. When you pull the trigger, the axle should rotate freely. The sudden release of the mechanism's rubber band forces a "bullet" from your pistol to fly straight into the hapless victim.
 - Despite the fact that all mechanisms are based on similar, basic principles, there are a great many of them, so you can choose the most understandable for you. It is very easy to make a more effective pistol: make several "barrels" from L-shaped and regular blocks, where the axis of each trigger rotates separately.
 4 Add a grip to your pistol. The handle can be just a square tube attached to the barrel, or it can include semi-circular pieces that follow the shape of your hand. It all depends on your imagination; but be sure to make sure the grip is strong enough to support the weight of the barrel and the shot of the improvised pistol, otherwise you will shoot yourself in the legs!
 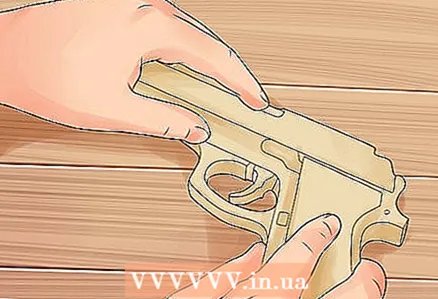 5 Upgrade your pistol. Now that it has the right frame and functions perfectly, you can give it any look (even a real pistol). You can choose any design, depending on what style you want to appear before the victims.
 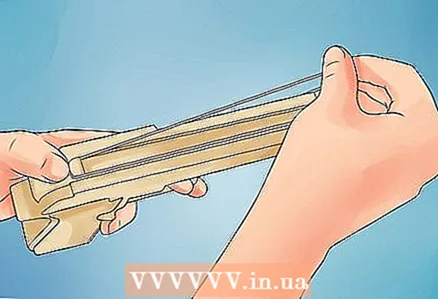 6 Now that you're ready to shoot, pull on the elastic. Hook it into the notch, pull it back and grab the trigger. Now find a target or a victim!
 - If you've learned how to make pretty tough pistols, try making a multi-barreled weapon as described above. With multiple "trunks" the effect will be more realistic.
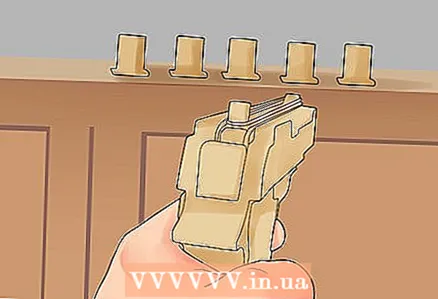 7 Target! Look at the top of your "barrel" and aim: put the notch at the end of the "barrel" in line with the victim.
 - Never aim for the face. It is, of course, tempting, especially if the person deserves it, but a shot from such a gun in the eye can be really painful and traumatic.
Method 2 of 2: Professional Lego Assault
 1 Don't stop there! If you are the lucky owner of an electric motor for some machine or boat from Lega, creating a mechanism for a pistol becomes extremely simple. You just need to place it on the end of the "barrel" and the mechanism will run faster and more conveniently thanks to the motor. More sophisticated motors can even help you make a drum revolver. Stock up on rubber bands before you start.
 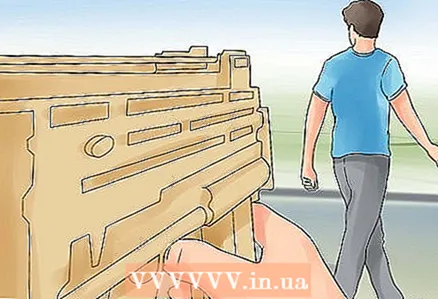 2 Take targets from afar! A professional Lego sniper rifle will allow you to annoy your victims when they won't even see you. A feature of the rifles is a long barrel with a tight long elastic band, bullets from which will leave almost scars on the skin of the victims. Such rifles can also be equipped with a bolt and set the volume for additional accuracy.
 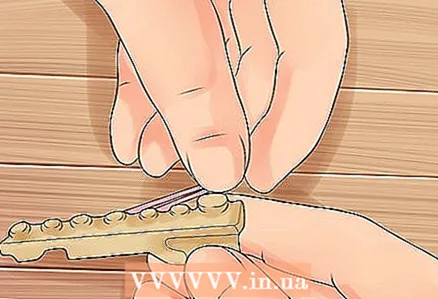 3 Use your ninja skills. Build a small and lightweight pistol: This is a great way to incapacitate an unsuspecting friend. Just make it according to the basic scheme and as small as possible. Then charge it and hide it behind your strap or wrap it in newspaper ... BAM! The "enemy" will not even understand where he was hit from. Use all your originality in the event of such a joke.
Tips
- The longer the barrel, the further your pistol will shoot. Sometimes a weak rubber band is enough for a more accurate shot in this case.
- Reinforce curved and overly long Lego blocks with more strength, and then you can pull the elastic tighter.
- If you decide to fight a friend using Lego weapons, wear glasses to protect your eyes and face.
Warnings
- Do not shoot people who do not want this, as well as animals.
- If your pistol looks too realistic, proceed with caution - you can get the attention of the police. Never play with such a gun in full view of the cops!
- Watch for cracks in the pistol. If you do not foresee a breakdown in time, you risk injuring yourself or others during the next shot.
- If you are shooting at a target, make sure it is stable and there are no bystanders nearby.
What do you need
- Nice Lego set, but you can make or find some parts yourself if you don't want to spend extra money on this venture.
- Patience
- Inner shooter
- A worthy goal


