Author:
Marcus Baldwin
Date Of Creation:
14 June 2021
Update Date:
1 July 2024
Content
- Steps
- Method 1 of 3: How to Create Your Own Stencil
- Method 2 of 3: How to create a stencil from the finished image
- Method 3 of 3: How to cut and use a stencil
- Tips
- Warnings
- Additional articles
Stencils make graffiti quick and easy and are ideal for beginners. Unlike freehand drawing, a stencil provides crisp, precise lines and helps to achieve a high level of detail. The stencil is created in advance, before the graffiti is applied, so the drawing process is significantly accelerated: just attach the stencil to the wall or canvas and spray paint on it, and then remove the stencil. Keep in mind that painting on the walls of public buildings is illegal - instead, try using your new stencil on the walls of graffiti parks, within your infield, or on large canvases you can use to decorate the walls of your home!
Steps
Method 1 of 3: How to Create Your Own Stencil
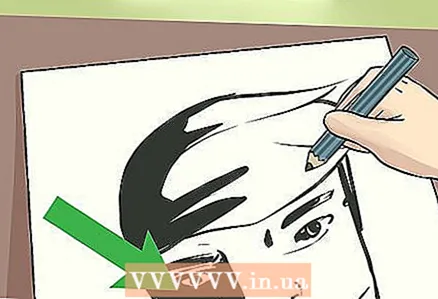
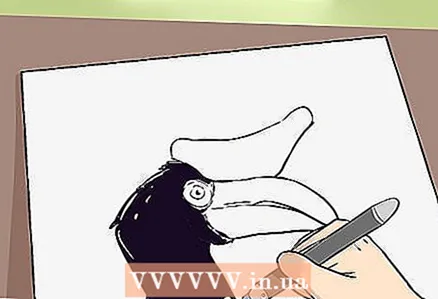
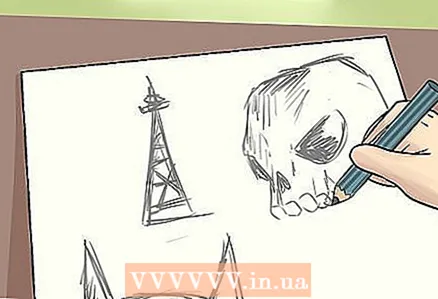 1 Sketch on a regular piece of paper. If you are into the visual arts, you can design your own stencil design rather than using a stock image. Before applying the outline of the stencil to the cardboard, it is advisable to think over the design of the future drawing and make sure that it is suitable for the stencil. Sketch on paper and rate it.
 - If you are taking your first steps into graffiti, it will probably be easier for you to use a ready-made image to stencil, rather than try to create your own sketch.
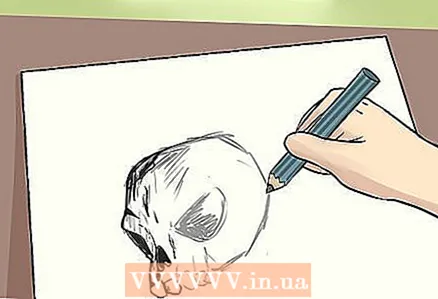 2 Shade in your sketch for the places that you are going to cut out. Lightly shade with a pencil the areas that you will then cut out and fill in with paint. If you are going to make a colored drawing, paint over the sketch with colored markers according to your intention.
 - As a result, you will get a sketch of the future stencil with shaded or painted areas that you will cut out and fill with paint. Other places will cover the surface from the paint, leaving the background color (wall or canvas) in them.
 3 If necessary, provide bridges in your sketch. When creating a sketch of the future stencil, you need to remember several important things, one of which is the so-called bridges. They hold the islets that would otherwise just fall out of the stencil after you cut it.
 - The easiest way to understand what bridges are is to imagine the letter O. If you are creating a stencil with the letter O, you should cut a circle in the paper to resemble that letter.
- However, if you cut a full circle in the paper, the middle part of the O will simply fall out, and instead of the letter, you will end up with a large black circle.
- To prevent the central part of the letter O from falling out, it is necessary to use bridges in the form of vertical stripes that will connect the circle of the letter O with its central part. In this case, the shaded part of the letter will more likely resemble parentheses, rather than a solid circle.
- Look at the resulting sketch with a critical eye. If you notice that additional bridges are needed somewhere, erase the hatching in these places.
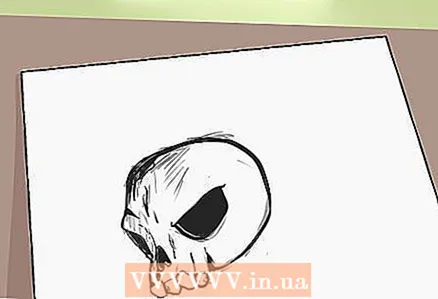
 4 Simplify overly complex parts of the sketch. In the absence of proper experience, it is difficult to say whether a stencil will turn out to be successful. Often times, simple and stylized areas are imprinted and look better than complex areas with lots of small details.
 - For example, if you are sketching a face, you can first sketch out the outer contours, and then move on to the image of the facial features. In doing so, it is convenient to shade and cut out a shadow that extends from the lower jaw to the cheeks and mouth, and then rises along the sides to the very eyes.
- This shadow not only reflects the facial features and makes the sketch more effective, but also adds volume to the drawing.
 5 Copy the final sketch onto cardboard. When the sketch of the stencil is ready, transfer it to a sheet of cardboard or thick poster paper, or onto an acetate cloth.Shade in the areas you want to cut, and leave at least 5 centimeters around the edges to hold the stencil properly.
 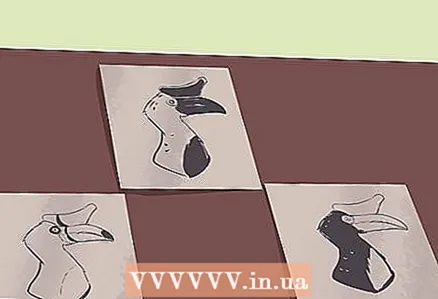 6 Make some stencils if you are going to get a colored drawing. If you want to use multiple colors, make one stencil for each color.
 - Take sheets of the same size and place your sketch on each sheet. Color each sheet with a marker of the appropriate color, so that when the sheets are overlaid, you get a colored drawing.
- Let's say you sketched a cherry tree and used three colors: black, red, and green. In this case, you need to take three identical sheets of cardboard and sketch a cherry on each in the same place. On one sheet, you will draw a black marker around the outline of the tree and, if necessary, mark the bridges, on the second, paint over the berries with red, and on the third, paint over the trunk, branches and leaves in green.
Method 2 of 3: How to create a stencil from the finished image
 1 Choose a high-resolution, high-contrast picture. Another way to make a stencil is to use an existing image: edit it in an appropriate program, such as Adobe Photoshop, print and cut the stencil. Select an image with a high contrast between light and dark areas and with sufficient resolution to maintain quality while enlarging the image.
 - Try to find a fairly simple image, such as a contrasting portrait or drawing of a fruit. If you are inexperienced in stencil making, do not use images with a lot of detail (for example, a photo of a cheetah with spots on its skin).
- Do not use copyrighted images. Find a stock image that suits you or choose a photo you took yourself.
- Also try to keep the selected image self-contained and complete. For example, instead of depicting a wide-spread landscape, choose a single tree or flower.
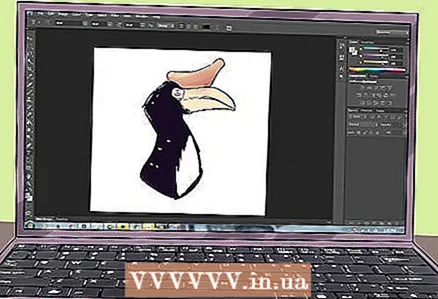 2 Load the selected picture into an image editing program. Once you have selected an image, import it into Photoshop, Gimp, or another similar program that you can use to adjust the brightness and contrast. There are also numerous websites dedicated to converting images to graffiti stencils.
 - While Photoshop and Gimp require some experience, they will give you better control over the image conversion process.
- Websites for converting images to stencil templates allow you to immediately convert an image to a split color template. However, compared to image editing programs such as Photoshop, where you choose the sequence of actions yourself, such websites provide less control over the final appearance of images.
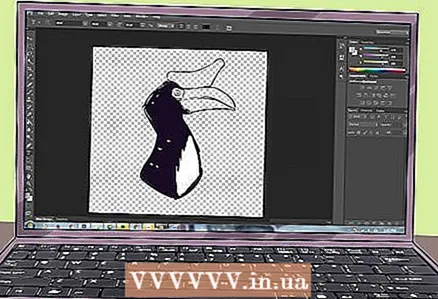 3 Remove the background. If you are using a picture with a background that you do not need on the stencil, it should be removed before you start editing the image.
 - If you are using Photoshop, make the first layer from the original image, and then duplicate it in the second layer by dragging the first layer panel to the page-shaped Create New Layer icon located at the bottom of the Layers panel. Then lock the first layer and turn off its visibility.
- After that, stroke the image in the second layer using the Magic Wand or Pen tools. Click Select> Invert and then Remove to remove the background.
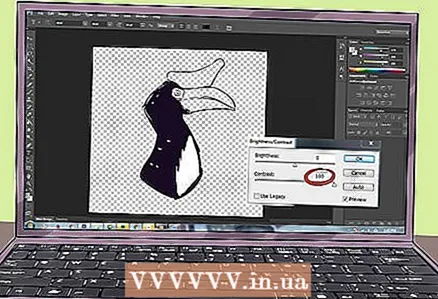 4 Adjust the contrast of the image. On the same second layer, convert the image to grayscale: to do this, click Image> Mode> Grayscale. Then set the contrast to 100%.
 - To set the contrast in Photoshop, go to Image> Preferences> Brightness / Contrast and set the contrast in the window to 100%.
- If you want to make a multi-colored template, skip the step of converting the image colors to grayscale.
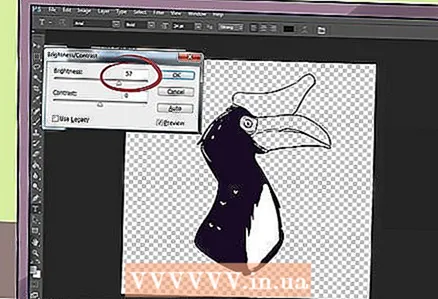 5 Increase the brightness of the image. Increase the brightness of the image to an appropriate level. Thanks to the high contrast, you should end up with a two-tone black and white image that looks like a graffiti stencil.
 - If you're using Photoshop, click Image> Preferences> Brightness / Contrast and increase the brightness.
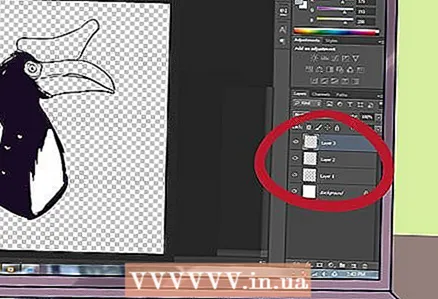 6 If you're doing a multi-colored sketch, create multiple layers. Make one separate layer for each color.
 - After you print the image, paint over it with colored markers in the appropriate places. Use one color for each sheet so that when you align the sheets you have a complete image.
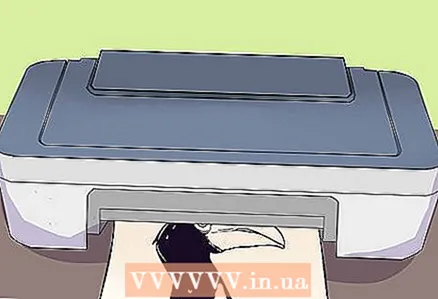 7 Print the image. After you've processed your image, print it and spray it onto cardboard, banner paper, or acetate cloth. Now you can cut the stencil!
 - Print the image so that there is at least five centimeters of free space around the edges. In this case, the stencil will be strong enough after you cut it out.
- When spraying aerosol glue, hold the can of glue about 30 centimeters from the paper and move it until you have covered the entire back of the sheet with glue. Then pick up a piece of paper, turn it over, place the sticky surface on cardboard or banner paper, and smooth it with your hand so that no wrinkles remain.
Method 3 of 3: How to cut and use a stencil
 1 Use a craft knife to cut out small parts of the stencil. After you draw and color the stencil, you can start cutting it out. Using a sharp craft knife, carefully cut out small areas of the cardboard where you want to paint.
 - If you are using a printed image, cut out the black or, in the case of a color stencil, filled with colored markers.
- If you are using your own sketch for the stencil, cut out the shaded areas. These are the places where you will apply the paint.
- It is always more convenient to cut small pieces first and then larger pieces, as the more material you remove, the less rigid and more fragile the stencil becomes, making it harder to work with.
- Hold the stencil and cut it slowly and carefully. Be careful to keep your fingers away from the knife blade.
 2 Cut out larger areas. After you have carved out the small pieces with your DIY knife, move on to removing the larger pieces. Remember that it's better to cut out the excess in parts, rather than trying to remove everything at once, at the risk of ruining the stencil.
 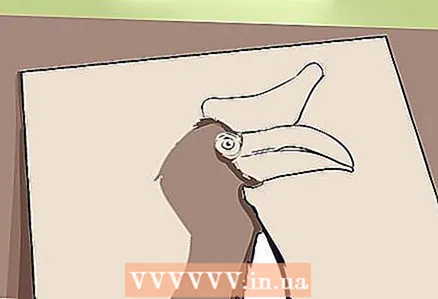 3 Refine the stencil. So you've almost cut out your stencil. Place it on black paper and step back a little. The black paper will show through the cutouts and you will see how your drawing will look.
 - If you find that the stencil needs to be fixed, tweak it until the image looks the way you want it to be.
 4 Secure the stencil with tape or spray glue. So, the stencil is ready, and you can start creating graffiti! Glue the stencil to a wall in a graffiti park, large canvas, or other surface you want to paint on.
 - In the case of a rather rough stencil without small parts, you can simply attach it to the surface and glue it around with tape around the perimeter.
- If the stencil contains a large number of small parts, it is better to use spray glue so that all parts of the stencil adhere to the surface.
- To use spray glue, lay the stencil back up on the ground and spray that side with glue evenly.When doing this, hold the glue can about 30 centimeters from the stencil surface. Then lift the stencil by the corners, place it against the wall and smooth it with your hand so that there are no wrinkles on it.
- Make sure the stencil is properly adhered to the wall. In the voids between the stencil and the wall, paint can enter and distort the image.
- Remember to use paint in well-ventilated areas.
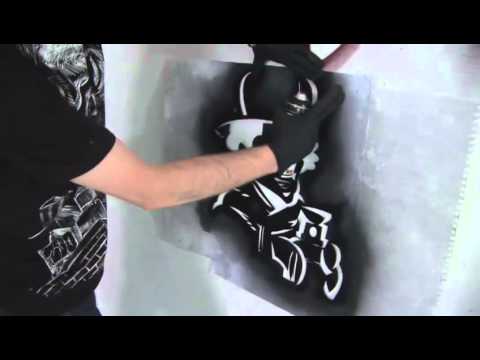
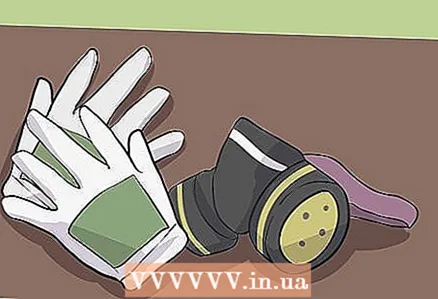 5 Wear gloves and a face bandage or mask. Spray paints are toxic and can cause brain damage if inhaled too much. To protect your health and not get your hands dirty, wear disposable gloves and a gauze bandage, or better, a respirator.
 - You can also cover your face with a bandana, although a bandage or respirator is best.
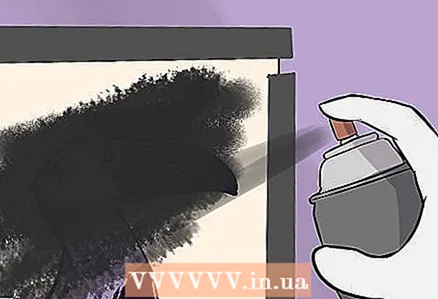
 6 Shake the can and spray the paint. Shake the can of paint well to hear a noise. After that, bring the can 20-25 centimeters to the wall and direct the stream at right angles to its surface. Move your hand gently from side to side to apply the paint evenly.
 - It is better to apply paint in thin successive layers, rather than completely paint over individual fragments. Move your hand constantly from left to right and back. Don't worry if some area is not painted - you will paint it a little later.
- Try to use graffiti paints available from specialty stores. Furniture aerosol paints are of inferior quality and are applied in less uniform layers.
- Try not to spray paint outside the stencil, otherwise blurry borders will form around the image, which can ruin the impression of the graffiti.
 7 Complete the graffiti. After you've sprayed paint all over the stencil, take a close look at the painted areas. Apply additional coats of paint to undershadowed (translucent) areas. Also, pay attention to the edges of the stencil and spray paint in the blurred areas to get a crisp outline.
 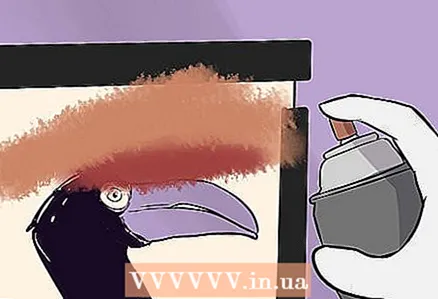 8 Spray one paint at a time. If you have multiple stencils, spray paints in sequence. Start with a base color, usually black, which is often used to outline your artwork. Mark the location of the stencil corners on the wall so you know where to put the next sheets.
 - After you finish applying one color, attach the next stencil to the previously applied marks on the wall. Spray the second paint. Continue until you have applied all the colors.
 9 Remove the stencil. Wait about thirty seconds, then carefully remove the stencil from the wall: to do this, remove the tape or carefully peel the stencil from the wall if you used aerosol glue. Now you can enjoy your masterpiece!
Tips
- Before using any spray paint, it is advisable to test it. Spray paint on a couple of test stencils, and only then use it for a more complex stencil.
- Stencils made of cardboard, banner paper, or acetate fabric can be used multiple times until they crumple or tear when removed from the wall.
Warnings
- Spray paint in a well-ventilated area, preferably outdoors.
- Spray paints give off harmful fumes, so gloves and a face bandage or respirator must be worn when using them.
- Do not use graffiti on private property.
- Be very careful when cutting the stencil with a knife. Keep the knife away from your hands or other parts of your body.
Additional articles
 How to make moss graffiti How to draw graffiti
  How to become a graffiti artist
 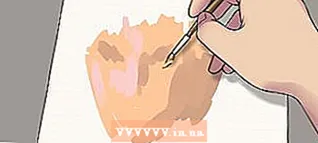 How to get a realistic skin tone How to mix colors to get turquoise How to draw shadows
  How to draw anime and manga faces
  How to learn to draw on your own
  How to draw anime hair
  How to draw and publish manga
  How to draw a Sharingan How to remove oil paint from brushes
  How to paint with oil paints
  How to dilute latex paint


