Author:
Marcus Baldwin
Date Of Creation:
15 June 2021
Update Date:
1 July 2024

Content
- Steps
- Method 1 of 2: Making an Ice Gel Pack
- Method 2 of 2: Using an Ice Gel Pack
- Tips
- Warnings
- What do you need
Sometimes, you may feel muscle pain when struck or dislocated. For such cases, it is a good idea to stock up on an ice pack in the freezer. Ice gel packs can be purchased at every pharmacy and most grocery stores, but if you want to make your own, it's pretty simple and quick.
Steps
Method 1 of 2: Making an Ice Gel Pack
 1 Add ingredients. In a resealable bag that can be used in the freezer, pour a glass of water and 1/2 cup rubbing alcohol.
  2 Close the package. Make sure no liquid leaks out.
  3 Place the bag in the freezer. Freeze for at least 3 hours before using. Note: Since alcohol keeps the water in a liquid state, the bag will not actually freeze, but the contents will become cold and pleasant.
Method 2 of 2: Using an Ice Gel Pack
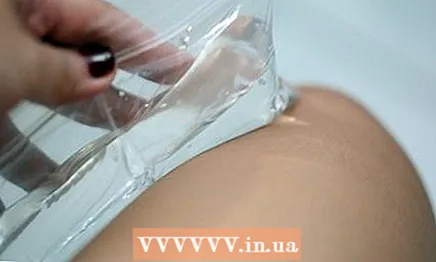 1 Apply to swollen or inflamed areas, bruises, and scratches as needed.
 2 After each use, put the bag in the freezer until next use. It will be enough for several times.
Tips
- Before freezing, add a few drops of blue food coloring to make your bag look like the ones sold at the pharmacy. It will also prevent accidental eating.
- Use two bags to avoid spilling the contents. The package will last for a long time.
- Do not overfill the bag to prevent it from bursting when pressed.
Warnings
- Do not apply the bag directly to your skin, as it is very cold and can damage it. Place a towel between the skin and the bag.
- Do not try to heat this bag. It is only intended for cold compresses and will emit gases when heated.
What do you need
- Water
- Alcohol
- Medium-sized resealable bag that can be used in the freezer


