Author:
Janice Evans
Date Of Creation:
1 July 2021
Update Date:
1 July 2024

Content
- Steps
- Part 1 of 3: Mixing Dry Ingredients
- Part 2 of 3: Mixing Liquid Ingredients
- Part 3 of 3: Coloring Plasticine
- Tips
- Warnings
- What do you need
You can make plasticine quickly and inexpensively right in your kitchen. While some recipes will make the clay more durable and resilient, you may not need to work with the stove altogether. Even your children will be able to make their own plasticine of any shape and color with minimal control from you.
Steps
Part 1 of 3: Mixing Dry Ingredients
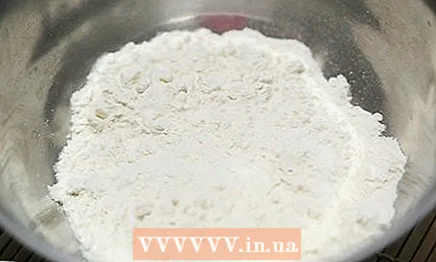 1 Pour in 2 cups (250 gr.) flour in a large bowl.
  2 Add one glass (292 gr.) salt.
 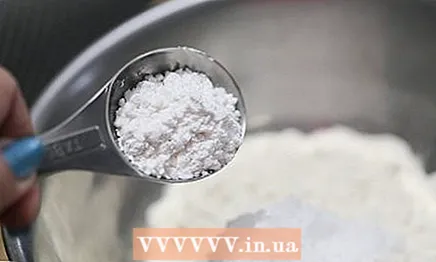 3 Measure and add 2 teaspoons (20.25 g.) tartar. This ingredient will give the plasticine an elastic consistency, which makes it plastic.
  4 Mix the ingredients well with a wooden spoon or whisk.
 5 Clean up the center of the bowl as if you were making pasta or dough for baking. To do this, simply remove the other ingredients from the center of the bowl.
 - If you are going to make two colors of clay, then divide the ingredients in two and also clear the center. Then pour the oil and water into two different containers.
Part 2 of 3: Mixing Liquid Ingredients
 1 In the microwave or on the stove, bring 2 cups (473 ml) water to a boil.
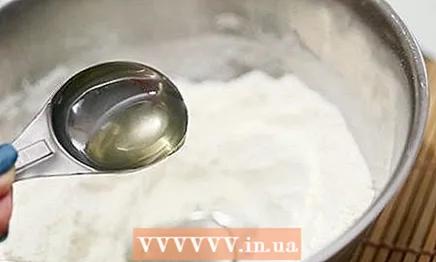 2 Place 2 teaspoons (30 ml) vegetable oil in the center of a bowl of dry ingredients.
 3 Add 2 cups of microwaveable boiling water to a bowl. If children help you with cooking, then take this step for them. So you can be sure that no one gets burned.
Part 3 of 3: Coloring Plasticine
 1 Add food coloring to the bowl. Choose the color yourself or trust the taste of the children.
 - If you want an all-natural color, use water that has boiled beets or blueberries for an hour. This water should be used in cooking instead of regular water.
- Add glitter to the mixture if you want a shiny plasticine.
 2 Mix everything well with a wooden spoon.
 3 Let the finished plasticine stand quietly for a couple of minutes. It may look too viscous, but will start to harden in 5 minutes.
 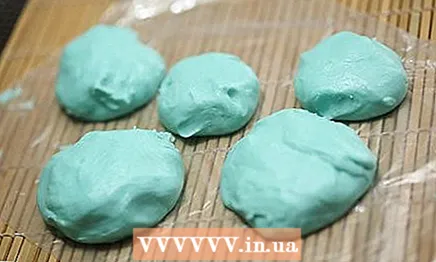 4 Take it out of the bowl and shape the pieces into a round shape. After the koloboks are ready, children can already play with them.
Tips
- Such clay is perfect for sculpting models that must be completely dry.
- Store the resulting plasticine in vacuum containers. So he will be able to maintain his qualities for up to two weeks.
- Add a couple of drops of glycerin in the oil step. This will make the surface of the plasticine shine.
Warnings
- Keep in mind that such plasticine hardens if it is in the air for several hours. If you want something softer, then use the boiled recipe.
What do you need
- Plain flour
- Salt
- Cream of tartar
- Measuring vessels
- Bowls
- Wooden spoon
- Vegetable oil
- Water
- Sequins
- Food coloring
- Glycerin (optional)


