Author:
Sara Rhodes
Date Of Creation:
15 February 2021
Update Date:
28 June 2024
Content
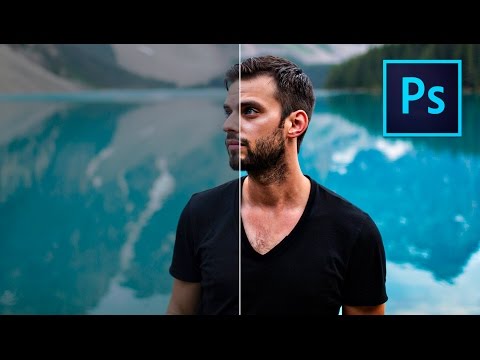
Photoshop is known (somewhat infamous) for its ability to make photos look better than reality. This is not surprising, since this is a set of tools with which you can either make small adjustments to a photo, or completely change the image. We will show you a few simple techniques that can take your digital or scanned images to a whole new level of quality.
Steps
Method 1 of 2: Cropping and Retouching
 1 Open the photo. The open photo should appear as a layer called Background (background layer). The first thing to do before starting any major changes is cropping the photo and deleting anything that is unnecessary. We'll start this tutorial with this image:
 - You can download the full size version here.
 2 Select the Crop Tool (C). Almost always, the pictures are taken without much thought about the composition. Either we just catch the moment, or we just take a lot of pictures in the hope of catching it. Cropping can help you create focus in an image on something specific and thus make it look better.
  3 This image was taken using the "rule of thirds". The main point is that the image is divided into thirds, horizontally and vertically. Important elements should be placed on or near lines.
 - As you can see, the mountain peaks are roughly aligned with the vertical lines, while the sky and trees are horizontal. This approach makes the image more interesting than it would be if everything was centered.
- Click on Enter to crop the image.
 4 Select the Spot Healing Brush Tool (J). Use it to remove from the image those elements that were not removed with cropping, but at the same time distract attention. For our sample image, we will shorten the trees from the bottom left, bottom right, and top right.
  5 Your image is ready for the next step: make it awesome!
Method 2 of 2: Cleaning and Correction
 1 Make a copy of the layer Background. Then either right-click on the background layer, select Duplicate Layer from the menu, or drag the background layer onto the "New Layer" icon and Photoshop will automatically create a copy of the layer.
 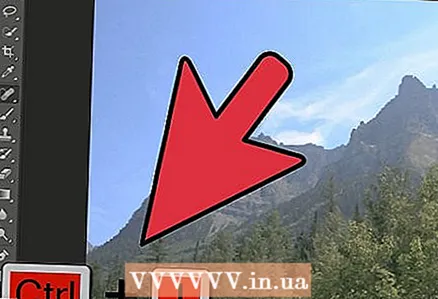 2 Change the blending mode to "Soft Light". This may make the image too dark, but this is only an intermediate step. Once the blending mode has been set, press Control-I (Command-I) to invert the image, or select Adjustments from the menu Imagethen select Invert.
  3 Use the "High Pass" filter. On the menu Filters choose Other ... > High Pass ... Make sure the preview is checked and adjust the radius slider to your liking. You will notice that the image will look softer. The radius is determined by the resolution of your image. At very high resolutions, the radius should be set larger than at low resolutions. Let your taste guide you.
 - Although we apply this effect to landscape, it can be used with portraits as well.
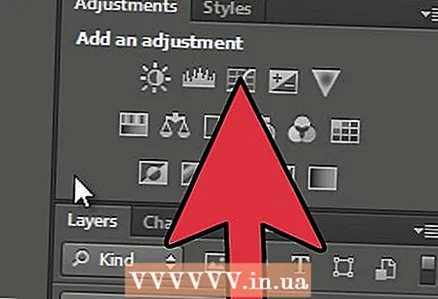
 4 Create a Levels Adjustment Layer. With the background layer selected, click on the "Levels" icon in the "Adjustments" window.
 - By pressing the button Auto, you will automatically balance the levels between the lightest part of the image and the darkest. You can use the sliders to further adjust the image, or select presets at the top of the Properties window.
 5 Create a Curves Adjustment Layer. Return to the "Adjustments" panel and click on the "Curves" icon (to the right of the levels icon). This will allow you to adjust the contrast of the image.
 - Click on about the top quarter of the line and drag it down slightly. Click again, this time around 3/4 of the top, and lift the line slightly. This will give you an S-like shape, and your images will be much richer.
 6 Change the Blend Mode of the Curves Adjustment Layer to "Luminosity". This will prevent the contrast from affecting the colors in the image.
  7 Merge the layers. From the "Layers" menu, choose Merge Visible or press Control-Alt-Shift-E (Shift-Option-Command-E on Mac) to create a new layer that includes all the others.
  8 Select the Dodge Tool (O). The Dodge and Burn tools are ideal for highlighting the lightest and darkest areas of an image. Set the following settings at the top of the Photoshop window: Set Exposure to 5% for the Dodge tool, and set the Range to Highlights.
 - Change the brush size to a small enough size (depending on the image resolution) and use the Dodge tool to enhance the highlights. This method is great for emphasizing details and does not lead to over-exposure.
- The Burn tool allows you to make the shadows more saturated, which will give your image more depth.
 9 Compare images. Above is the original image, processed below.


