Author:
Gregory Harris
Date Of Creation:
12 August 2021
Update Date:
1 July 2024

Content
- Steps
- Method 1 of 3: Treating Small Fissures
- Method 2 of 3: Treating severe clefts
- Method 3 of 3: Preventing future splitting
A split nail can be real pain. Small cracks are invisible, but can make it difficult to carry out daily activities.Large splits can be even more problematic and incredibly painful. Ultimately, the only true solution to the split nail problem is to grow it back. However, there are a few tricks to keeping your nails long while growing a crack. Once the nail has grown completely, there are many ways to keep it from splitting again.
Steps
Method 1 of 3: Treating Small Fissures
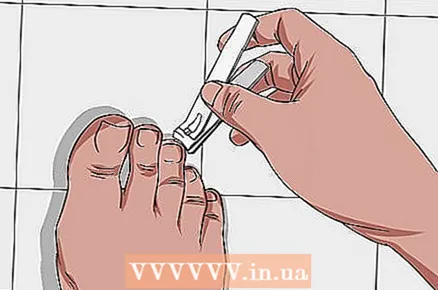
 1 As a temporary solution, cover the nail with adhesive tape. Cut a piece of clear patch large enough to cover the cleavage. Place it directly over the crack, using your free fingers to hold the edges of the crack together. Then cut off the excess patch.
 - This method works best when the crack in the nail does not reach the nail bed. More severe cleavages will require more attention.
- This solution is suitable if you have damaged your nail while working or on the road. However, it is not long-term. Solve your split nail problem at home or go to a professional salon as soon as possible.
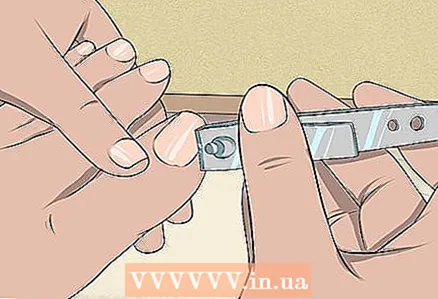
 2 Cut down the place of the crack. If the damage to the nail does not reach the nail plate, then the crack can be cut down. For best results, use a clean file and slide it in the direction of the crack. If the crack is vertical, file in one direction to avoid further splitting. Saw down just below the crack start to keep the nail smooth and even.
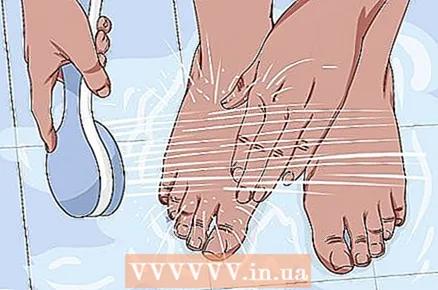
 - Fileing a dry nail can split the nail even further. To avoid further splitting, soak your nails in warm water for 5-10 minutes before cutting.
- 3 Glue the cleavage. If the cleavage does not reach the nail bed, then it can be glued. Apply a small amount of nail glue along the entire length of the crack and press the ends of the crack together with an orange stick until the glue dries. This usually takes less than 2 minutes.
- When the glue is dry, dip a cotton swab in the nail polish remover and rub the skin along the nail to remove excess glue.
- After the glue is dry, apply a clear fixing coat to seal the crack and secure the nail.
- 4 Use the tea bag method. Cut a small piece of paper from your tea bag. Apply a base coat or clear fixing agent and let it dry for 30 seconds until it becomes tacky. Press the paper from the teabag down to cover the crack and smooth to remove wrinkles or bubbles.
- Cut the piece of paper to match the shape of your nail and file it down to blend in with the nail. Cut in the direction of the crack. You can damage your nail even more by sawing in the opposite direction.
- Then apply another layer of protective coating to make the paper clear.
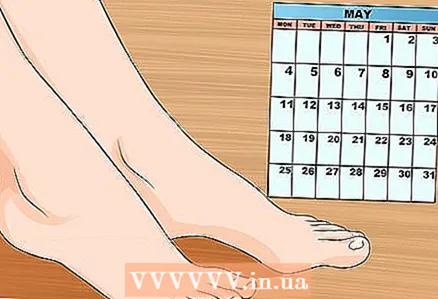
 5 Trim the crack when it grows back by the tip of your finger. Once the part of the nail with the crack has grown back, it is safe to cut it off. Use a nail scissors to gently cut right under the crack. Then file the nail in one direction with the file to avoid new cracks or chips.
Method 2 of 3: Treating severe clefts
 1 Keep your nails clean. Wash your nail in and around it regularly with warm water and mild soap, especially if the nail body or nail plate is cracked. To avoid discomfort, do not expose the damaged nail to a strong pressure of water. Try not to use hot water, rub your nail forcibly, or dry it off with a towel, so as not to catch or pull on the crack with the towel.
 - You can also soak your nail in water daily for 15 minutes to moisturize.
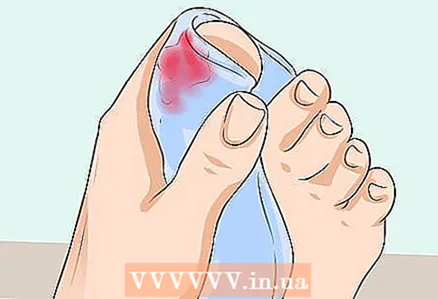 2 Provide first aid. If the crack has spread to the nail bed or if there is bleeding, inflammation, or severe pain, apply first aid. Wrap your finger in a layer of gauze and apply pressure until the bleeding stops.Once the bleeding subsides, apply an antibacterial ointment such as Neomycin to the affected area and apply a bandage.
 - For strong splits, the same techniques are not suitable as for small cracks. Since these splits are not only cosmetic defects, you need to take care of the damaged tissue, but also of the split nail.
 3 Seek medical attention if bleeding or pain persists. If the bleeding does not stop or worsens after a few minutes of constant pressure, or if the area around your nail is so painful that you cannot walk, seek immediate medical attention. The skin, bones, and / or nerves under the nail may be damaged.
 - Seek medical attention for a nail that is split at the nail bed if you have diabetes or a nervous condition.
 4 Leave the nail alone. You may want to trim, pierce, or even pull out the nail, but it is best to leave the crack alone until it grows back over the nail bed. Apply a bandage to the area while the skin is still sore, and use an antibacterial cream every day.
 - If your nail clings to socks, carpet, or other items, ask your doctor to trim the nail to a comfortable length.
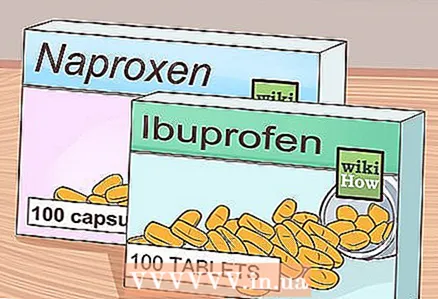 5 Use over-the-counter pain relievers to manage pain. If your finger continues to hurt, use over-the-counter pain relievers, such as aspirin or ibuprofen, to manage the pain or inflammation. Follow the dosage recommendations on the package and talk to your doctor before starting a new pain reliever.
 - Do not give aspirin to children or adolescents. Use paracetamol or ibuprofen.
- Avoid any local pain relievers unless recommended by your doctor. Or use them only after the skin has begun to heal.
 6 Cut off the crack portion of the nail when it grows back completely. Once the cleft has grown beyond your fingertip, you can trim it off. To do this, use nail scissors. Then file your nail to smooth the surface. Make sure to cut in one direction to prevent further splitting.
 - Do not try to trim the crack if you are still experiencing pain or tenderness in the nail bed.
- Do not use regular nail clippers to cut away the cracked area. They put too much pressure on the nail and can contribute to the spread of the cleavage.
Method 3 of 3: Preventing future splitting
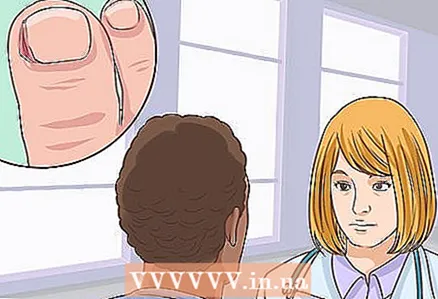
 1 Consult your doctor. Chronic splitting of the nail can be the result of another condition, such as fungus or vitamin deficiencies. If your nails are constantly breaking, tell your doctor. He will be able to look for the cause and, if necessary, prescribe treatment.
 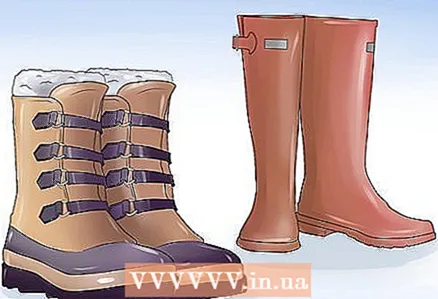 2 Wet your nails less often. The constant transition from wet to dry can make nails very brittle. Minimize your nails getting wet and dry by wearing waterproof shoes on rainy or snowy days.
 - However, if you submerge your nails in water for 15 minutes, blot dry, and then apply a moisturizer (such as an emollient such as organic lotion or petroleum jelly), you can moisturize your nails.
 3 Moisturize your nails daily. Apply foot cream, cuticle cream, or petroleum jelly to the area around your nails to keep them hydrated. Apply at least once a day and leave until completely absorbed to protect your nails from brittleness and splitting.
 - You will keep your nails very hydrated by keeping the foot cream by the sink and using it every time you get out of the shower.
 4 Use nail polish and false nails less often. Applying and removing nail polish (varnish, stickers, and false nails) can be aggressive on your toes. Reduce the number of cosmetic applications on your nails and allow them to grow naturally.
 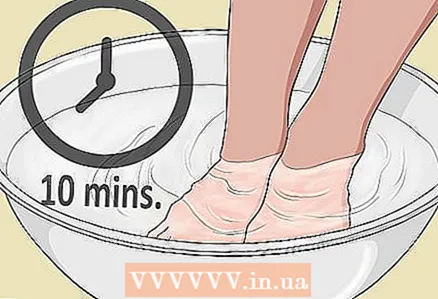 5 Strengthen your nails in a natural way. Soak your nails with coconut oil, argan oil, and tea tree oil for 10 minutes every week. It will add moisture and reduce fragility. You can also take biotin (vitamin H) supplements to strengthen your nails.
 - Avoid nail hardeners. They have some benefits, but they usually contain ingredients like formaldehyde that do more harm than good.


