Author:
Virginia Floyd
Date Of Creation:
13 August 2021
Update Date:
1 July 2024

Content
- Steps
- Method 1 of 3: Unloading the Gun
- Method 2 of 3: Removing the shutter
- Method 3 of 3: Removing the barrel
- Tips
- Warnings
If you have a Glock pistol, it is important to know how it is disassembled in order to keep it in good working order. While there are many different types of Glock pistols, they are all disassembled in a similar way. Follow this guide to safely disassemble your Glock in just a few minutes.
Steps
Method 1 of 3: Unloading the Gun
 1 Point the gun in a safe direction. Make sure the pistol is positioned so that no accidental shot will cause physical harm to you or anyone else.
 - Keep your finger away from the trigger and safety catch. This will help avoid accidental firing.
 2 Remove the clip. Press down on the clip lock with your thumb and remove it with your free hand.
 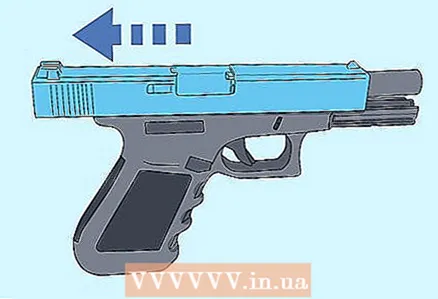 3 Open the shutter. Continuing to point the gun in a safe direction, pull the bolt back and lock it open with the bolt lever. You can press the lever with your thumb while holding the shutter with your free hand. This will keep the shutter open.
 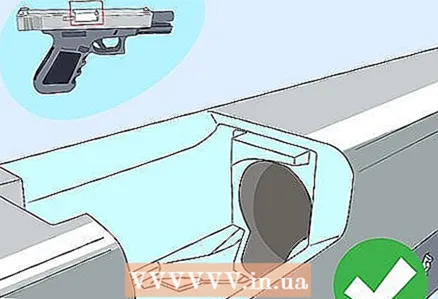 4 Check the remaining cartridges. After you open the breech, look into the chamber and make sure there are no cartridges left in the pistol. Use your pinky finger to check the chamber.
 - Before proceeding with the disassembly of the pistol, make sure three times that there are no cartridges in it.
Method 2 of 3: Removing the shutter
 1 Wear safety glasses. There are several spring-loaded parts that can cause serious eye injury. The glasses will also help protect your eyes from solvents and lubricants.
 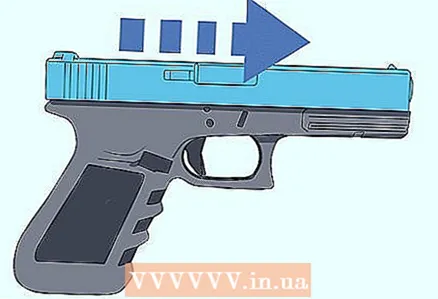 2 Close the shutter. Pull the bolt back to release the safety lever. The shutter will close. Point the pistol in a safe direction and pull the trigger to release the hammer.
 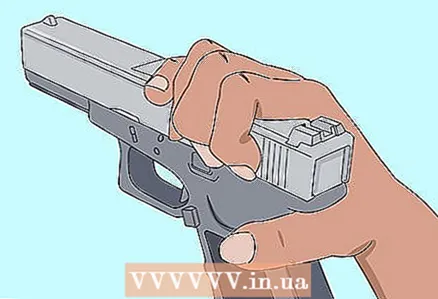 3 Take the pistol. Hold the pistol with one hand: with four fingers on the top of the bolt, and with your thumb, hold the grip.
 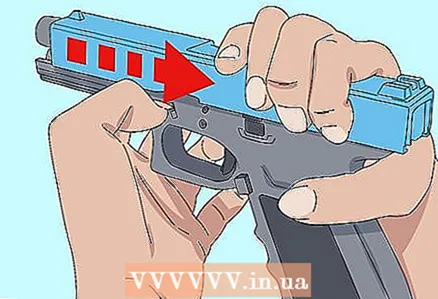 4 Pull back the bolt. Hold the top of the bolt with four fingers and pull it back 2 mm. If you pull the shutter too far, then you have to pull it out all the way and start over.
  5 Pull down the shutter lock. Using your free hand, pull the bolt lock lever down on both sides. Pull the bolt forward with four fingers until it separates from the gun receiver.
Method 3 of 3: Removing the barrel
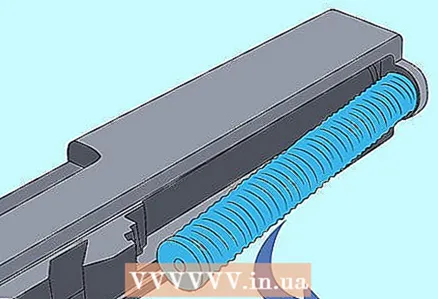 1 Remove the spring. Pull the spring forward slightly and pull it out of the barrel. The spring is under pressure, so be careful when removing it.
 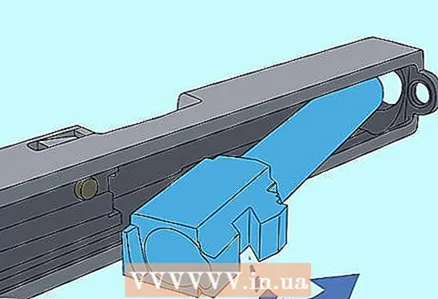 2 Pull the barrel out of the bolt. Hold the barrel by the extruded nubs. Raise the barrel by pushing it forward slightly. Raise and pull the barrel out of the bolt.
 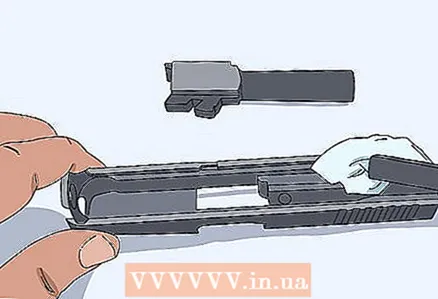 3 Clean the gun. After the Glock has been disassembled, you can proceed to cleaning the pistol. In order to properly clean and maintain the pistol, there is no need to further disassemble it.
  4 Collect the gun again. Once you are done cleaning, you can reassemble the gun by following the same steps but in reverse order. You do not need to hold the shutter lock while placing the shutter back on the receiver.
Tips
- It is recommended to wear safety goggles as there are springy parts that can cause eye injury.
Warnings
- NEVER should your fingers touch the trigger during disassembly.
- Make sure the pistol is always pointed away from yourself and other people.
- Never look into the barrel to check if the chamber is empty.


