Author:
Clyde Lopez
Date Of Creation:
17 June 2021
Update Date:
1 July 2024

Content
- Steps
- Method 1 of 3: Method 1: Stone, glass and wood beads
- Method 2 of 3: Method 2: Fired Polymer Clay Beads
- Method 3 of 3: Method 3: Raw Polymer Clay Beads
- Warnings
- What do you need
- Stone, glass and wood beads
- Fired polymer clay beads
- Unfired polymer clay beads
Drilling holes in beads requires patience and hand firmness. The exact method will depend on the type of material the bead is made of, but they are all done with conventional tools.
Steps
Method 1 of 3: Method 1: Stone, glass and wood beads
 1 Choose a drill. A hand-held rotary tool or a conventional cordless drill can be used, but in any case, the tool should be equipped with a drill with a diameter of no more than 3 mm.
 - It should be understood that smaller beads will require an even smaller drill bit.
- To drill holes in glass or stone beads, you will need to use diamond drills due to the hardness of the material.
- For wood beads, a regular or carbide drill will work as wood is a softer material.
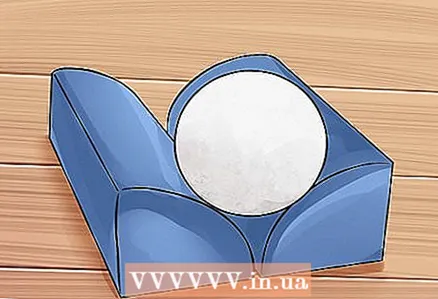
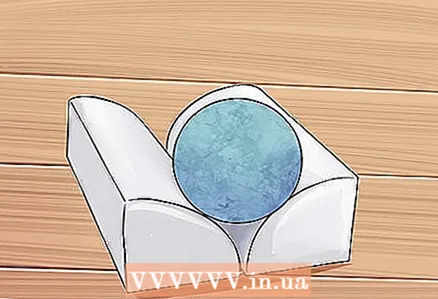 2 Place the bead in plasticine. Press the bead into plasticine or gummy mass.The side you will be drilling the hole on should be facing up.
 - Plasticine is needed so that the bead remains stationary during the drilling process. You can also use a small clamp or similar surface.
- Also, place a thick layer of compressed plasticine under the bead so that the drill does not accidentally damage the work surface.
- Hold the bead with your hands not recommended. Due to the small size of the bead and the power of the tool, the tool can easily slip off during drilling and cause injury.
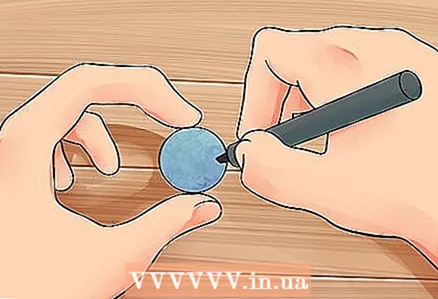 3 Hole mark. Use a fine marker to mark a small dot on the bead. It should be located exactly where you plan to drill the hole.
 - The point can serve as a guide for the drill tip. This is not necessary, but it can help you stay focused.
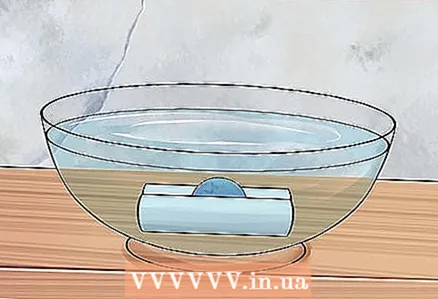 4 Place the bead in the water. Place the clay and clay in a flat pan, bowl, or bowl. Add a small amount of water so that the bead is only slightly submerged in it.
 - The water will cool the drill during the drilling process to prevent overheating.
- To minimize the risk of damaging your work surface, you can also place a container of water on an acrylic cutting board. Also, if the container is large enough, you can place a thick leather lining in it.
- Please note: Using a corded drill can be hazardous, so the use of a cordless drill is highly recommended. Regardless of the type of tool used, work must be done carefully so that water does not get onto the device. Never handle a power tool with wet hands.
 5 Attach the drill to the bead. Hold the drill bit vertically over the bead, just lightly touching the previously marked point. Turn on the instrument for one to two seconds and then turn off.
 - If the tool fits correctly into the bead, then you will see a little of the selected material, which will mix with the water.
- After unplugging the tool, quickly check the surface of the bead. You should already see a small notch where the hole will be.
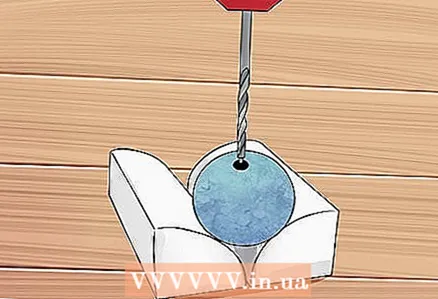
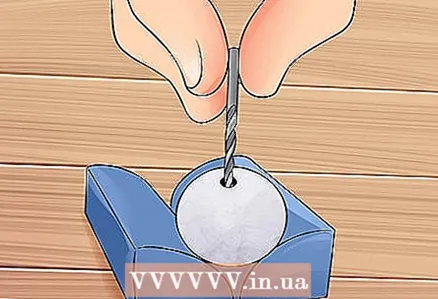
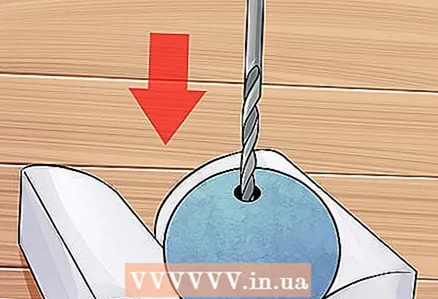 6 Drill a through hole slowly. Position the end of the drill over the notch and turn the drill back on. Gradually drill a through hole in the bead until the drill comes out on the opposite side.
 - For optimal results, it is best to enter the bead for a second and then retract the instrument slightly back for another second. Then drill the bead again for a second and pull the tool back a little again. Repeat until you have made a through hole.
- This will flush the hole to reduce pressure on the bead. And the lower the pressure, the lower the risk of cracking or breaking the bead.
- Be sure to make the hole at a right vertical angle.
- Stop as soon as the drill goes through. By stopping too early, you can always continue and complete the hole. But if you are late, you can damage the work surface.
- Depending on the diameter of the bead and the material from which it is made, the process of drilling the hole can take from 30 seconds to 3 minutes.
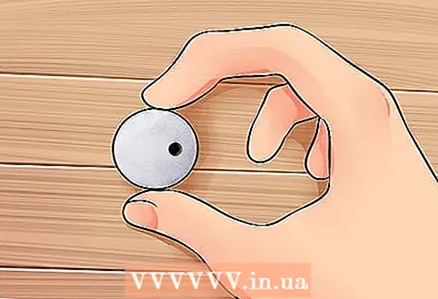
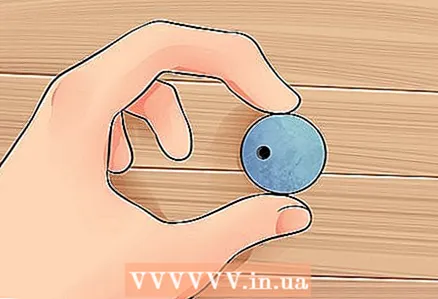 7 Check the work done. After drilling the bead, carefully remove the drill bit and turn off the drill. Check the resulting hole.
 - If the hole suits you, then the job is complete.
Method 2 of 3: Method 2: Fired Polymer Clay Beads
 1 Make a notch in the surface before firing. If possible, use a toothpick to make a small hole or indentation in the bead before firing.
 - The notch should be centered where you plan to drill the hole.
- The notch can serve as a direction to start drilling the hardened, baked bead.
- If you forget to make a notch before firing the beads, you can still do it right after firing, while the clay is still warm and partially soft. Use a stiff metal hairpin or needle instead of a toothpick.
- When working with polymer clay beads that have been fired for a long time and do not allow making a groove, draw at least the point of the future hole using a marker or pencil.
 2 Use the right tools. Since polymer clay is very soft, do not use an electric drill or rotating tool to make the hole. All you need is a drill bit.
 - The drill size must match the desired hole size. This implies the use of a drill with a diameter of 3 mm or less.
- A regular drill will do. Drills made from durable materials are not required.
 3 Fix the bead. Press the bead into the clay or gum to keep it stationary while drilling.
 - You can also hold the bead with pliers or your fingers. This is completely safe as the use of power tools is not intended.
- A small clamp can be used, but this is usually not necessary.
 4 Drill the bead slowly. Position the drill bit directly over the notch. Use your fingers to screw the drill into the bead, maintaining an even stroke until the through hole is made.
 - The drill should be straight and perpendicular to the guide recess.
- Screw the drill bit straight into the bead. Do not use excessive force, the drill should go into the material by itself.
- Alternatively, you can hold the drill and wind a bead around it.
- If you cannot twist a drill or wind a bead on it with your hands, then you can use a hand swing to make the task easier. Do not use power tools.
 5 Check the result. After drilling a hole in the bead, remove the drill and check the resulting hole.
 - At this stage, the work is completed.
Method 3 of 3: Method 3: Raw Polymer Clay Beads
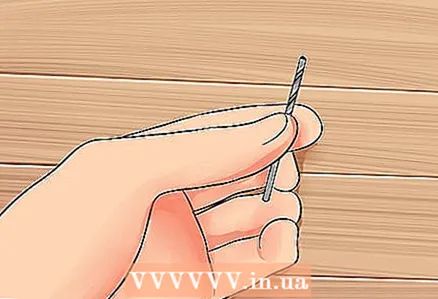
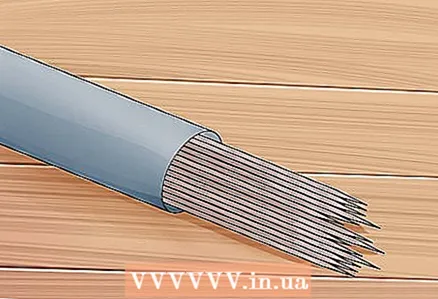 1 Choose knitting needles or pins. Purchase a knitting needle or pins for piercing clay beads from any manufacturer of clay tools.
 - If you cannot find special knitting needles, you can use sharp pins or large sewing needles. All that is required from the tool used is a sharp tip and sufficient material strength that is similar in thickness to 20 gauge wire. It should also be long enough so that you can pierce the bead through.
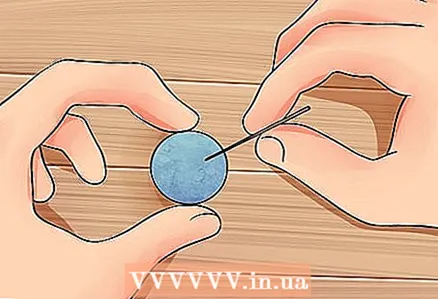
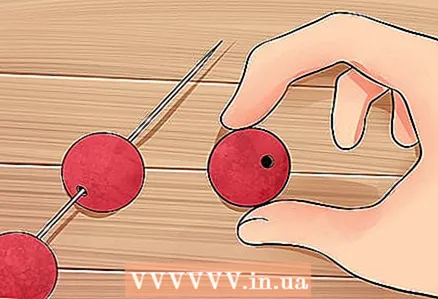
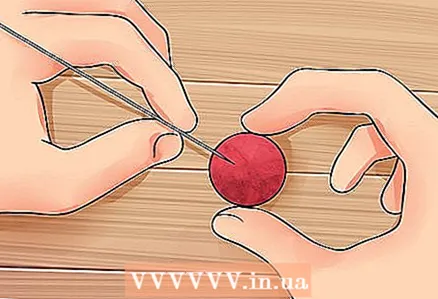 2 Press the needle into the bead. Squeeze the bead lightly between the fingers of your non-working hand. Using your working hand, gently press the sharp end of the spoke at the point of the intended hole.
 - The fingers should be on the smooth side of the bead and not overlap the entry and exit points of the pin in the bead.
- Hold the bead lightly so that it does not move, but not squeeze it.
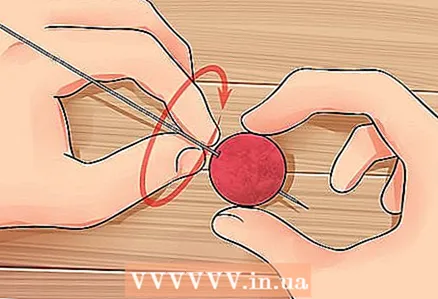 3 Scroll and keep pressing. Rotate the needle between your fingers as you press into the bead. Continue scrolling and pushing in until the end of the spoke appears on the opposite side.
 - You can also rotate the bead slightly when inserting the needle.
- Keep the needle straight while pressing in. Work slowly and carefully to minimize possible changes in the shape of the bead.
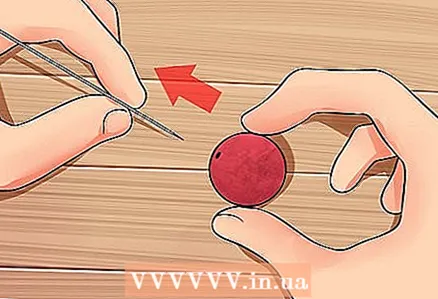 4 Pull the spoke in the opposite direction. After making a through hole, pull the needle in the opposite direction 1 to 2 mm.
 - When pushing a knitting needle into a bead, small grains of clay are usually pushed out from the opposite side. By pulling the spoke back, you can remove any such grains and prevent them from hardening on the outer surface of the spoke.
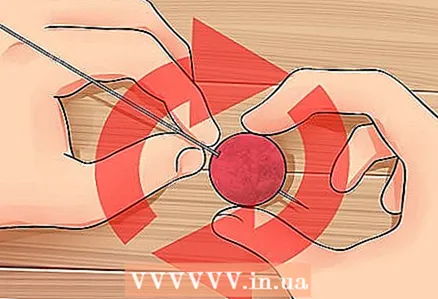 5 Reshape the bead if necessary. Small changes in shape are quite common, so you can gently restore it with your fingers.
 - With the right tool and hole-making method, deformation may not occur at all. It can take practice to pierce correctly without changing shape, so don't worry if you don't get it right the first time.
 6 Firing clay. Place the strung beads on a baking sheet lined with parchment or wax paper and fire as for any polymer clay product.
 - Check the instructions on the resin label to determine the correct temperature and time required. In most cases, firing is carried out for 15-20 minutes in an oven preheated to 135 degrees Celsius.
- To avoid removing the spokes before firing, use a safe material tool. Check the oven from time to time during the baking process to make sure the spoke hasn't started to melt or smoke.
 7 Remove the spoke and check the hole. Remove the prepared clay beads from the oven and let cool slightly. When they are not so hot, carefully remove all the beads from the knitting needles.
 - It is best to remove the spoke while the clay is still warm and soft.
- Check the hole after removing the spoke. It must be full and the same width.
- If the hole suits you, then the job is complete.
Warnings
- When drilling in stone, glass, wood or fired polymer clay, it is recommended to wear a respirator and safety goggles. During the drilling process, large amounts of dust and sand particles are dispersed, which can be hazardous if inhaled. Dust in eyes may irritate.
What do you need
Stone, glass and wood beads
- Cordless drill or hand-held rotary tool
- Drill with a diameter of 3 mm or less, diamond (stone and glass) or carbide (wood)
- Plasticine or sticky mass
- Marker
- Flat pan with water
- Acrylic cutting board or heavy leather lining
Fired polymer clay beads
- Toothpick, sewing needle, or pencil / marker
- Drill with a diameter of 3 mm or less
- Plasticine, gum, or pliers (optional)
- Manual brace (optional)
Unfired polymer clay beads
- Bead piercing needles
- Baking tray
- Waxed or parchment paper
- Oven


