Author:
Joan Hall
Date Of Creation:
26 July 2021
Update Date:
1 July 2024

Content
- Steps
- Part 1 of 3: Preparing the Site
- Part 2 of 3: Preparing the curb
- Part 3 of 3: Applying the wallpaper border
- Tips
- Warnings
- What do you need
The wallpaper border will allow you to add color and style to the room, emphasize the tone and finish of the bathroom, bedroom, study, dining room or living room. This kind of border is inexpensive and easy to maintain, and it takes less time to apply a wallpaper border than wallpaper. By following the recommendations from our article, you can refresh the room and give it a new look.
Steps
Part 1 of 3: Preparing the Site
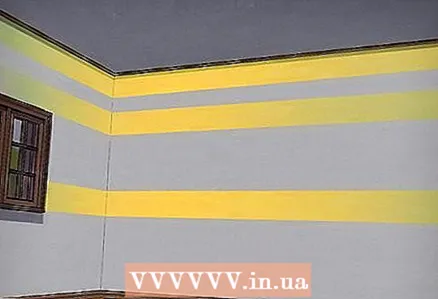 1 Decide where you will glue the border. The curb can be glued directly under the ceiling or ceiling molding, along the upper or lower third of the wall, or generally in its middle part. The choice of location depends only on your preferences.
 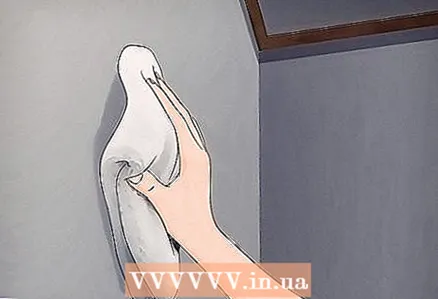 2 Clean the area where you will glue the curb. Wash the area thoroughly with soapy water. The place where the border is glued should be free of dust, hair and other foreign particles. After cleaning, the wall must be completely dry.
 - Remove all mold from the walls using a solution of 2 cups (100 ml) bleach per liter of water. By gluing the wallpaper border on the mold, you will only cover the flaw, but you will not get rid of it.
- If desired, paint can be sanded off the wall at the place where the border is glued. The wall will become rough, which will have a positive effect on the adhesion of the curb to the surface, but this action is not necessary.
 3 Correct any defects. Seal all cavities and cracks with joint compound, then sand with sandpaper. Remove dust after sanding with a damp sponge.
 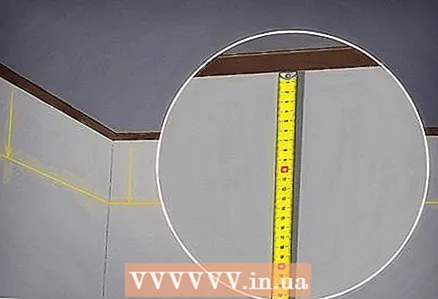 4 Using a tape measure, a level and a pencil, mark the top edge of the future border on the wall. When applying a border to a ceiling or ceiling molding, you can use the edge instead of this mark.
 - Remember to use a level when marking the border along the middle or other part of the wall so that the end result is straightforward.
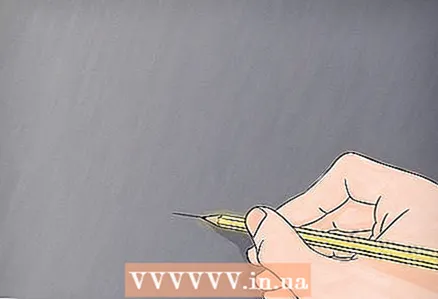 5 Mark the bottom edge of the curb. The distance between the edge marks is determined by the width of the border. Again, remember to use the level.
 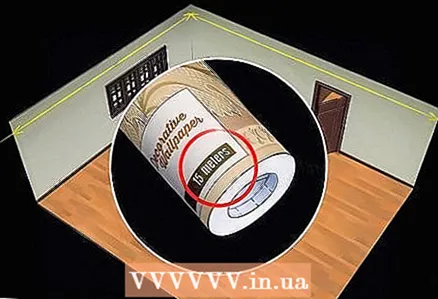 6 Calculate how many rolls of curb you need. Measure the length of each wall with a tape measure. Add up the results to calculate the total length of the walls. Read the total length of each roll of curb on the package and divide the total length of the walls by the length of one roll.
 - Buy 15% more as you need as you will need extra length to fit the pattern.
- Measure all four walls individually, as not all corners are perfectly square.
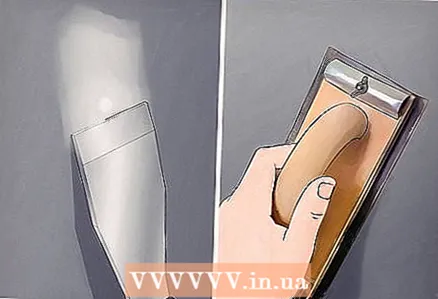
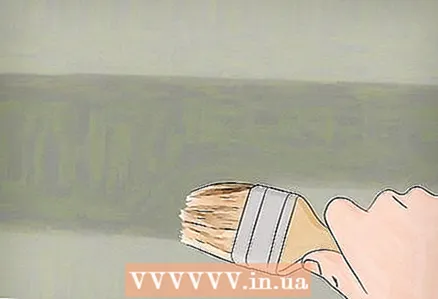 7 Apply a wallpaper primer to the wall. Apply the primer along the strip along which you will be gluing the curb. The method of application depends on the type of primer, so be sure to read the instructions on the label.
 - Allow the primer to dry, but it is important to remember that the border should be applied no later than 24 hours after applying the primer sealant.
- Try not to go beyond the pencil marks, as the primer can stain the walls.
Part 2 of 3: Preparing the curb
 1 Use scissors to cut a strip of curb along the length of the wall plus 8-10 cm. Cut the required length of the wallpaper border for one wall with a small margin. When gluing the curb, you will need the extra length for precise trimming of the ends.
 - Measure the length of each wall separately for accuracy.
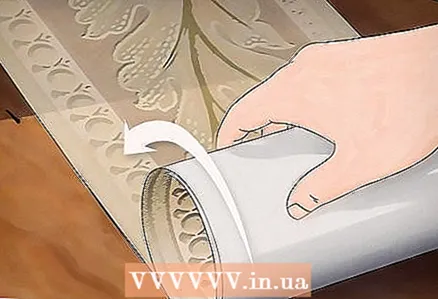 2 Roll the curb right side inward. Roll up the wallpaper with the unprinted side facing out.
 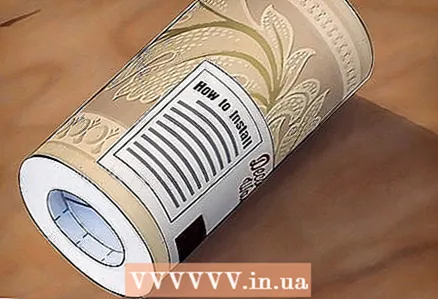 3 Prepare the strip according to the manufacturer's instructions. The preparation method depends on the type of curb and the manufacturer. Observe the instructions on the packaging. Self-adhesive wallpaper is easiest, but regular wallpaper will work as well.
 - Self-adhesive wallpaper usually needs to be dampened by submerging it in water for about 30 seconds.
- On ordinary wallpaper, you need to apply glue. If you are gluing the border to a painted wall, use regular wallpaper glue, but if you are gluing to a wall that has already been wallpaper pasted, you will need to use vinyl to vinyl adhesive. Unroll the curb and apply a generous amount of glue to the inside.
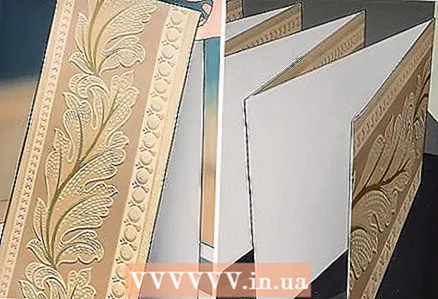
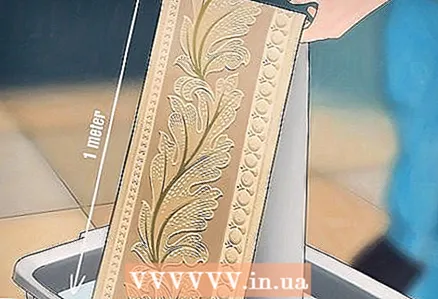 4 Fold the border with a book. Remove the edge of the curb from the water by gradually unwinding the roll. Having taken out a little more than a meter from the water, fold it again with the pattern outward. Continue this step, always bringing the inner side together, until you have a few accordion-shaped folds.
 - Be careful; be careful not to bend the corners.
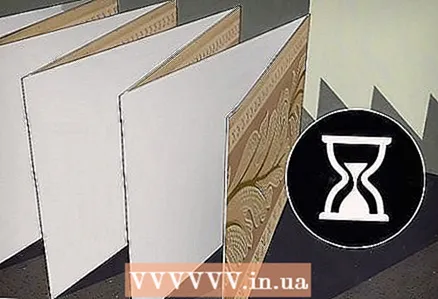 5 Leave the curb on for five minutes. Folded in the form of an accordion, the border will not give off moisture, which is designed to saturate the paper and activate the glue. Leave it on for a few minutes to soften and expand the paper.
Part 3 of 3: Applying the wallpaper border
 1 Start at the least visible corner of the room. Start at the wall that adjoins the least visible corner in the room. Later, the wallpaper can converge in this corner with a visible seam, so it should be the least visible.
 - You can also start from the edge of the front door to avoid uneven seams altogether.
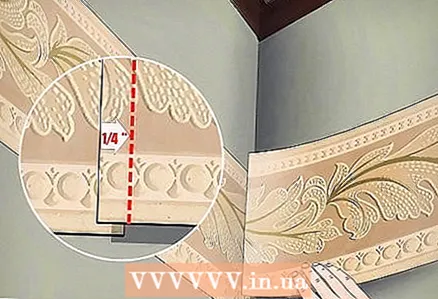
 2 Glue the curb strip to the wall. Start unrolling the edge of the curb and glue it to the wall from the least visible corner. The edge of the wallpaper should cover the corner and go over the next wall by at least 1 cm.
 - If there are markings on the wall, then the border should only slightly cover the top line.
- If you are gluing the wallpaper border directly under the ceiling, then it should be leveled along the edge of the ceiling.
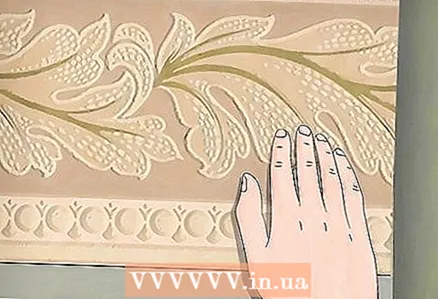
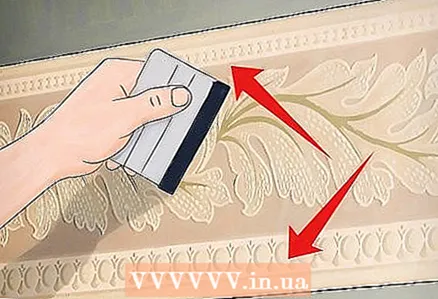 3 Straighten the strip with a wallpaper brush. This will help smooth out wrinkles and bubbles, and completely flatten the wallpaper. Smooth out the curb carefully so as not to move it out of place. Always check the evenness of the sticker on the ceiling or markings on the wall.
  4 Continue unwinding the curb and aligning it with the wall until the strip ends. Continue gluing the wallpaper border until you reach the end of the wall and the end of the strip. The curb should completely go around the corner and go to the next wall.
 - Using a sharp knife or blade and square, cut off the excess length on the next wall, leaving only 6 mm. Place a stiff, straight object along the edge of the curb and cut from top to bottom.
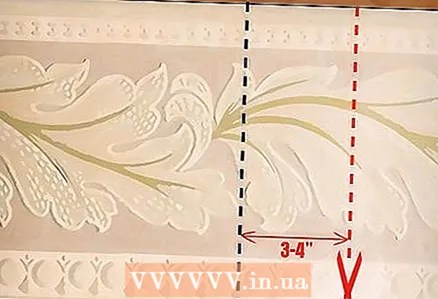
 5 Prepare the next strip of wallpaper. Measure the next wall and cut another strip of the curb so that a slight overlap will line up the design with the first strip. Cut the wallpaper border to the length of the wall, roll it right-side in, place it in water, then let it brew to absorb moisture, soften and expand the paper.
 - When gluing the border, align the drawing so that the joint is invisible. That is why you need to choose the exact location of the cut when moving to the next wall.
 6 Stick on the next strip. Overlap the first strip of 6 mm and continue to glue the border to the wall. Watch for evenness. With a wallpaper brush, flatten the strip to the very edge of the curb. Round the corner and bring the edge of the strip onto the next wall.
 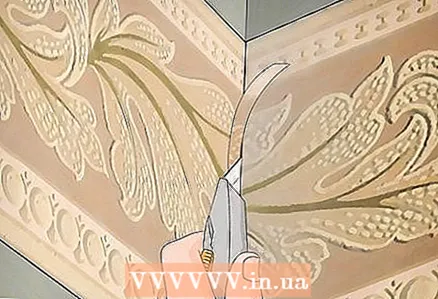 7 Cross-cut the overlap with a sharp knife. Remove the overlap in the first corner where you pasted the new curb strip over the first. Take a sharp knife and cut the top layer right along the edge of the wallpaper border so that the two edges line up perfectly.
 - This way you can achieve beautiful, even, perfectly matching edges.
 8 Continue with the above steps. Continue until you have glued the border to all the walls in the room. Repeat all the previous steps for each strip of wallpaper, remembering to smooth out any creases and make even seams.
 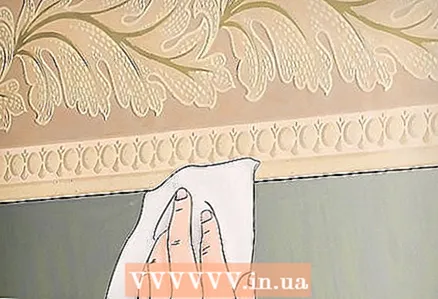 9 Remove excess glue. When gluing wallpaper, remove any glue residues from the edges of the curb. Remove adhesive carefully with a damp sponge.
Tips
- Check the run numbers on the wallpaper rolls to make sure they are all from the same batch. This way you will be convinced of the complete coincidence of colors and patterns.
- When gluing wallpaper, accuracy is very important. The edges of the border should match perfectly and look seamless.
- When gluing to the ceiling, you will not be disturbed by an assistant who will support the strip.
- Most interior designers advise against gluing the wallpaper border in the middle of the wall, as in this case the room can look small and ruffle in the eyes.
- Be careful not to adhere to the face of the curb as it is difficult to remove.
Warnings
- When gluing the curb to the ceiling, be careful when using the stairs. Don't reach too far, it's better to go down and move the ladder closer.
- Be careful when handling the knife and keep it out of the reach of children.
What do you need
- Primer
- Paint brush
- Roulette
- Wallpaper border
- Level
- Scissors
- Wallpaper brush
- Sharp knife or blade
- Seam smoothing roller


