Author:
William Ramirez
Date Of Creation:
16 September 2021
Update Date:
1 July 2024
Content
Thinning, aka diving, is the process of removing a seedling from its original container and transplanting it into a separate pot or box to give them more space. The method described below is suitable for all types of seedlings.
Steps
 1 Find out when to thin out your seedlings. It is necessary to thin out seedlings when their leaves begin to touch each other. Typically, this is when they sprouted before second pair leaves. This stage of growth is called the stage this sheetThe first leaves grow from the seed itself. If the seedlings are left in the tray for a long time, the tops of the seedlings will become lethargic and weak.
  2 Prepare the soil.
- Sift the earth through a sieve to break up any lumps.
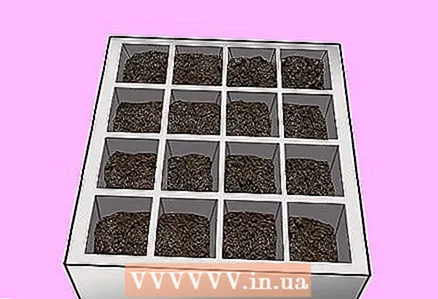
- Fill trays or pots with soil, use your hands to fill individual containers.
- Press down on the soil in the corners of the tray.
- Sift the earth through a sieve to break up any lumps.
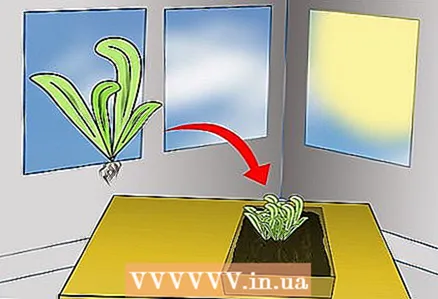
 3 Separate the seedlings.
- Insert a hoe into the ground at the edge of the tray.

- Pull the soil under the seedlings towards you to gently loosen the roots.
- Separate the seedlings carefully by holding the leaves. Avoid handling stems and roots, they are easily damaged.

- Insert a hoe into the ground at the edge of the tray.
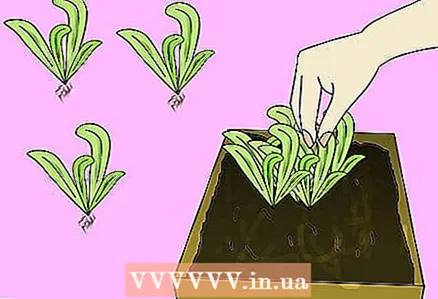
 4 Choose the strongest seedlings with the best root system. Discard weaker roots, they are less likely to survive.
  5 Transplant.
- Use a hoe to make a large hole large enough to hold the entire root.
- Dip the seedling into the soil and sprinkle it with earth.
 6 Label. Use a permanent marker to mark plant varieties on one side and date on the other. Place labels on the edge of the tray.
  7 Water. Holding the spray can upward will help prevent damage to the soil. Water liberally.
  8 Let it grow. Different seeds require different growing conditions. Read the seed packet. If you later transplant seedlings outside, it is better to place the seedlings in an unheated greenhouse or cold greenhouse, protected from direct sunlight and strong winds. This will gradually acclimate the seedlings to external factors. When they have grown to 3 or 4 pairs of leaves, they are ready to be transplanted into a container or ground.
  9 Ready.
Tips
- All materials can be purchased from your local nursery or farm store.
- Keep track of the planted seedlings in your garden diary. This will help you establish the patterns of the best plants, the best time of the year to transplant, the best garden plots to transplant, and more.
What do you need
- Several seedlings
- Cell Tray / Pots
- Sieve
- Some earth with the correct pH, check on the bag
- Spray can
- Plant labels
- Marker
")


