Author:
Bobbie Johnson
Date Of Creation:
5 April 2021
Update Date:
1 July 2024

Content
Who among us has not held our own fluorogram in our hands? Who among us understood something there? But everything, in fact, is not at all as complicated and confusing as you might think!
When looking at a snapshot, remember that this is a 2D representation of a 3D object, where there is height and width, but no depth. You also need to remember that the left side of the picture is the person's right side, and the right side, respectively, is the left. The air on fluorography is black, fat is gray, soft tissues and water are light shades of gray, bones and metal are white. The denser the fabric, the whiter it is in the picture. Accordingly, the less dense certain fabrics, the darker they are.
Steps
 1 Check the patient's name. In the end, you need to read the correct fluorography.
 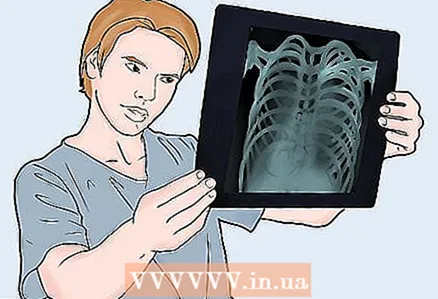 2 Check the date of the photo. It is especially important to keep dates in mind when comparing two or more pictures with each other. The date of the picture is generally valuable information: what has grown in 3 months is more dangerous than what has increased in 3 years.
 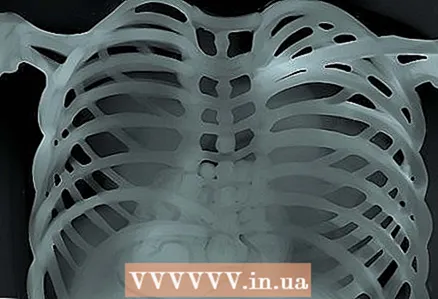 3 Consider the type of picture (article about fluorograms, but the same applies to all other pictures). So, the fluorogram is characterized by:
 - The standard view of the patient's breast is the so-called. “PA chest”, a direct posterior projection, when X-rays go from the back to the chest. These shots are taken while inhaling from a distance of about 2 meters.
- Anterior-posterior projection. Here the rays go from the chest to the back. This is how they take pictures of young children, as well as patients who are unable to stand. Such pictures are taken from a closer distance, which is explained by the lower power of the devices that allow taking pictures in such a projection. As a result, AP images appear zoomed in and less sharp when compared to PA images.
- Lateral projection... The rays go from the patient's left side (that the heart is clearer in the picture) to the right. Such pictures are also taken from a distance of 2 meters.
- Oblique projection is, so to speak, a cross between direct and lateral projection. Such images are good for detecting metastases and removing superimposed structures.
- Lying on your side helps to determine what exactly the patient is suffering from - from fluid in the lungs or pneumothorax. For example, if it is suspected that there is fluid in the left lung, then an image is taken while lying on left side - so that the liquid falls down. If they expect to see air in the left lung, then he takes a picture on right side so that the air rises up.
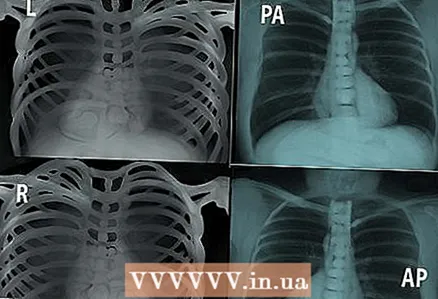 4 Look at the markers. L - left, R - right, PA - posterior-anterior projection, AP - anterior-posterior, etc. Pay attention to the position in which the picture was taken.
  5 Pay attention to the quality of the picture.
- Exposition. Overexposed images are darker and more difficult to see details. The underexposed, in turn, are lighter, which is also not a gift. In good, high-quality images, pay attention to the intervertebral bodies. On underexposed images, it is impossible to distinguish a vertebra from an intervertebral body, but on overexposed intervertebral bodies are shown very clearly.
- To assess the quality of the exposure of the image, look at the spine behind the heart in the frontal view. If the spine and lungs are clearly visible behind the heart, the picture is good. If only the ridge is visible, the image was overexposed, and if it is not visible, then it was underexposed.
- Movement. Movement is all blurry areas. Latent pneumothorax in a blurred image is very, very difficult to notice.
- Rotation. This means that the patient was spinning during the exposure. Accordingly, the lungs do not look symmetrical, the contour of the heart is displaced. In the images where the patient did not rotate, the ribs are symmetrical, and the lungs are of almost the same diameter. If the patient was spinning, then one side will be the other.
- Exposition. Overexposed images are darker and more difficult to see details. The underexposed, in turn, are lighter, which is also not a gift. In good, high-quality images, pay attention to the intervertebral bodies. On underexposed images, it is impossible to distinguish a vertebra from an intervertebral body, but on overexposed intervertebral bodies are shown very clearly.
 6 Airways. They should be free and not blocked by anything. pay attention to keel trachea - the place where the trachea is divided to descend further, to the lungs.
 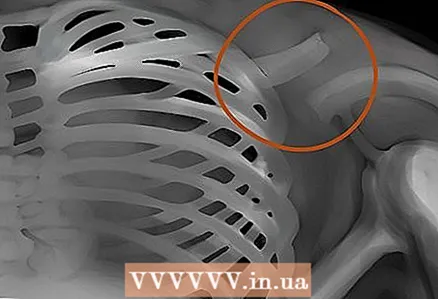 7 Bones. Look carefully for any damage or trauma to the bones. The size, shape, contour and color of bones must be noted - all this is a valuable diagnostic material, based on the analysis of which many diseases and pathologies can be identified.
  8 Heart contour. Notice the white space between the lungs - the heart. Normally, the heart should be less than half the width of the chest.
 - If the heart on PA images resembles a bottle of water, computed tomography is needed to exclude the presence of exudate in the pericardial region.
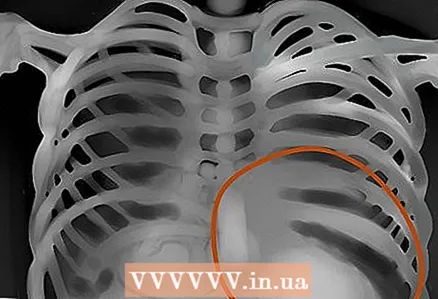 9 Diaphragms. Take a closer look if there are traces of flat or raised diaphragms in the picture, which can mean emphysema or pneumonia, respectively. Of course, not only them. And keep in mind that normally the right diaphragm is higher than the left - the liver raises. The costal-diaphragmatic angle is normally acute, with ascites it is obtuse.
 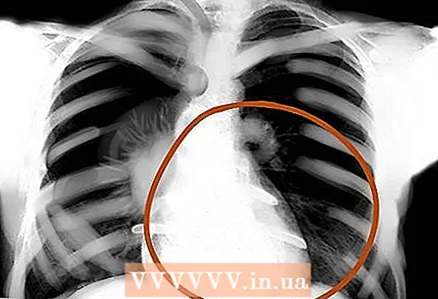 10 Borders of the heart, external soft tissues. Evaluate the disappearance of the normally defining contour of the heart - this is how pneumonia can be detected. In addition, check the external soft tissues for abnormalities - enlarged lymph nodes, subcutaneous emphysema, etc.
 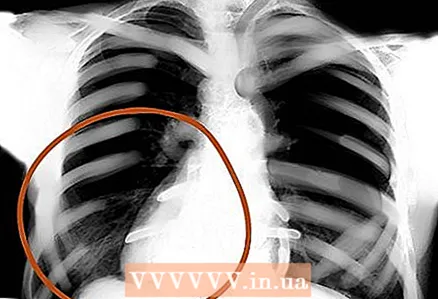 11 Lung areas. Assess symmetry, vascularity, foreign masses, nodules, infiltration, fluid, etc. If there is mucus, blood, pus, swelling or something else in the lung, this area will be brighter, and interstitial marks will be less noticeable.
 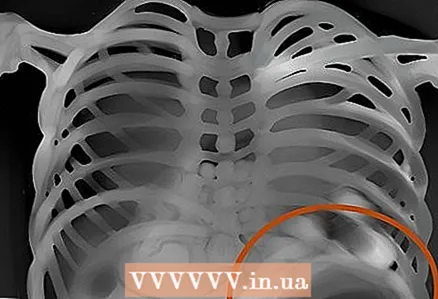 12 Gastric bladder. Check if there is a gastric bladder under the heart in the picture, whether it is dark or visible at all. Estimate the amount of gas and the position of the bubble. Normally, gas bubbles can be in the right and left bends of the colon.
  13 The roots of the lungs. Pay attention to these areas and see if there are any knots, silhouettes, etc. In the frontal view, most of the shadows in the root area are the left and right pulmonary arteries. The left is always higher than the right. Look for calcified lymph nodes in the root area - these may be signs of tuberculosis.
 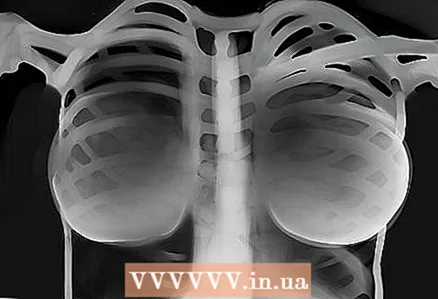 14 Tools. All tubes, pacemakers, surgical clamps, drains, implants - all this must be found.
Tips
- From general to specific - this rule has shown itself well when working with fluorograms.
- A systematic approach to working with images is a guarantee that nothing will go unnoticed.
- Always compare with each other, if possible, images of the same patient. This is necessary to determine the dynamics of the course of the disease.
- Mastery comes with experience. The more fluorograms you read, the better you will understand them.
- The size of the heart should be less than half the diameter of the chest on the PA image.
- Rotation - the heads of the clavicle should be equidistant in relation to the spine.


