Author:
Ellen Moore
Date Of Creation:
20 January 2021
Update Date:
2 July 2024

Content
- Steps
- Method 1 of 2: Cooking Apple Slices in Chocolate
- Method 2 of 2: Cooking Chocolate Apples on a Skewer
Chocolate covered apples are a delicious treat suitable for a wide variety of occasions. They can be prepared for kids for a quick after-school snack or as a sumptuous dessert for a gala dinner. Chocolate covered apples are always delicious, whether you cook them in slices or whole!
Steps
Method 1 of 2: Cooking Apple Slices in Chocolate
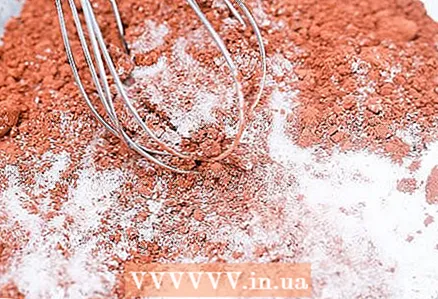 1 Combine dry ingredients for chocolate sauce. Mix 3/4 cups sugar, 1 1/2 tablespoons all-purpose flour, and 1/2 cup cocoa powder. Mix everything evenly with a whisk or fork and remove any lumps that may form when mixing.
 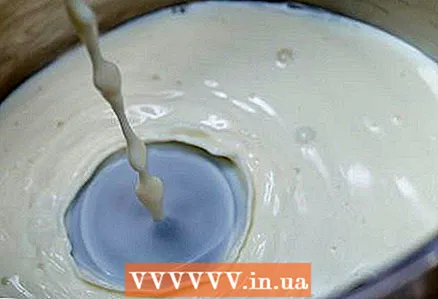 2 Combine the liquid chocolate sauce ingredients while heating. Place a saucepan over medium heat, add 1 1/4 cups milk, 2 tablespoons unsalted butter, 1/2 tablespoon vanilla extract. Stir the ingredients until the butter is completely melted.
 - For a stronger flavor, you can add more vanilla extract, but not too much!
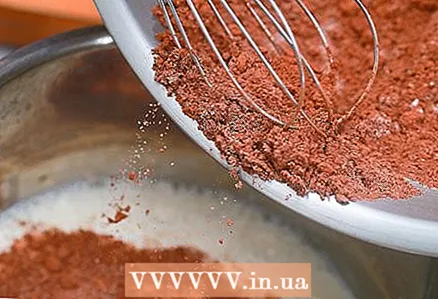 3 Start adding dry ingredients little by little. Pouring all the dry ingredients into the pot at once will create a lot of dust. Instead, add them a little at a time, stirring at the same time to avoid clumping.
 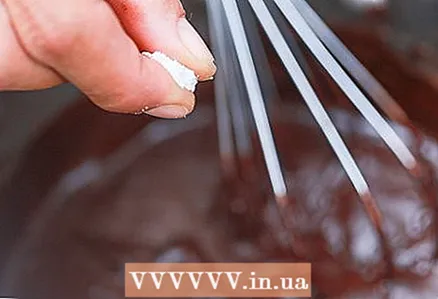 4 Increase heat slightly and bring mixture to a boil. Continue stirring the chocolate sauce to keep it from burning. After about 5-6 minutes of simmering, turn off the heat and add a pinch of salt for depth.
 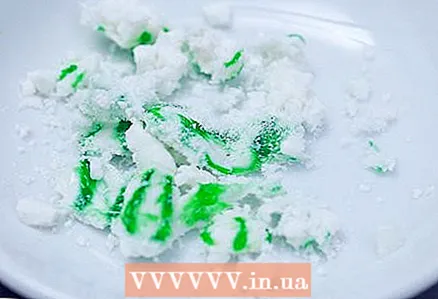 5 Crush the candy into crumbs. This can be done in a variety of ways, so use whatever works best for you.
 - The easiest way is to use a mortar and pestle. Break the large lollipop into pieces and place them in the mortar, several pieces at a time. Use a pestle to crush the lollipop into small or large crumbs of your choice.
- You can also use a meat chop hammer. Place the lollipop in a zip-lock bag, breaking it into wedges if necessary. Place the bag on a secure surface and then hammer the lollipop in it until it has the texture you want.
- Use whatever tools you can find at home. Be creative, but stick to safety precautions.
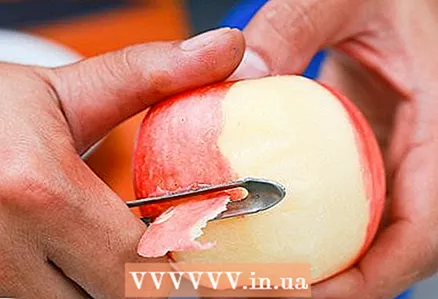 6 Peel the apples. Use a peeler to peel the skin off the apple (be careful not to cut yourself). Stand the peeled apple on a stand and use a sharp knife to cut it into pieces, separating them from the core. Cut the chopped pieces into smaller slices of a suitable size.
  7 Pour chocolate sauce over the wedges and sprinkle with crushed hard candy. Arrange them either on a large plate or on baking foil if you don't want to smudge your excess dishes. You can decorate apple slices in chocolate as you like. Below are some of the possible options.
 - You can dip the wedges in whole or only half of the chocolate.
- You can lightly pour the sauce over the slices with a spoon. Take a spoonful of sauce and pour a thin stream of chocolate over the wedges with quick, swaying movements.
- Sprinkle the crushed hard candies over the wedges, letting the chocolate sauce act as glue.
- You can separate the bowl of chocolate sauce and the bowl of crushed mints, letting guests decide how they want to season their apple wedges.
- If you refrigerate the slices before serving, the chocolate will harden a little, as some people prefer.
Method 2 of 2: Cooking Chocolate Apples on a Skewer
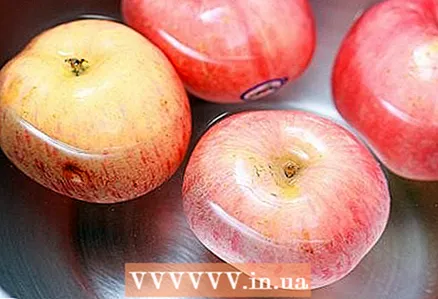 1 Wash and dry the apples. Any variety of apples can be used, but the sourness of Granny Smith apples works especially well with the sweetness of chocolate. Remove any manufacturer decals that may be on the apples, then rinse with water to remove any chemicals or pests from the surface. Dry the apples with a clean towel.
  2 Stick a wooden skewer into the core of each apple. This will allow you to eat the chocolate-dipped apples in a similar way to a lollipop. It may take some effort to stick the skewer into the apple, but it should be relatively easy.
  3 Break 450g chocolate into small pieces. If you can find chocolate of sufficient quality in lump form, then skip this step. If you buy chocolate bars, you will need to cut it into pieces. If you purchased a chocolate bar with slice lines, break it along the lines provided. If your chocolate bar is a solid bar, use a sharp knife to cut it into small slices.
 - If the intended chocolate slices are too large, use a knife to cut them as well.
- The finer the pieces of chocolate, the faster and easier it will be to melt into the sauce.
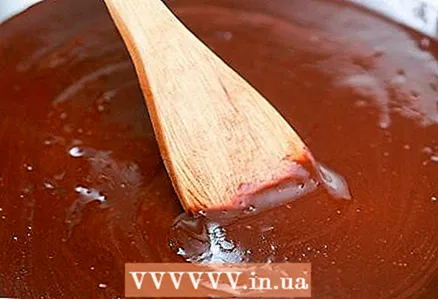 4 Melt the chocolate in a water bath. Melting chocolate at high temperatures can burn the chocolate and spoil your sauce. To avoid this, they use a water bath so that it is the water vapor that evenly warms the container with chocolate, preventing it from burning. For a water bath, you need to take one large saucepan, one smaller saucepan that easily fits into the first one, but does not sink into it to the bottom, and a stirrer.
 - Pour water into the bottom of a large pot so that it does not touch the bottom of the smaller pot.
- Place the prepared water bath on the stove over medium heat.
- Place the chocolate pieces in the inner pot of the water bath.
- As soon as steam from the water bath begins to rise to the pot of chocolate, it will slowly melt.
- Stir the chocolate to speed up the melting process and give the sauce a smooth texture.
- When the chocolate is melted, turn off the heat.
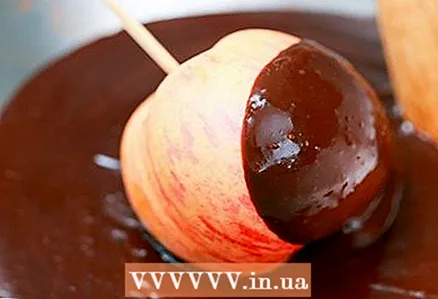 5 Dip apples in melted chocolate. Grab each apple by the skewer and dip in chocolate. Remember to roll the apples until they are evenly covered with chocolate.
  6 Season the apples. If you want to add extra topping to the apples, do so immediately after dipping them in the chocolate sauce, while it is still fresh. You can sprinkle apples with anything that comes to your mind. Common options include crushed hazelnuts, caramel crumbs, crushed hard candies, and so on. You can either dip the apple into the topping bowl or simply sprinkle it over the top.
  7 Place the finished apples on baking paper and place in the refrigerator to set. Line a baking sheet with baking paper, and then place the cooked apples on it. In this case, the skewers should stick out upward. Place the baking sheet in the refrigerator for at least 15 minutes to allow the chocolate to harden again. After that, you can serve apples to the table!


