Author:
Eric Farmer
Date Of Creation:
5 March 2021
Update Date:
1 July 2024
Content
- Ingredients
- For filling
- For the lady
- Steps
- Part 1 of 4: Making the Puri
- Part 2 of 4: Making the filling
- Part 3 of 4: Cooking a Pani
- Part 4 of 4: Serving Pani Puri
- Tips
- What do you need
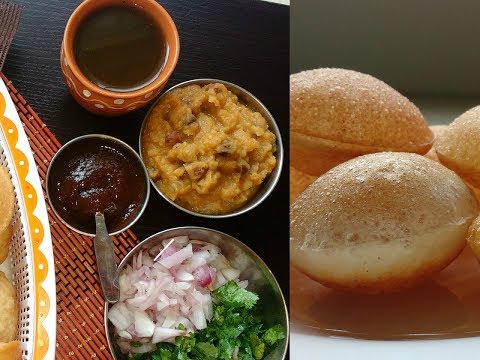
Pani puri is a dish native to the Indian region of Mahal, now known as South Bihar. It is a popular street food in India, Nepal and Pakistan, also called fuchka, gol gappa or gap chap in different places. Pani puri literally means water in fried bread. This dish is round, empty inside purifried until crispy, stuffed with spiced potatoes and lady - a liquid dipping sauce that fills the void inside the dough. Cooking pani puri differs from region to region, but this basic recipe can be a good start.
Ingredients
- 1 cup (160 grams) rav (can be substituted with wheat flour)
- 1 teaspoon maida (can be substituted with white muffin flour)
- A pinch of salt
- Warm water
- Olive oil
For filling
- 3 potatoes
- 2 cups cooked chickpeas
- 1/2 teaspoon ground red chili pepper
- Chopped green chili
- Chopped onion
- 1 teaspoon chat masala (2 teaspoons if desired)
- 1-2 teaspoons crushed cilantro leaves
- 1/2 teaspoon salt
For the lady
- 1 teaspoon of tamarind paste, diluted in 1 tablespoon of water
- 2 tablespoons jaggery (can be substituted with white sugar)
- 1 teaspoon black salt (can be substituted with table salt)
- 1 teaspoon ground red chili pepper
- 1 teaspoon ground coriander
- 1 teaspoon ground cumin
- 2-3 green peppers, crushed
- 1/2 cup crushed mint leaves
- 1/2 cup chopped cilantro leaves
- Water
Steps
Part 1 of 4: Making the Puri
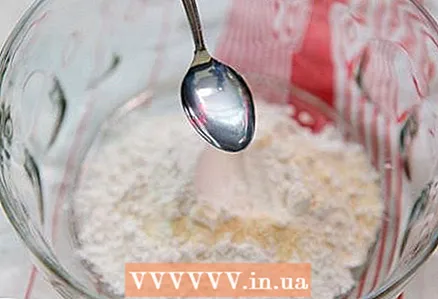 1 Mix the flour with a few tablespoons of warm water. In a mixing bowl, combine the flour with a few pinches of salt. Add 1 teaspoon warm water and stir with your fingers. Add another spoonful of water and stir again. The dough should be viscous in texture, but not runny.
 - Add water little by little, in small portions, so as not to pour too much. The dough should not be wet or sticky.
- If the dough is too wet, add some more mayda or white muffin flour to help absorb the excess liquid.
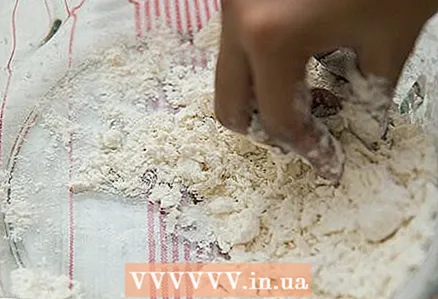 2 Knead the dough well. Knead the dough with your hands for about 7 minutes, until it is firm, stringy and shiny. This will help "pick up" the gluten, which is so essential for the texture of the finished puri.
 - If the dough is loose and falls apart, continue kneading. The dough should stretch well without tearing.
- If you like, you can knead the dough with a hand mixer using the dough attachment.
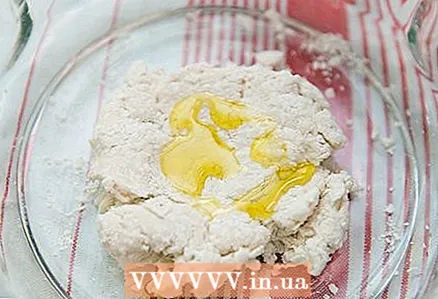 3 Add 1 teaspoon vegetable oil and continue kneading the dough. Pour vegetable oil into the dough and knead for another 3 minutes. This will improve the taste and texture of the dough.
 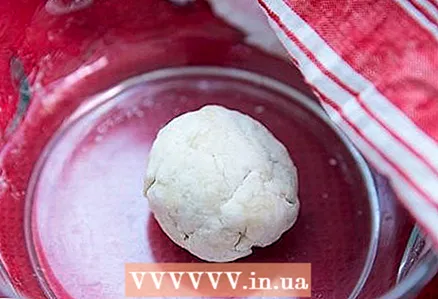 4 Let the dough stand. Roll the dough into a ball and place in a bowl. Cover the bowl with a damp cloth. Place the dough in a dry, warm place. Let the dough stand for 15-20 minutes. This will improve the texture of the finished puris.
 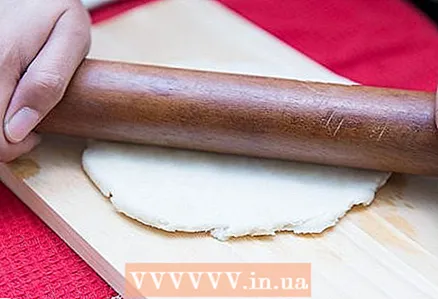 5 Roll out the dough into a very thin layer. Place the dough ball on a greased surface and use a rolling pin to roll the dough into a circle no more than 6 mm thick. The dough should roll out easily, without tearing. The dough may shrink as you roll it out, but the longer you roll it, the thinner and larger the circle you will get.
  6 Cut the dough into small circles. You can use a cookie cutter or just a cup of a suitable diameter. Cut as many circles as possible from the rolled out dough.
  7 Heat the cooking oil. Pour about 5 cm of vegetable oil into a soup pot or deep skillet.Heat the butter to about 205 ° C, or until a small piece of dough tossed into the butter begins to fizzle and turn brown.
 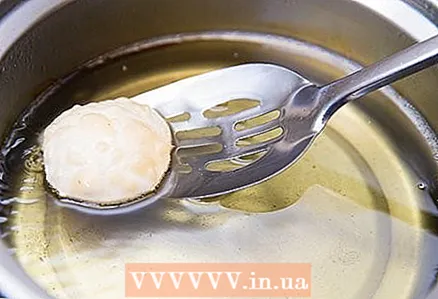 8 Toast the puri. When the butter is hot enough, dip a few circles of dough into it. After a few seconds, they will begin to grow and become crispy. When the puris are crispy and slightly brown (after about 20-30 seconds), use a slotted spoon to transfer them to a paper towel lined plate to drain off excess oil. Continue to fry the rest of the dough.
 - Puris cook very quickly, so you need to keep an eye on them constantly when they are in oil. Remove the puris from the oil before they turn brown, otherwise they will taste burnt and fall apart.
- Fry just a few puris at a time. If you overfill the pot, it will be difficult to control the cooking time of each puri.
- Do not cover the puris after you have finished frying or they will lose their crispy texture.
Part 2 of 4: Making the filling
 1 Prepare your potatoes. Peel the potatoes and chop them into large pieces. Place the potatoes in a saucepan and cover with cold water. Bring water to a boil, then reduce heat. Boil the potatoes until they are soft and pierce easily with a fork. Drain the water. Mash the potatoes with a fork.
  2 Add spices. Add ground red chili, chopped green chili and onions, chat masala, and cilantro leaves to a pot of potatoes. Add a pinch of salt. Use a fork to stir the potatoes with the spices until they are evenly distributed. Try the mixture and add more salt or spices if desired.
 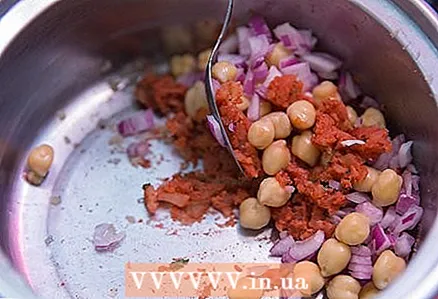 3 Add the chickpeas. Mix the chickpeas well with the potatoes to make a homogeneous mass. Add a few drops of vegetable oil, if desired, to keep the filling from being so dry. The filling should not be too wet, as you will add pani sauce to the puri in the final step.
Part 3 of 4: Cooking a Pani
 1 Mix all ingredients except water. Place all the spices and herbs in a blender, food processor, or mortar. Grind them until they turn into a paste. Add a little water if necessary to make it easier for you to grind the ingredients.
 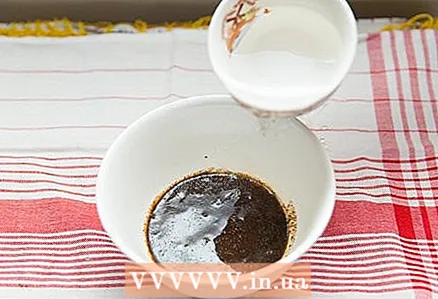 2 Mix the mixture with 2-3 cups (500-750 ml) water. Put the pasta and water in a bowl and mix thoroughly. Try the mixture, add more salt or spices if needed.
 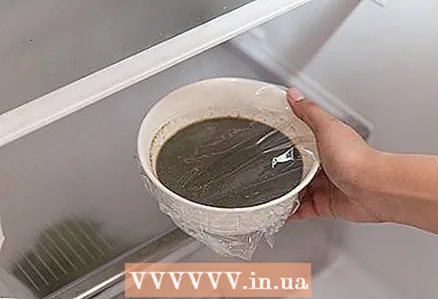 3 Chill the lady if you like. Sometimes pani is served cold with puri. If you want to chill it, cover the bowl and refrigerate until you are ready to serve pani puri.
Part 4 of 4: Serving Pani Puri
 1 Press lightly on the center of the puri to make a hole about 1 cm in size. This can be done with the tip of a knife or with your finger. Press gently as puri is crispy and brittle.
 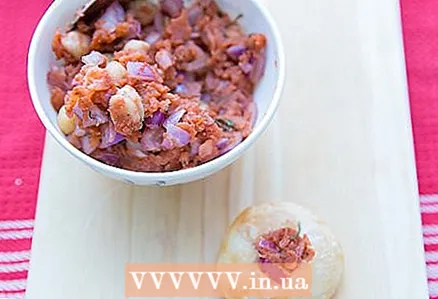 2 Fill the puri with a little topping. Fill the puri with a little mashed potatoes and chickpeas. You can add slightly different toppings if you like, such as chutney, yogurt sauce, or mung bean sprouts. Use enough filling to fill at least half of the puri.
  3 Dip puri in pani. Dip the filled puri into the pani bowl so that the empty space inside is filled with spicy water. Do not keep the puri in water for too long, otherwise it will become soft.
  4 Eat pani puri while it is crispy. Pani puri is served and eaten immediately after cooking, otherwise it will get wet and fall apart. Eat pani puri whole or split into two bites. If you are treating guests, you can suggest that they fill the pani puri with toppings the way they want it.
Tips
- You can also use 3-4 teaspoons of diluted tamarind chutney or pani puri masala.
What do you need
- Frying pan or deep frying pan
- Colander
- Blender
- Wet cloth


