Author:
Helen Garcia
Date Of Creation:
22 April 2021
Update Date:
1 July 2024
Content
- Ingredients
- Steps
- Method 1 of 3: Buying and Preparing
- Method 2 of 3: Saute the ribs
- Method 3 of 3: Slicing Ribs
- Tips
- Warnings
- What do you need
Why are you forced to enjoy roast beef only on special occasions in restaurants when you can do it comfortably at home? Once you master this art, your friends and loved ones will beg you to come, so if you are ready for such popularity, let's get started!
Ingredients
- 1 piece of beef with at least 3 ribs
- Salt, pepper, butter to taste
Steps
Method 1 of 3: Buying and Preparing
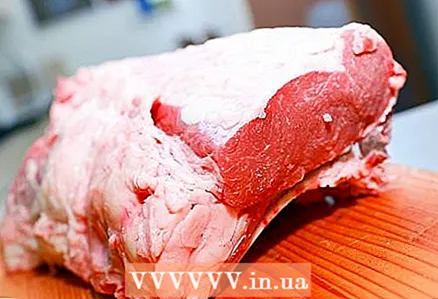
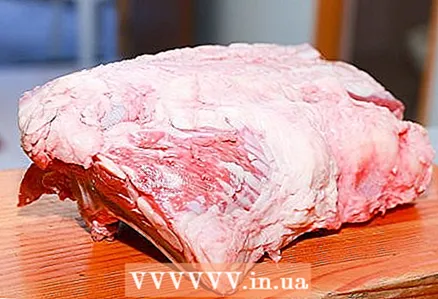 1 Choose one of the types of Beef Ribs you are going to roast. This meat cannot be called "Prime Rib" at your local grocery store or butcher's, as "prime" is USDA terminology and, in this context, refers to the name of the dish. But rest assured that Ribs Beef is what you need.
 - If you “really” prepare ahead of time, you can buy a special piece of Beef Ribs. Ask your butcher when you need to be ready. The chances are that such a piece is difficult to obtain, because the cost of this meat is significantly higher than other types.
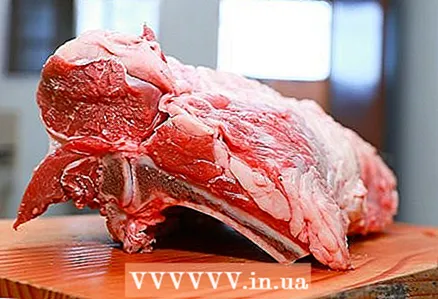
- Look for 6 to 12 ribs. If your butcher knows his meat, he will cut you a small piece from the smaller end to the back of the ribs. This piece is usually more compact and more profitable to buy. This is usually referred to as the first cut from the loin or the small ribs, after all, because the ribs get larger towards the shoulder.
- If you prefer more fatty meats, you may want to go the other way. To make your decision easier, remember that Ribeye steaks are cut from the smaller end and Delmonico steaks from the larger end. Maybe this will help?
 2 Select the size of the baked ribs. Count on approximately one rib per person. So, for six people, you need 3 ribs. For fourteen people, you need 7 ribs. If you have fewer than six people, it's best to cook individual steaks - too small a piece of meat won't cook the way you want it to.
 - Always check the date on the beef packaging. It’s not good if it’s been on the counter for ages. The beef should be bright red and not dry or brown at all. If there is any damage to the packaging, set it aside and choose another one.
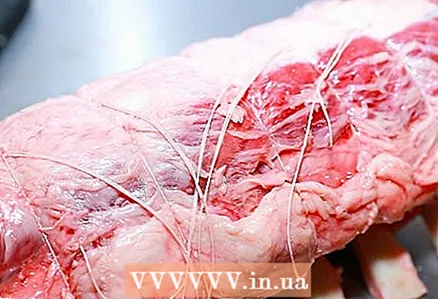 3 Ask your butcher to wrap the meat. You will need to rewind the ribs before baking, so it's best to do this correctly at the time of purchase. If the meat is not tied, the outer layer will overcook and flake off. This is a perfectly normal request, so don't be shy. However, if you forgot to ask, or if for some strange reason he cannot fulfill the request, here's how to do it:
 - Trim any excess fat off the piece - but leave a thin layer to protect the meat during baking. If the fat is about 2.5 cm thick, this is just what you need. But leave just enough to add more flavor to the finished dish.
- Wrap the string parallel to the bone and tie at both ends. It literally ties the meat to the bone, keeping it together. Wrap the meat around the bones and don't forget about the ridge of bones at the end.
 4 Leave the meat to warm until it reaches room temperature. This should take about 2-4 hours and is absolutely necessary. If you don't leave the meat to warm to room temperature, you will regret it later: it will take longer to cook, your meat will not cook evenly, and you end up with slices with well-baked edges and raw meat in the middle.
 - The amount of time it takes to heat up depends largely on the size of the piece of meat. Use common sense when timing meat to reach room temperature.
Method 2 of 3: Saute the ribs
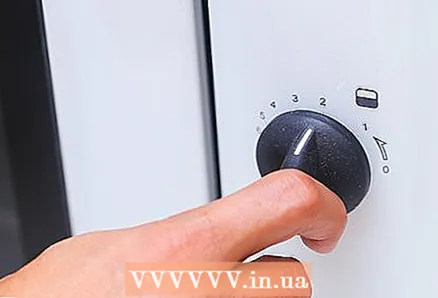 1 Preheat oven to 232 ° C. This is necessary for the initial frying of the meat - then you will bring down the temperature after this thermal explosion. Place the oven shelf on the bottom tier.
 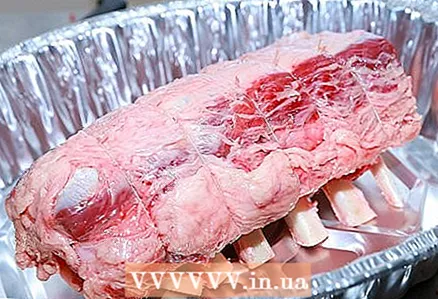 2 Place the meat in a stainless steel or metal baking sheet. Either ribs down or fat side up. When choosing a pot, make sure the sides are at least 7.5 cm deep.
 - Teflon-coated pans are a waste of time. You will end up with a less tidbit that comes in your own juice or gravy. The ribs themselves serve as a natural support, so you don't need metal.
 3 Season the meat with your own spices. Some people believe with all their hearts that the meat should be covered with salt and pepper. Others swear that salt only dries meat - so avoid it at all costs. Ultimately, it's up to you to decide.
 - You may also find that brushing the cut edges with a couple tablespoons (30 g) of butter will make the meat more moist and the edges more tender. Again, proceed in your own discretion.
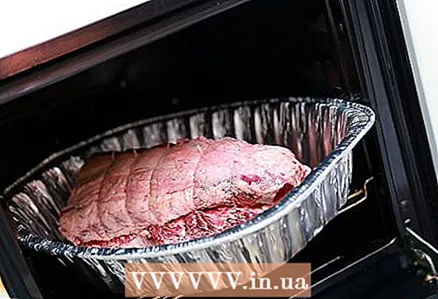 4 Cook the Prime Ribs at this temperature for 15 minutes. Then reduce to 162 ° C for the remaining cooking time. Drizzle the cut edges with grease from a baking sheet every half hour. Do not cover meat.
  5 Let it bake for the allotted time. To find out the total cooking time required for your ribs, calculate about 13-15 minutes for half a kg of small ribs and 15-17 minutes for half a kg of medium ribs.
 - Take your meat thermometer (a digital meter will make it easier) and check the temperature for about 45 minutes before you think the ribs are ready. If anything - start measuring earlier; if something goes wrong, you should know it.
- A meat thermometer will only give you an accurate reading if you insert it into the thicker section of beef. It shouldn't touch fat or bone. Bake the meat until the temperature is 49 ° C (or your desired temperature).
- Readiness occurs at 49 ° C, regardless of the size of the piece. Medium cooked at 51 ° -54 ° C. Use a quality digital meat thermometer to ensure your food is done.
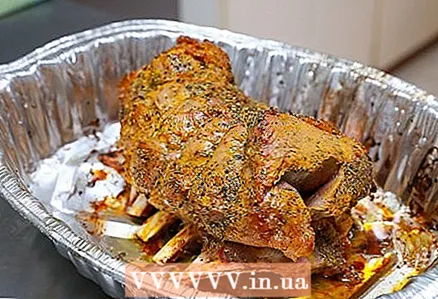 6 Place the meat on the ribs on a platter and place in a warm place to drain the juices. Cover loosely with aluminum foil and let sit for about 15-20 minutes. Cutting the meat too early will result in significant loss of juice. Don't miss the resting phase.
 - Not cover the meat tightly; this will soften the crust.
- Clean grease and dark deposits from the pan with detergent. Set aside.
Method 3 of 3: Slicing Ribs
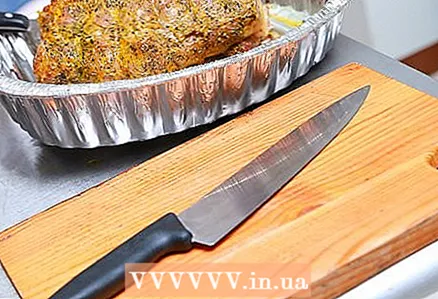 1 Take a long, thin, sharp knife. Sharpen your carving knife, use a sharpening stick or stone if necessary.
 - Use a sharpening stick, place the knife point down across the bar, sharpen it at a 22 degree angle (you know what that looks like, right?). Repeat this process 5 to 10 times.
- If using a whetstone, hold the knife at a 10-15 degree angle. Move back and forth in smooth, steady thrusts.
 2 Place the meat on a large cutting board. If you have one on which juices flow from one end, this is what you need. First, cut the rope with a knife or scissors and remove it.
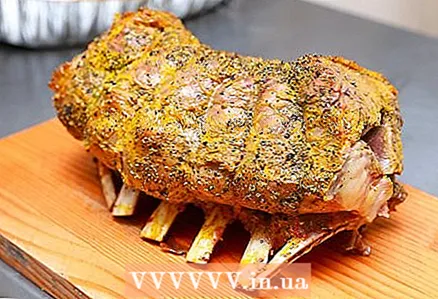
 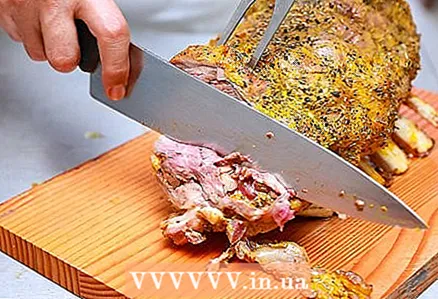 3 Start slicing the meat. To make it easier for yourself, use a chopping fork to hold the meat. Rotate the dish so that the ribs are to your left if you are right-handed, or to the right if you are going to cut with your left hand.
 - Using an ultra-sharp carving knife, make an incision by cutting the meat from the rib (bone on the larger side) to separate the meat from the bones into a separate piece.
- Save the bones for nibbling later. Or, if you tend to be resourceful in the kitchen, make a soup with them!
- Using an ultra-sharp carving knife, make an incision by cutting the meat from the rib (bone on the larger side) to separate the meat from the bones into a separate piece.
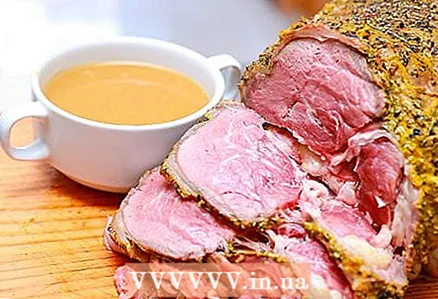 4 Slice the meat side down. Slice the meat across the grain to the thickness you prefer; 0.6-1.25 cm is a fairly standard thickness. Serve, enjoy, loosen the belt a little and immerse yourself in the ecstasy of the ribs.
Tips
- Do not open the oven often - this is extremely important!
- Serve with Yorkshire pudding or sauce.
- Baking the ribs until crusty for half an hour adds color to the taste.
Warnings
- Do not use a non-stick pan; the result is a less fried piece in its own juice.
What do you need
- Pre-tied meat on the ribs
- Heavy metal brazier
- Meat thermometer
- Detergent
- Knife and cutting board


