Author:
Janice Evans
Date Of Creation:
23 July 2021
Update Date:
1 July 2024

Content
- Ingredients
- Steps
- Part 1 of 3: Mixing Milk and Sourdough Culture
- Part 2 of 3: Reproduction of bacteria
- Part 3 of 3: Finishing Touches
- Tips
- Warnings
- What do you need
- Additional articles
What could be easier than going to the store and buying a glass of ready-made yogurt! But didn't you ever want to cook your yogurt at home? Yogurt contains bacteria that improve digestion, strengthen the immune system, and reduce the risk of food allergies. Follow these steps to learn how to make your own homemade yogurt.
Ingredients
- 1 liter of milk (any, but if you take UHT, you can skip the first step, since the milk was already heated to the correct temperature before the bag was sealed)
- 1/4 to 1/2 cup (30 to 60 grams) skimmed milk powder (optional)
- 1 tablespoon white sugar to nourish bacteria
- A pinch of salt (optional)
- 2 tablespoons live yogurt (you can also use ready-made yoghurt starter)
Steps
Part 1 of 3: Mixing Milk and Sourdough Culture
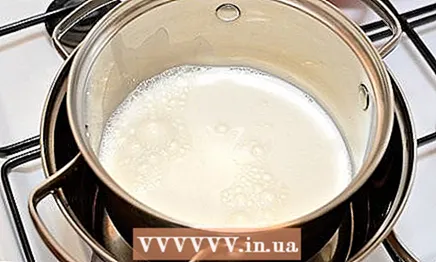 1 Heat milk to 85 ° C. Take two pots that slide into one another to create a water bath. This will prevent the milk from burning and you will only need to stir it occasionally. If you can't make a water bath, keep an eye on the milk while stirring it. If you do not have a kitchen thermometer, then be aware that at a temperature of 85 ° C, milk begins to froth. It is highly recommended to heat the milk to 40-100 ° C, especially if you plan on making yoghurt all the time.
 - You can use any type of milk, whole milk, 1% milk, 2% milk, skim milk, soy milk, and so on. UHT milk is processed at very high temperatures and this breaks down the protein. Protein, in turn, is needed by bacteria to convert milk into yogurt. Some culinary experts note the difficulty in making yoghurt from UHT milk.
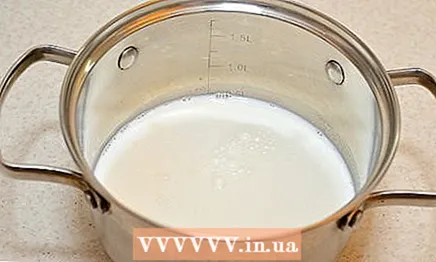 2 Chill milk to 43ºC. The best way to do this is to place the pot in a bowl of cold water. This method will quickly and evenly lower the temperature of the milk; you only need to stir it occasionally. Stir more often if you refrigerate milk at room temperature or in the refrigerator. Milk temperature should not be higher than 49ºC, but also not lower than 32ºC; the optimum temperature is 43ºC.
 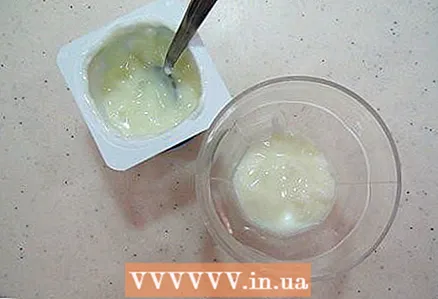 3 Heat the starter culture. The sourdough contains bacteria that you will add to milk and which will multiply to convert milk into yogurt. While the milk is cooling, heat the starter, leaving it at room temperature. The starter culture should not be too cold when added to milk.
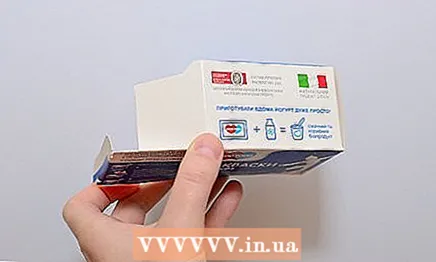
 - All that is needed for the formation of yoghurt are "good" bacteria. The easiest way to get bacteria is from finished yogurt. When making yoghurt for the first time, grab natural store-bought yoghurt from the store. Make sure the label says "live bacteria". Try different types of natural yoghurt before making your own. Choose the one you like best as a starter.
- To prepare your own yoghurt, you can buy a special ready-made starter culture, which is sold in specialized stores and online stores. Ready-to-use starter is a safer way to start making homemade yoghurt.
- As a last resort, you can use flavored yoghurt as a starter, but the finished product tastes differently than if you were using natural yoghurt.
 4 Add skimmed milk powder if desired. Adding 1/4 to 1/2 cup (30-60 grams) skimmed milk powder will increase the nutritional value of your yogurt. The yogurt will also thicken more easily. This is especially true if you are making yoghurt with skim milk.
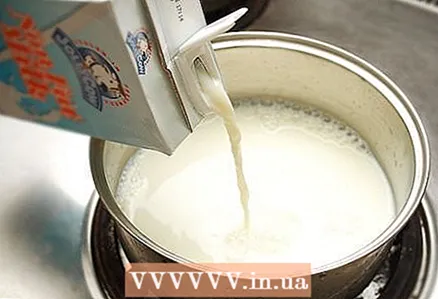
 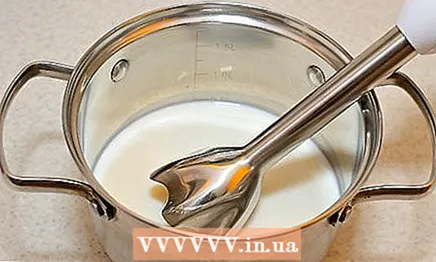 5 Add sourdough. Place 2 tablespoons of prepared yoghurt in milk, or add yoghurt starter. Stir with a blender to distribute the starter culture evenly in the milk.
Part 2 of 3: Reproduction of bacteria
 1 Pour the mixture into containers. Pour milk into a clean container or containers. Close each container tightly with a lid or cling film.
 - You can also use glass covers, but this is not required.
 2 Now let the bacteria in the yogurt grow and multiply. Keep the yogurt warm so bacteria can grow, the temperature should be as close to 38ºC as possible. The longer the bacteria multiply, the thicker and more viscous the finished yogurt will be.
 - Try not to disturb the yogurt during the fermenting process. It won't ruin it, but the process will take longer.
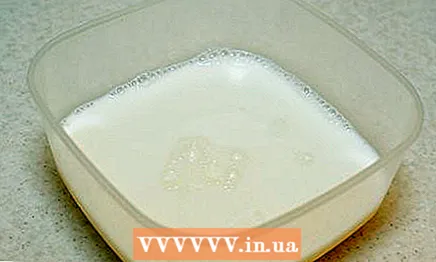
- After 7 hours, the milk will become custard-like in texture, with a cheesy smell, and possibly a greenish liquid on the surface. If, after 7 hours, the yogurt continues to ferment, the longer it takes, the thicker it will be.
 3 Choose your method to promote bacterial growth and reproduction. There are many options. Use a kitchen thermometer to constantly monitor the temperature. Choose the method that works best for you. The easiest way to prepare yoghurt is to use a yoghurt maker. The following are the steps for using a yogurt maker.
 - You can also use the oven, first you need to preheat it to the required temperature, turn off the heat, turn on the internal lighting to maintain the temperature. Turn on the oven occasionally to reheat it to the desired temperature. But there are pitfalls in this method, you can just overheat the oven. If your oven has a heating function for raising yeast dough, use it.
- You can also use a vegetable drier, heated rice cooker, low temperature heating mat, slow cooker, or multicooker.
- If you don't have any of these appliances, use a sunny windowsill or a car in the sun. Be aware that sunlight can reduce the nutritional value of milk. It is best to achieve a temperature of 49ºC, and make sure that it does not drop below 32ºC; the optimum temperature is 43ºC. You can also place a container of milk in warm water in a sink, large bowl, or travel picnic cooler.
 4 Choose a yogurt maker. There are several types of yogurt makers available in the home appliance market, so if you want to use a yogurt maker (which is recommended for making homemade yoghurt), you won't have a problem with the range. Yogurt makers create the best and safest conditions for bacteria to grow and reproduce.
 - Yoghurt makers without a timer and thermostat, which maintain the temperature, are most popular due to their low price. The low price is due to the fact that such devices do not control the temperature inside, which is necessary for the growth and reproduction of bacteria in a dairy product. They are designed for normal room temperature, but if the ambient temperature changes, this can affect the time and quality of yoghurt preparation. These yogurt makers usually come with small containers, and you need to prepare yogurt often enough to provide a healthy product for the whole family. This may not be practical for large families because it will take too much time and effort to prepare large quantities of yoghurt.
- Temperature controlled yoghurt makers are more expensive because they have a lot of electronic components built into them to provide the user with more options. Such yogurt makers are divided into two categories:
- The device has a factory set temperature, the environment does not affect such a yoghurt maker, but you cannot change the temperature yourself.
- Yoghurt makers, in which various options are presented. For example, there are yogurt makers. In which the temperature is already set, but there is a timer and shutdown function.In such devices, high-quality yoghurt is obtained in just 2 hours, and the temperature setting is suitable for most bacteria used as a starter for fermented milk products. You can put 250 ml containers in them, and the set usually includes containers of different sizes. You can also put large 3-liter containers in the yogurt maker, but if you want to make yogurt in a tall jar, you will have to cover the gap between the lid and the heating pan with a towel to avoid heat loss.
 5 A yogurt maker with a thermostat has a number of advantages. The user can adjust the temperature of the appliance himself depending on the type of bacteria used to prepare yoghurt. By choosing the right temperature, you can be sure that it will be exactly the same inside the yogurt maker, no matter what the temperature is in your kitchen or in the house.
 - Yogurt makers with built-in timer allow the user to set the amount of time it takes to maintain a certain temperature of the containers. This is a useful option, but nevertheless, you shouldn't leave the yogurt maker unattended. You should be nearby (in front of an apartment or house), in case the device does not turn off on time. This, of course, should not happen, but just in case, be there to solve the problem that has arisen.
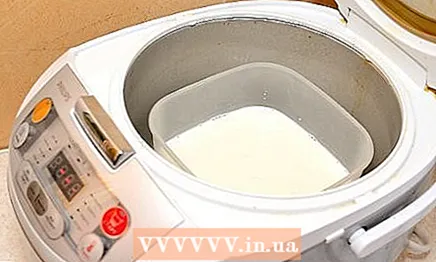 6 Place the containers of chilled milk and starter culture in the yogurt maker. Make sure they are both evenly spaced and upright (to prevent yogurt from leaking out of the containers).
  7 Close the lid to keep warm. This will allow the containers to be stored at a temperature that is necessary for the bacteria in the dairy product to multiply and to form yogurt.
 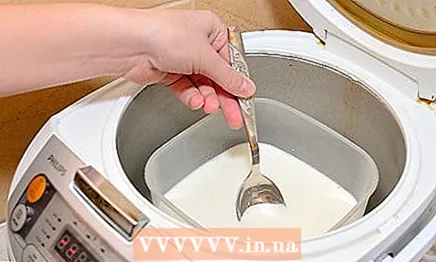 8 Check if the yogurt has thickened. At the right time, when the bacteria have multiplied sufficiently, the milk should thicken and turn into yogurt. The time it takes for bacteria to multiply depends on the bacteria themselves, the temperature and the amount of bacteria nutrients found in dairy products. It can take 2 hours, maybe 12 hours. The less time it takes for bacteria to multiply, the more acidic the yogurt will be, and the longer it takes the bacteria to multiply enough. For people who are lactose intolerant, a longer period of bacterial growth will provide more digestive benefits.
  9 Take out containers. When the yogurt reaches the desired consistency, you need to take the containers out of the yogurt maker and refrigerate them until you are ready to eat it. Usually, small containers come with yogurt makers, you can eat yogurt directly from these containers. Large containers of 3 liters or more are suitable for those who make a lot of yogurt on a regular basis.
 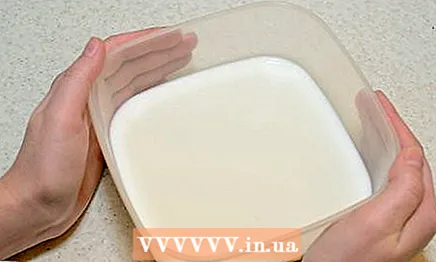 10 Check if the yoghurt is done. Move the container slightly - the finished yogurt should not wobble, in which case you can take it out of the yogurt maker and put it in the refrigerator. Or, if the yogurt isn't ready, leave it on for another 12 hours or more.
Part 3 of 3: Finishing Touches
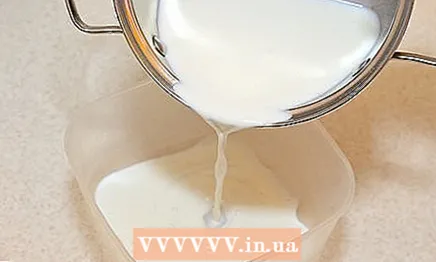
 1 Strain the yogurt through cheesecloth for a thicker consistency. Place the cheesecloth in a colander, place the colander over a large bowl to collect the whey, a yellowish liquid. Leave the yogurt to drain for a couple of hours and you will have a thick Greek yogurt. If you leave the yogurt to drain overnight, you will end up with a very thick product, similar in consistency to soft curd.
  2 Refrigerate the yogurt. Place the yogurt in the refrigerator for a few hours before serving. In the refrigerator, yoghurt can be stored for 1 to 2 weeks. If you want to use some of the yoghurt as a starter, do it within 5-7 days, later the bacteria will lose their strength and will not be able to multiply. Bacteria usually collect on the top of the yogurt, so stir the yogurt well or drain the bacteria before eating it.
 - Many store-bought yogurts will contain thickeners such as pectin, starch, gum, or gelatin. Don't be surprised or worried if your homemade yogurt looks thinner without these thickeners. If you put yogurt in the freezer to chill it and then put it in the refrigerator, it will have a smoother consistency. You can also stir or break up the lumps.
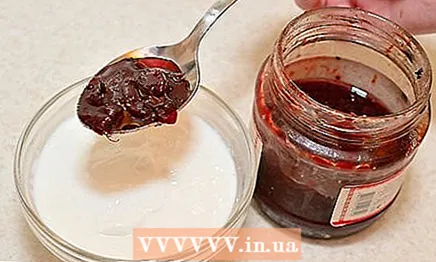 3 Add yogurt flavors if desired. Experiment until you find your perfect recipe. Jams and tarts for pies, maple syrup, ice cream, fudge will be a great addition to your yogurt. For a healthier option, add fresh fruit with little or no sugar or honey.
 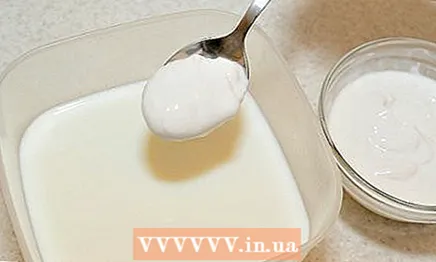 4 Use some of the yogurt from this batch as a starter for the next batch.
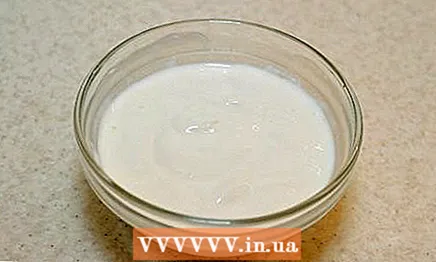 5 Ready.
Tips
- Store-bought yoghurts usually contain too much sugar. By making your own yogurt, you avoid consuming too much sugar.
- The longer the mixture is fermented, the thicker and more viscous the yogurt will be.
- If you put yogurt in the freezer to chill it and then put it in the refrigerator, it will have a smoother consistency. You can also stir or break up the lumps.
- In almost all yogurt makers, you need to pour water into the bottom of the bowl so that the heat can be transferred more easily to the containers. Follow the manufacturer's instructions for your yogurt maker.
- Using a steamer allows you to more accurately control the temperature.
- Always have a thermometer handy. You will be able to check the temperature of the water (if you keep the yoghurt in water as it thickens) to help the yoghurt ripen.
Warnings
- If your yogurt looks and smells strange, if it tastes suspicious, do not eat it. "When in doubt, you better throw it away!" Better prepare a fresh portion. As mentioned, homemade yoghurt WILL look different from store-bought yogurt because it does not contain stabilizers, thickeners or other additives that are added to yoghurt during production in factories. Homemade yogurt will be slightly thinner, and whey (clear liquid) may appear on the surface. This is fine. The whey should also smell good, like fresh cheese or freshly baked bread.
What do you need
- Pan
- Metal spoon
- Pastry thermometer
- Steamer (optional)
- Containers with lids
- Oven
- Refrigerator
Additional articles
 How to pasteurize milk
  How to make soy yogurt
  How to make frozen yogurt
  How to make a fruit yogurt smoothie
  How to make ice cream
  How to make labne cheese
  How to make tabouleh How to make meringue
  How to make mashed potatoes
  How to make mini corn
  How to soak nuts
  How to cook a steak in the oven How to cook pasta How to wrap a tortilla


