Author:
Sara Rhodes
Date Of Creation:
15 February 2021
Update Date:
3 July 2024

Content
Have you ever seen someone doing high jumps and wanted to give it a try?
Steps
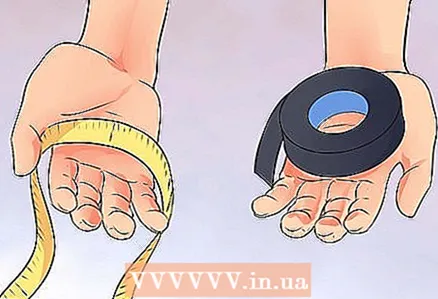 1 Take a tape measure and a medical tape and find the high jump hole. For beginner jumpers, a shock absorbing cable is preferable, as landing on the high jump bar can be injurious.
 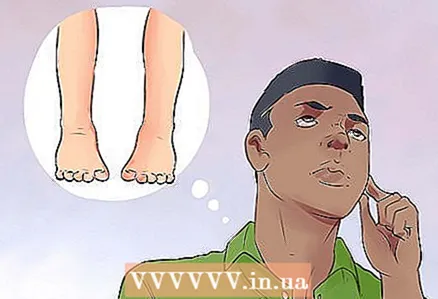 2 Identify your swing leg. There are two ways to find out: lie on your stomach, then stand up, or have someone push you from behind. Pay attention to which leg you put forward to stand up, or which leg you secured yourself so as not to fall. If you put your right leg forward, start on the right side. If your left foot has moved forward, start on the left side. This is important because the leg you put forward will be basic and therefore stronger. You will need your strongest leg to lift the knee up, as this will account for most of the height you will jump to.
  3 Takeoff run. The entire takeoff run should consist of 5-8 large steps in length, with the last three going in an arc. The rest of the steps must be taken at a controlled speed along the line. Gradually turn in the direction of the jump zone (an imaginary plane / obstacle created by the bar), gaining speed. The last three big strides (or 6 small) runs should be in an arc, and the last two should be the fastest. One method for timing the steps is to have the jumper run his steps in the opposite direction from the jump pit. He should start from where his position is (see step 4), quickly run the corner, and begin to run with wide strides when reaching a straight line. This method allows for a variety of stride lengths and speeds. After the athlete has warmed up, adjustments must always be made as warming up changes his steps. When the steps are corrected, measure two lengths: the distance from the plank to the point to which the starting point of the steps is perpendicular, and the distance from that point to the starting point of the steps.
 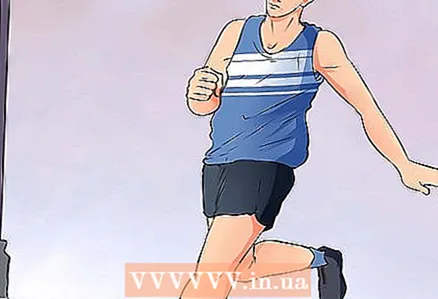 4 Jumping position. The ideal position, or where your second, non-main leg stands during the jump, is one-third from the center of the hole and approximately at arm's length from the center. This allows the jumper to fly over the middle of the bar, which is the lowest point, since the bar sags while in the air, thereby preventing accidental injury to inexperienced jumpers about the stand. Once the basics are learned, the jumpers should work their tilt to enter a stance at an angle of approximately 45 degrees from the ground. (This effect can be seen in the example of a pencil turned upside down with an elastic band. If, moving the pencil forward, throw it at an angle to the table, it will bounce straight up. If released in an upright position, it will not jump, but simply fall.)
  5 Knee swing. The main focus of the position should be a quick and strong knee swing. The knee should slide along the body and away from the pit. This is what allows you to turn your back to the bar. Note that the shoulders and torso follow the knee. There should be no side twisting.
 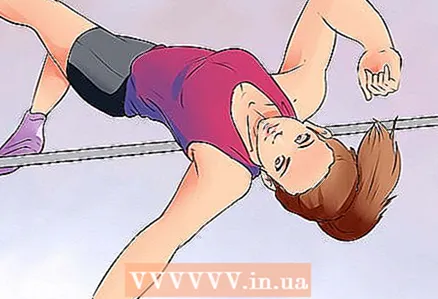 6 Bend. The jumper should bend like a stake underneath him, or like he makes a bridge in the air. Make sure your head is tilted back (chin up), otherwise the pressure will transfer to your back and your body will not bend automatically. Remember that bending prevents the jumper from gaining height, so it should be delayed until you have taken all you can from the knee swing.The head is the "helm" of the jump, so if there are problems with premature bending, the head is usually thrown back to the side of the hole, causing the jumper to "dive". Premature exit from the bend is caused by lifting the head up while the torso is still above the plank.
  7 Landing. Raising your head causes your feet to go up sharply. This usually does not need to be learned, as it is a natural reflex when falling backwards. Trying to delay reflex rotation around the bar is often problematic. The jumper should strive to land as high on the shoulders as possible, confirming that he can withstand his bend and rotate correctly. This, in turn, forces him to do a backward roll due to the torque, so make sure your knees are apart when you land, otherwise you could kick yourself in the face with a knee.
 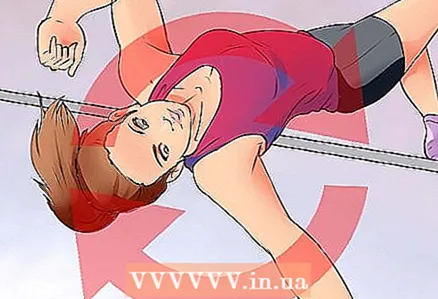 8 Keep trying until you succeed! Remember to focus on only one aspect at a time to avoid analytic paralysis.
  9 That's all!
Tips
- When you are ready for the plank, start by securing it a few centimeters above the mat and gradually work up to your level.
- If you want to make a good bend over the bar, make sure your back is able to do it. Before jumping, stand on the bridge (gymnastic bridge) and see how high you can raise your hips. You must see behind you. Always stand on the bridge on the ground and never do it in the air, unless you are about to make a high jump and land on the mat. Do not bend over too much as you may injure your back.
- As you jump, push your hips up. This will allow your body to arch more.
- Run in an arc, but never directly onto the bar, and push off with one foot.
- Bend far back. The further you bend, the further your legs will be.
- Start with either no bar or elastic bar.
- This article is for beginners. The best option is to contact a high jump coach who knows your shortcomings and can correct them.
- To learn to jump higher: remove the bar and stand back, facing where it used to be. You should be standing directly in front of the mat, just one step, or less, away from it. Then just jump up, pretending to jump over an imaginary plank. During this exercise, you should work on your arm movements and bending.
- A suitable technique would be to use the “fosbury flop” method.
- Women start jumping from a height of 120 cm, men - from a height of 150 cm.
Warnings
- Never use a mattress! It might sound like a good idea, but if you push off hard, you will take off and hit the floor.
- Jump under supervision or call a friend in case you get hurt.
- Never jump without a safety mat! You will be seriously injured.
- For added protection, place small mats between large mats.
What do you need
- Roulette
- Full equipment for high jumps (mat, stand (support holders) and plank)
- White medical adhesive plaster (as a last resort, medical bandages). Buttons work well, especially if the track surface is damp and the adhesive won't stick.
- Friend or parent


