Author:
Helen Garcia
Date Of Creation:
17 April 2021
Update Date:
1 July 2024

Content
In this article, we will show you how to convert an XML file to an Excel file on a computer.
Steps
Method 1 of 2: Windows
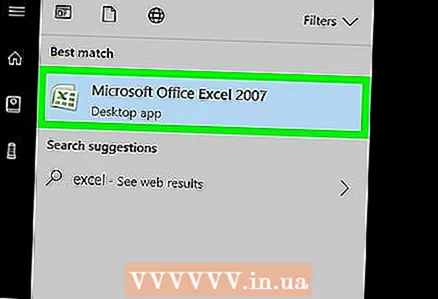 1 Start Excel. Open the Start menu and click All Apps> Microsoft Office> Excel.
 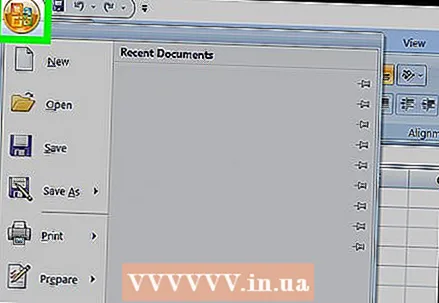 2 Click on File. You will find this option in the upper left corner.
 - In Excel 2007, click the round button with the Microsoft Office logo.
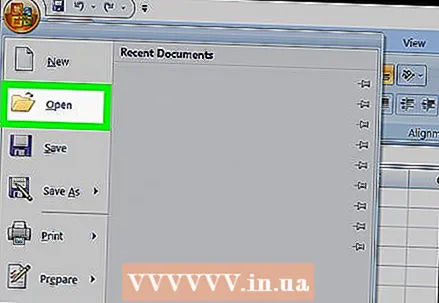 3 Click on Open. The Explorer window will open.
  4 Double click on the XML file. Depending on the file format, you may have to take additional steps to open the file:
 - If the Import XML window appears, the file references at least one XSLT stylesheet. Click "Open File Without Style Sheet" to select a standard format, or click "Open File With Style Sheet" to format the data according to the style sheet.
- If the Open XML window appears, click As Read Only Book.
 5 Open the menu File.
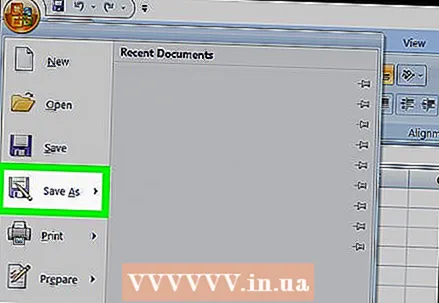 6 Click on Save as.
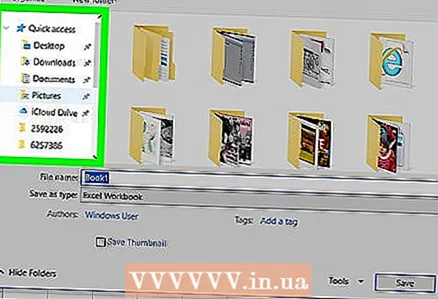 7 Navigate to the folder where you are going to save the file.
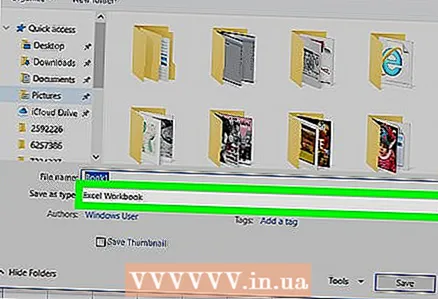 8 Please select Excel workbook in the File Type menu.
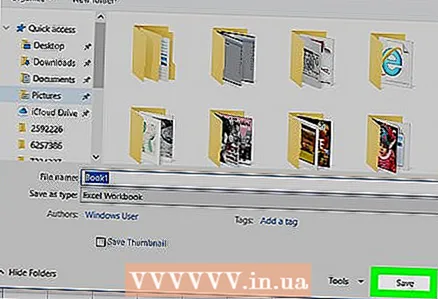 9 Click on Save. The XML file will be converted to an Excel file.
Method 2 of 2: macOS
- 1 Start Excel. It is located in the Applications folder.
- Excel for macOS does not allow you to import XML data from another file, but you can open an XML file there.
- 2 Open the menu File. You will find it at the top of the screen.
- 3 Click on Open. A Finder window will open.
- 4 Select the XML file. To do this, go to the folder with this file, and then click on it.
- 5 Click on OK. The XML file will open in Excel.
- 6Open the menu File.
- 7Click on Save as.
- 8Enter a name for the file.
- 9Please select .CSV in the File Type menu.
- 10 Click on Save. The XML file will be saved in CSV format.


