Author:
Mark Sanchez
Date Of Creation:
27 January 2021
Update Date:
1 July 2024
Content
- Steps
- Method 1 of 4: Assessment and Preparation
- Method 2 of 4: Positioning and Centering
- Method 3 of 4: How to hang a painting
- Method 4 of 4: Tips for securing your collage
Paintings on the wall make the room more beautiful and cozy, they are the main element of the interior design. Read on to find out how to safely hang frames with anchor screws, as well as helpful tips on securing collage.
Steps
Method 1 of 4: Assessment and Preparation
 1 Think about what you would like to hang. Different parts require different approaches for correct installation. For example, if you want to hang a poster on the wall, you only need a few buttons, but other furnishings, such as paintings and large-frame photographs, require safer mounting methods. Generally speaking, the most reliable way to hang a painting on a wall is to anchor it with an anchor screw to a wall frame post, as described in this guide. If you don't know how to hang a photo, then choose this method and you can't go wrong.
  2 Find the wall framing post. This is the reinforced part of the wall under plaster and plasterboard that bears the main load. Any object can be attached to these racks, except for overly heavy photographs and frames, the weight of which can break through drywall. Electronic wood beam detectors are available at any hardware store. To locate a wooden beam, lean the detector against a wall and move it until it beeps or beeps.
 - Please read the instruction manual of the wood beam detector carefully. Many detectors have two modes, one for finding wooden beams and the other for finding wires. Before using the appliance, find out which indicator beeps when wood beams are detected.
- If you don't want to buy an electronic detector, you can manually detect wood beams. Tap the wall with your hand in various places until you hear a dull surface sound. This is the place behind which the wall frame rack is hidden. To make sure you find this one, knock on the wall around this spot to find nearby racks. They are usually located at a distance of 40-60 cm from each other. If you find such an arrangement, then most likely this is the racks of the wall frame.
 3 Select a mount. If you will be hanging the painting on a wall frame post, you will need a round head screw called an anchor screw. A small finishing nail, 3.5 to 5 cm long, that can support several kilograms even without a wooden beam, is perfect for light paintings, but an anchor screw is the safest option. There are many other options for attaching small photographs available at any hardware store. Among them: various hooks, double-sided tape and more sophisticated devices such as a picture fixation system.
 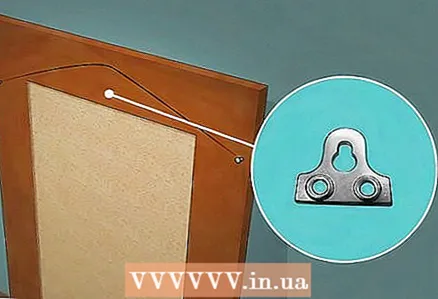 4 Prepare the painting for editing. If your painting does not have a bracket, suspension wire or other fasteners, then you need to install them. It is better to use brackets, as they will hold the picture more securely than wire and rope, and will not let it fall in case of an accidental collision. Attach the bracket above the center of the frame on the back so that the painting hangs straight.
Method 2 of 4: Positioning and Centering
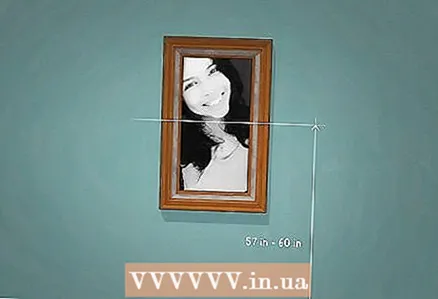 1 Calculate the correct height. For the best visual effect, hang the paintings at eye level. The center of the painting should be at a height of 145-155 cm from the ground. Measure this distance with a tape measure, lightly mark the correct height with a pencil.
 - Determine the height of the center of the painting based on your height or the height of the ceiling in the room. The above figures are given as an example only.
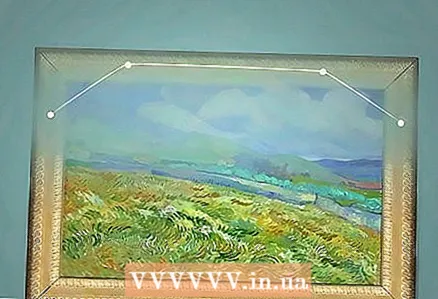
 2 Determine where the painting will hang. Position the painting so that its center is exactly opposite the mark you made with your pencil on the wall and see if you like this arrangement. If it seems to you that the picture needs to be raised or lowered, do it. Once you've decided on it, measure the distance from the center of the painting to its top edge and mark the height. Then measure the distance from the top edge of the painting to the location of the bracket or hanging wire on the back of the frame. Subtract this distance from the frame height distance to determine where the anchor screw should be placed on the wall so that the center of the painting is at the desired height.
 - If the painting is mounted on a hanging wire, stretch it before measuring, as this is the state it will be in when you hang the painting on the wall.
Method 3 of 4: How to hang a painting
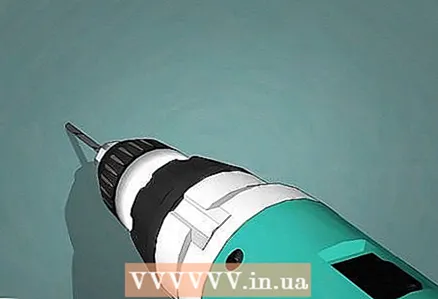 1 Make a pilot hole. Find the point you marked on the wall and make a small hole in it for the anchor screw. If you have a drill, use a small drill bit and drill until you feel or hear the drill hit the wall frame post. If you don't have a drill, use a nail and hammer to punch the hole.
  2 Installation of the anchor screw. Of course, it is best to use a screwdriver for this, but a regular screwdriver will also work for this purpose. Place the anchor screw in the location marked on the wall and tighten it. It will fit into the rack, creating a secure mount for the painting. After installing the bolt, adjust its length.
  3 Hang the painting onto the anchor bolt. If the painting falls off the bolt, unscrew it and try to hang the painting again. If there is a large gap between the wall and the top of the painting, tighten the bolt further and try to hang the painting again. If the painting hangs securely on the wall and there is no gap at the top, no further action is required.
  4 Line up the picture. Place a level on the top of the frame and carefully adjust the painting until the level is centered. Step back and admire the work you've done - the way your new painting hangs on the wall. After work, accordingly, do not forget to remove all tools and debris.
Method 4 of 4: Tips for securing your collage
 1 Do not overload the wall frame post. If you are going to host an art gallery, it is unlikely that all paintings will be so large that they require mounting on a wooden rack. Hang only one or two large paintings on the counter, and place the smaller ones around them.
 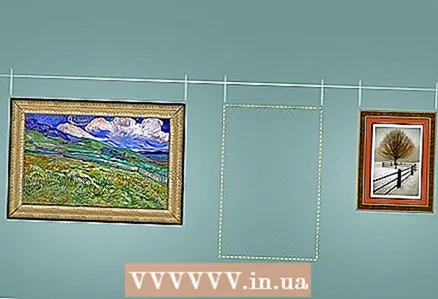 2 Consider the location of the paintings in advance. To place all the paintings evenly, measure the distances between them with a tape measure in advance, and arrange them in the places you choose. Use square stickers to mark the edges of the artwork you want to hang so you don't get confused by the pencil lines, and then move these stickers until you get the layout you want.
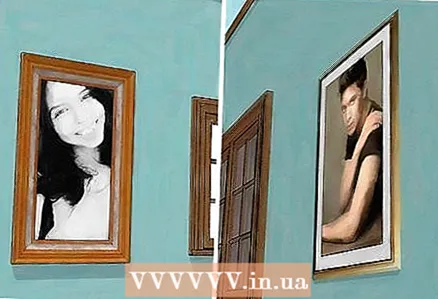
 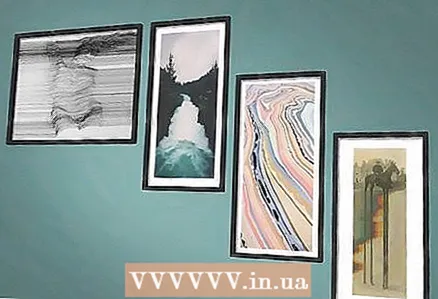 3 Arrange layouts creatively. Three pictures of the same size, hanging in a row, create the effect of movement; six or seven paintings of different sizes can be positioned at different heights to visually increase the space of the room. Feel free to experiment with the placement of your paintings. Look for original options. Do not place paintings too high or too low so that they do not feel like they are hanging out of place.
 - Think over all the details. Several small paintings will not create a look if they are hung separately in three different rooms, but they will look great on low walls or next to each other. Landscape photographs provide more opportunities for their placement, which can not be said about the portrait design of paintings. Rely on your intuition and experiment until you find the best way to display your paintings.
- When you design the placement of paintings, consider the presence of tall furniture, shelving, the direction of lighting and the location of the windows. Following these tips, you will create your own, unique interior.


