Content
- Steps
- Method 1 of 4: How to take everyday shots
- Method 2 of 4: How to Look Great in Selfies
- Method 3 of 4: How to pose for professional photos
- Method 4 of 4: Taking Photographs on the Street
- Tips
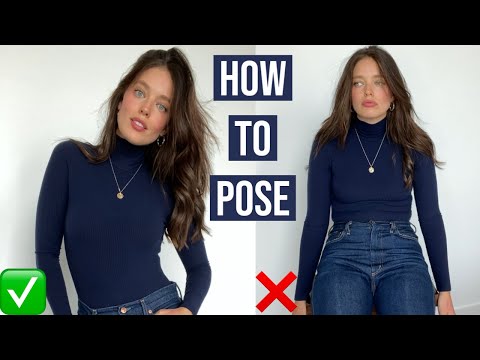
Everyone wants to look good in photos, but it's not always clear which pose will be the most advantageous. Fortunately, there are a number of simple tricks that can help you look confident in any photo. Practice will help you feel confident in front of the camera to do well in selfies and professional photos.
Steps
Method 1 of 4: How to take everyday shots
 1 Use a concise background. Take a quick look around the area behind you to make sure there are no objects that might draw attention to yourself. If necessary, you need to choose a different angle or location for the picture. No matter how good you look, the audience's attention will be riveted to the foreign object in the background.
 - For example, make sure there are no objects behind that seem to be growing out of your head, such as road signs or tree branches. Also, pay attention to people, trash, or an ordinary unmade bed.
- As an interesting artistic solution, you can stand against the background of a bright wall. However, do not use a background overloaded with patterns, which can be distracting.
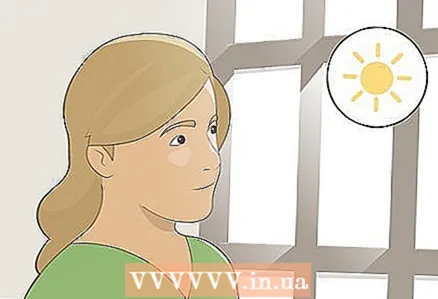 2 Look for light with your face. Face a soft light source before taking a photo for a pleasing skin tone. If you stand with your back to the light, then the face will be covered with deep shadow and the picture will turn out to be unsightly.
 - For example, indoors, you can turn to face the center of the room or stand near a window.
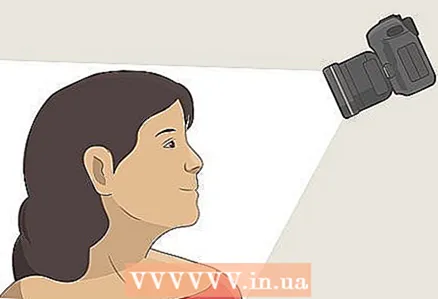 3 Tilt the camera downward for a clear outline of your face. Ask the photographer to raise the camera slightly above your eye level. Then look into the camera for a great angle with an emphasis on your beautiful eyes!
 - This method is suitable for close-ups and full-length shots.
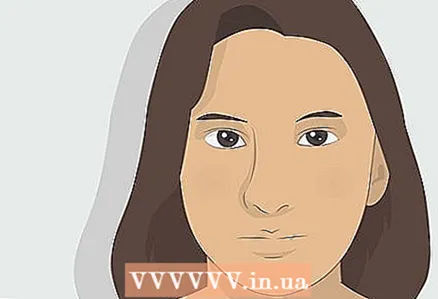 4 Relax your face and mouth. Close your lips gently, and then imagine that only the corners of your mouth are lifted up in a slight smile. This will help you relax the muscles in your face for an intriguing shot that will grab the viewer's attention and make them wonder what your secret is.
 - For a mischievous expression, try smiling with just one corner of your mouth.
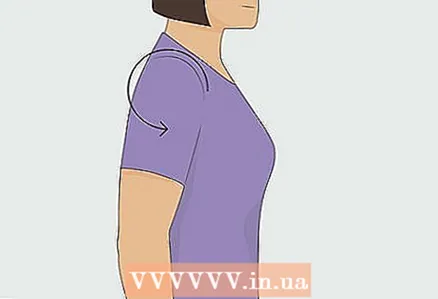 5 Take your shoulders back. Before releasing the shutter, straighten your back, lengthen your neck and take your shoulders back. For both shoulder and full-length portraits, good posture will give you a confident look and help you get a good shot.
 - Pulling the shoulders back will make the neck appear longer, which will better define the lower oval of the face.
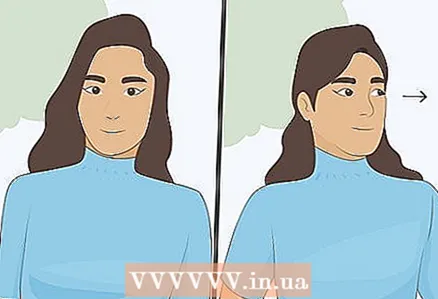
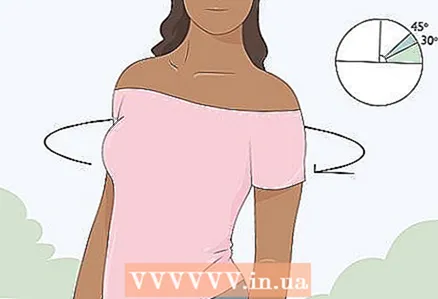 6 Face the camera at an angle of 30-45 ° for a slimmer look. A right angle photo will accentuate the width of your shoulders, chest and waist. If you want to give them a narrower look, then face the camera at a slight angle.
 - If you have a "working side", then face the camera with the corresponding side of your face.
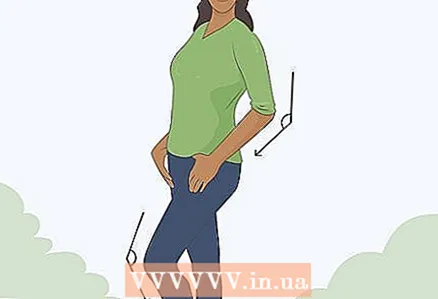
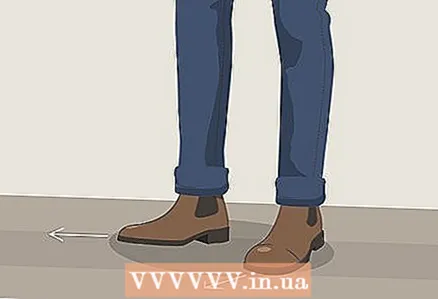 7 Place one leg at an angle to the other. If both legs are at the same angle, then the whole body will appear rigid and massive. Instead, place one foot at a slight angle to the other.
 - For example, you can cross your free leg in front of your skating leg. Walking footage also looks good.
- Stand up on your toes to look a little taller.
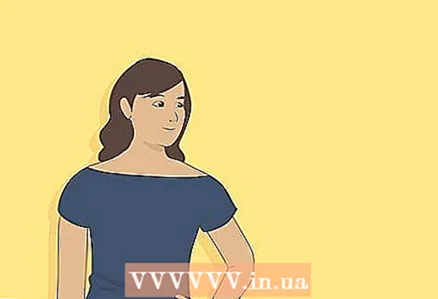
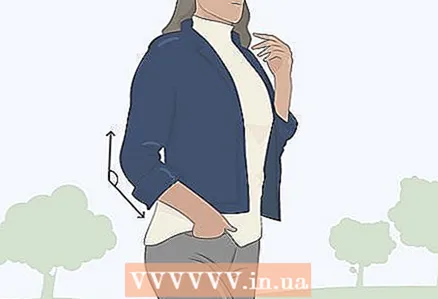 8 Bend your arms slightly at the joints. To look relaxed and natural, bend your elbows slightly. Optionally, you can rest one or both hands on your hips, but pull your elbows back to look relaxed.
 - If you want to accentuate the muscles, then press your arms against your body. If you want your hands to appear thinner, then do not press them against the body.
- If you decide to cross your arms, relax your muscles so you don't look tense.
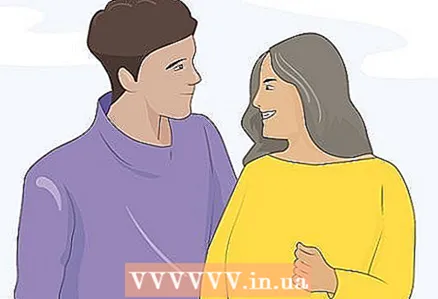 9 Interact naturally with other people in the frame. If you want to take a couple or group photo, be relaxed and choose poses that are slightly different. That being said, don't be afraid to interact with other people in the frame - look in the eyes, hold hands, or hug each other for a warm shot.
 - For example, if you are taking a photo with a group of friends, you might put your hand on the shoulder of your photo neighbor. In paired shots, you can hug your partner and look at the camera.
- If you are unsure of which position to choose, just relax and act naturally.
Method 2 of 4: How to Look Great in Selfies
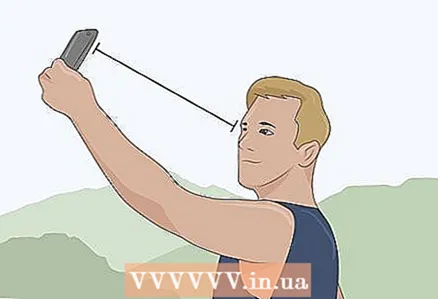 1 Hold the camera slightly above eye level for a beautiful shot. If you are taking selfies, it is usually best to hold the camera higher and tilt it down slightly. Then look into the camera and raise your eyebrows. This will open your eyes wide and your face will look fresh.
 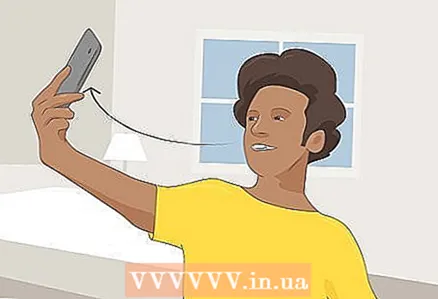 2 Experiment with different angles for variety in your feed. A top-down view is fine for most people, but feel free to experiment, especially if you're posting tons of selfies! For example, you can hold the camera a little to the side, or stand in front of a mirror and show off your outfit.
 - Your followers may get bored with monotonous selfies from the same angle.
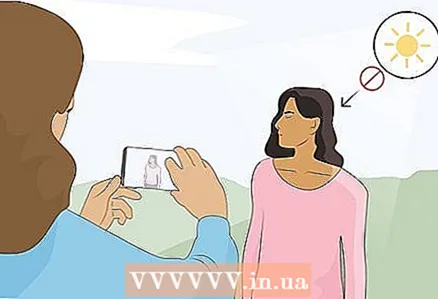
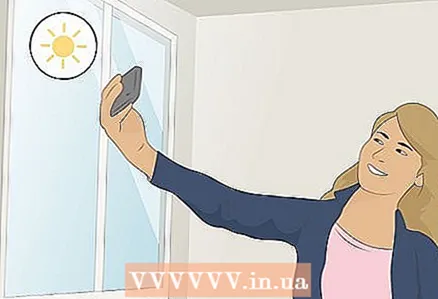 3 Face the light. As with other portraits, it is recommended that you face the nearest light source for an attractive shot. In this case, it is necessary to avoid direct sunlight, which leaves deep shadows on the face.
 - On a bright sunny day, find a shady spot to take a selfie.
- In the absence of suitable light, use the flash. You can also use a portable ring light that allows you to take great selfies anywhere!
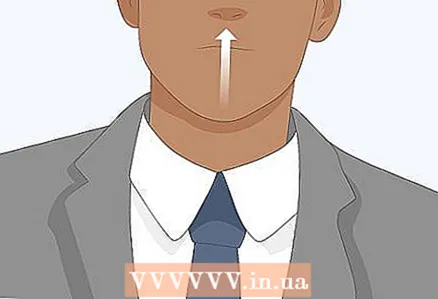
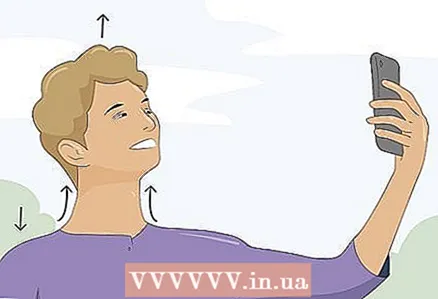 4 Lengthen your neck and sit down or stand upright. Imagine a line coming out of your head to help align your entire body. Raise your head and neck, and lower your shoulders down.
 - This will create a long, straight line that will accentuate the curve of your neck and shoulders.
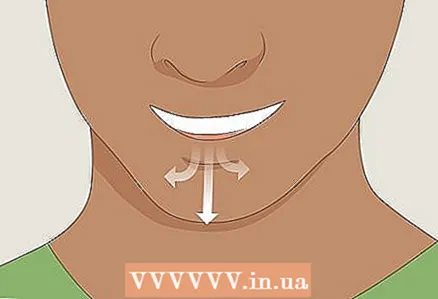 5 Exhale gently to plump and relax your lips. When a person smiles, frowns, or pouts, there is always the risk of accidentally straining his mouth while taking a selfie. To relax your mouth, breathe out gently through your parted lips and take the picture right away.
 - Do not puff out your cheeks with air, otherwise your face will become rounded!
Advice: Try squinting a little to mimic the wrinkles around your eyes as if you were smiling.
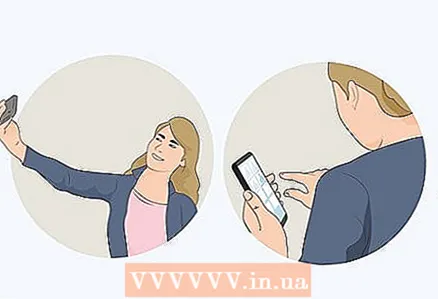 6 Take a lot of pictures and then choose the best options. Take as many shots as possible with different facial expressions and head and body tilt. Then review the footage. Examine the pictures and understand what you like and what you don't like. With experience, you will know exactly the angles that emphasize your merits, and choosing a selfie pose will become an elementary task.
 - Each person has their own ideal angle, and to find the best option, you need to experiment a lot. For example, shoot a little from above if you have a large chin, but choose a side or bottom angle if you have a large forehead.
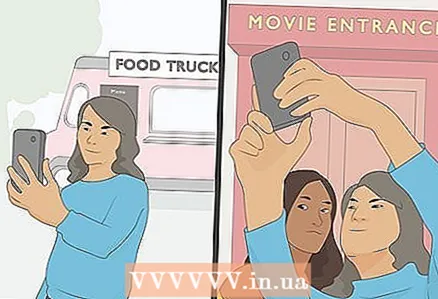 7 Find an interesting selfie background. You don't have to keep repeating the same frame. Better to take selfies in different places and use the background in the frame. So each photo will offer the viewer something new, and you will be allowed to record your adventures!
 - For example, you can take a selfie in front of your favorite fast food van, then post a photo with a friend in line before the movie show.
Advice: Use a selfie stick for full-length photos or action shots in interesting places.
Method 3 of 4: How to pose for professional photos
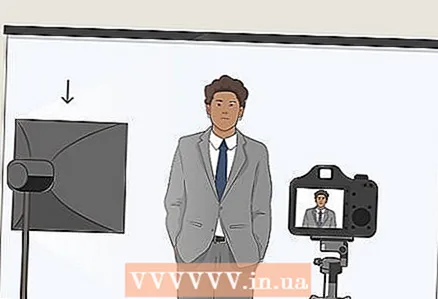
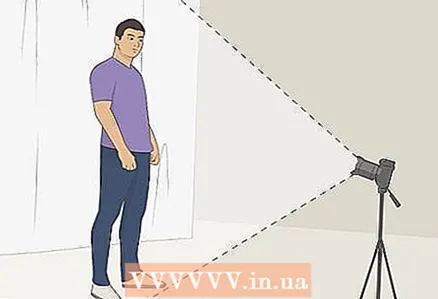
 1 Choose a solid or plain background. In professional photography, the focus should be on you. Ask a photographer to take a photo against a solid color background, or have a photo shoot in an office or other business setting. The main thing is that there are no elements in the composition that can distract attention.
 - For example, if you are a doctor, it is important for a business shot in the office to make sure that there are no promotional materials and samples on the table, otherwise the frame will look overwhelmed.
 2 Take a few deep breaths to relax. If you are anxious or tense in front of the camera, then the pictures will show the tension in your body and facial expression. Take a few long, deep breaths to release tension and feel comfortable in front of the camera.
 - For example, inhale in 4 counts, hold your breath for 4 counts, and exhale in 4 counts. This should be repeated 2-3 times or until you feel calm.
 3 Face the nearest light source. If you want to take a professional shoulder portrait or other business shot, sit or face the brightest light source in the room. This will keep your face in shadow in the final shot.
 - The professional photographer can use their own light source or reflector to properly illuminate the face.
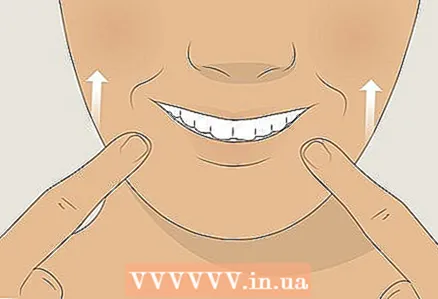 4 Press your tongue to your teeth for a genuine smile. If you want to look like you're having a great time in the photo, smile broadly and then press your tongue against your upper front teeth. This will lift your cheeks for a more natural looking smile.
 - For an even more genuine smile, think of a loved one or object.
 5 Experiment with looking into the camera and into the distance. Looking at the camera expresses your confidence and courage. Look softly, but don't be afraid to take a direct look. If you prefer a more casual gaze, try looking a little into the distance.
 Use this technique when you know you are being photographed: To relax in front of the camera, spend 10 minutes in front of a mirror and practice poses and facial expressions. This way you will know your best angles.
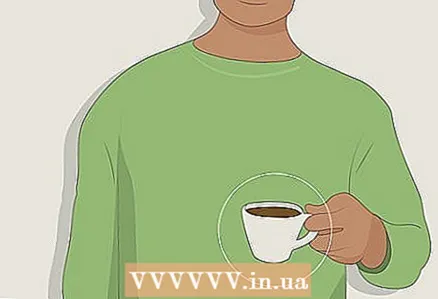 6 Use props if you need to keep your hands busy. Grab a cup of coffee, a phone, or even a shoulder bag. This way you don't have to worry about how to hold your hands and look natural in the photo.
 - If nothing suitable is at hand, then gently grasp the other hand.
- You can also touch the cuff, collar, or straighten your hair.
- If you put your hands in your pockets, then pull your elbows back a little.
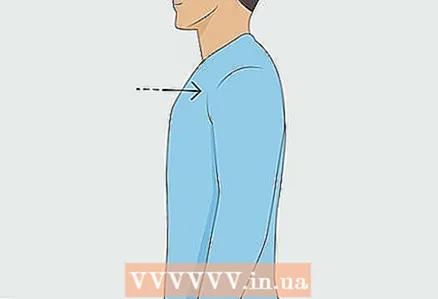 7 Stand straight with your shoulders back. Correct posture will help you appear taller and create more attractive curves and look confident. If you look like someone who has confidence in himself, then you get a great business photo that will convince clients of your abilities.
 - It is sometimes helpful to imagine a string that goes through the spine and across the head. So, try to imagine that someone is pulling on such a lace to get the correct posture.
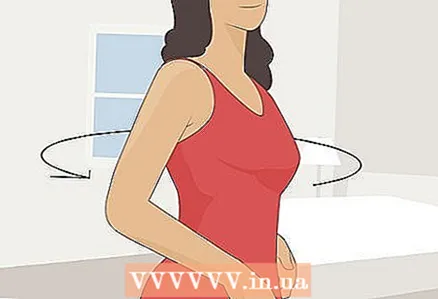 8 Turn at an angle to the camera to look slimmer. Avoid taking photos at right angles so you don't look fuller. Rotate 30 ° -40 ° to the camera. When combined with an even posture, you will appear taller, slimmer and more confident, which will help you create a business image.
 - If you prefer a right angle photo but want to look slimmer, stand at an angle and face the camera with your shoulders. This will keep your waist and hips narrower.
Advice: If you have wide chest and muscular arms that you want to accentuate for a more domineering look, then cross your arms over your chest and stand directly in front of the camera.
 9 Bend your arms and legs for a more natural look. When a person sits or stands with very straight arms and legs, it immediately seems that he is tense and uncomfortable. Better bend your limbs at natural angles. For example, bend one knee and place your hand on your hip when standing or sitting cross-legged.
 - Move your arms slightly away from your body to make them look thinner, or press on your sides to make them appear more muscular.
- If you can't decide what to do with your hands, then take the props that fit your profession. For example, a teacher might hold a pointer, and a cook might hold a spatula.
 10 Ask the photographer to shoot a little from the bottom up if you want a more influential look. If you are taking a full-length photo and want to appear taller and slimmer, ask the photographer to hold the camera slightly below your eye level. Then the camera should be tilted slightly upward so that you are completely in the frame. This will give you a domineering and influential look, so take a confident posture!
 - For this shot, it's usually best to get a little further away from the camera.
- This angle can accentuate the area below the chin, so tilt your head slightly upward.
Advice: The shot will turn out stylish, but this angle is not suitable for everyone. Take a few test shots and see the result right away!
Method 4 of 4: Taking Photographs on the Street
 1 Do not take pictures in direct sunlight. In the bright sun, you will squint, and harsh shadows will fall on your face. It is better to choose a shady place and turn more to face the reflected light.
 - If you can't hide from the sun, try standing with your back to the sun and recreating the reflected light. Ask a helper to hold a reflector (or even just a sheet of white paper) and direct the light towards you so that your face is not in shadow.
- Sunrise and sunset are the best times for outdoor photography as the sunlight becomes soft and warm.
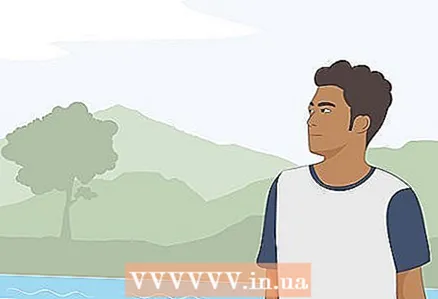 2 Use the landscape as a background. One of the advantages of taking photos outdoors is that there are a lot of interesting landscapes that you can make part of the frame. Try taking a photo with a scenic backdrop, or sit by a tree for a simple outdoor shot.
 - Make sure that there are no foreign elements in the background that could spoil the frame, such as power lines or dung heaps.
 3 Interact with your environment. If you are taking pictures on the street, then use the unique opportunity to include the world around you in the frame. For example, you can sniff a fragrant flower or climb a cliff.
 - Always remember about safety! Never climb barriers or high fences for photography, and always keep an eye on your surroundings, including traffic, people, and animals.
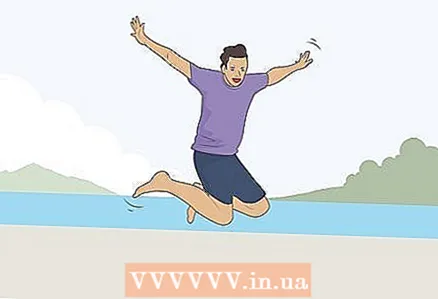 4 Use bold, large-scale poses to take up more space. When shooting indoors, there is not always enough space for active movements and experiments. While on the street you can run, jump, wave your arms and interact with the world around you. Move ahead and start moving to find photo inspiration!
 - First, take a few shots in secure positions. So you will always have a ready-made groundwork, and in the remaining time you can freely experiment.
Tips
- If possible, check your appearance in the mirror or with the front camera on your mobile phone before taking a picture.
- Choose colors that are different from skin tones for more expressive pictures.
- Take several photos at once to choose the best options.
- If someone else is photographing you, ask the person for advice on a suitable pose that will highlight your merits.


