Author:
Bobbie Johnson
Date Of Creation:
10 April 2021
Update Date:
1 July 2024

Content
1 Make sure the item can be ironed. Check the embedded information tag for ironing instructions. If the tag does not indicate the required iron setting, pay attention to what fabric the item is made of. On many irons, the degree of heating is indicated by the type of fabric: for example, it can be wool, cotton, polyester.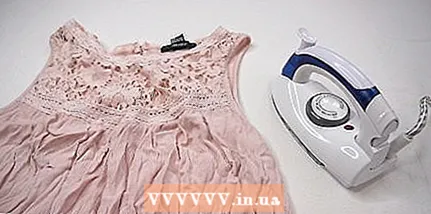 2 Organize your ironing workspace. Use an ironing board if possible. If you don't have an ironing board, find a sturdy, flat surface such as a table or countertop. Ironing boards are usually designed to absorb heat and moisture without any negative effects. Therefore, when you are going to iron on another surface, make sure that the outer layer is not made of flammable substances.
  3 Fill the water tank in the iron. If your iron has a steam function, you may need to add water to it.Look for a large removable or built-in water tank with an opening at the top on your device. Pour filtered water into it almost to the very edges.
 - Be sure to use filtered water! This avoids the build-up of scale inside the iron, which can clog the steam holes.
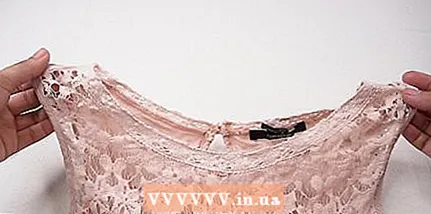 4 Lay out the item to be ironed. Lay out the item so that it lies perfectly flat on the board. Make sure there are no wrinkles left on it! If you iron out random folds, then leave clear folds in the fabric in these places after the iron.
 Method 2 of 2: Iron your clothes
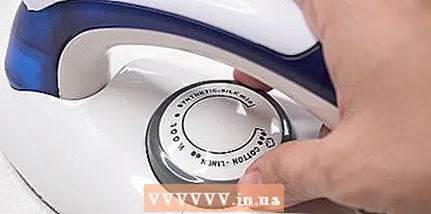 1 Heat the iron. Turn the thermostat on the iron to the setting that best suits your fabric. After setting the heating level, the metal soleplate of the iron will start to warm up. Let the iron heat up. This usually takes a few seconds.
 - The heat level of an iron is often indicated by the type of fabric. For example, cotton can be ironed well at high temperatures using steam, and some synthetic fabrics can melt or scorch when exposed to such high temperatures. Never use the wrong iron settings!
- Start ironing at a lower temperature and gradually increase it. If you need to iron more than one item, start with the item that requires the lowest heat setting on the iron. This way you don't have to wait for the iron to cool down enough to continue working.
- 2 Iron the item on one side. Slowly and firmly, iron over the fabric. Smooth out any wrinkled areas. For best results, also iron any folds and folds indicated by the garment model.
- Iron the individual elements of the outfit sequentially. For example, if you iron a shirt, flatten the collar first, then the cuffs, then the sleeves, shoulders, pocket, and finally the main body of the shirt.
- Do not leave the iron directly on top of things. At best, you will singe the fabric. And if you handle the iron completely negligently, your fault may even start a fire!
- 3 Iron the other side of the item. Turn the garment over to the other side and iron it in the same way. Be careful not to iron any folds or creases on this side with the iron.
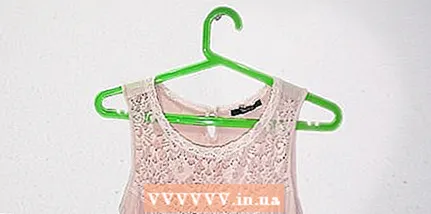 4 Hang the item up immediately after ironing. If you throw an ironed item carelessly or even just leave it lying somewhere, it is very likely that it will dry out after ironing with new jams. Hang the item on a clothes hanger and let it dry.
Tips
- Keep a spray bottle of water handy to spray on your clothes while ironing if they dry out before you finish ironing.
- Work in parts that are difficult to iron. This can touch the sleeves of the shirts and the back of the trousers.
Warnings
- Make sure that the iron cord is not pulled, as this could cause the appliance to fall off the table or board.
- Do not leave the iron unattended. Unplug it immediately after work so that you do not accidentally burn yourself.
- Place the iron upright between ironing to avoid scorching the fabric.


